Window Decal Printing

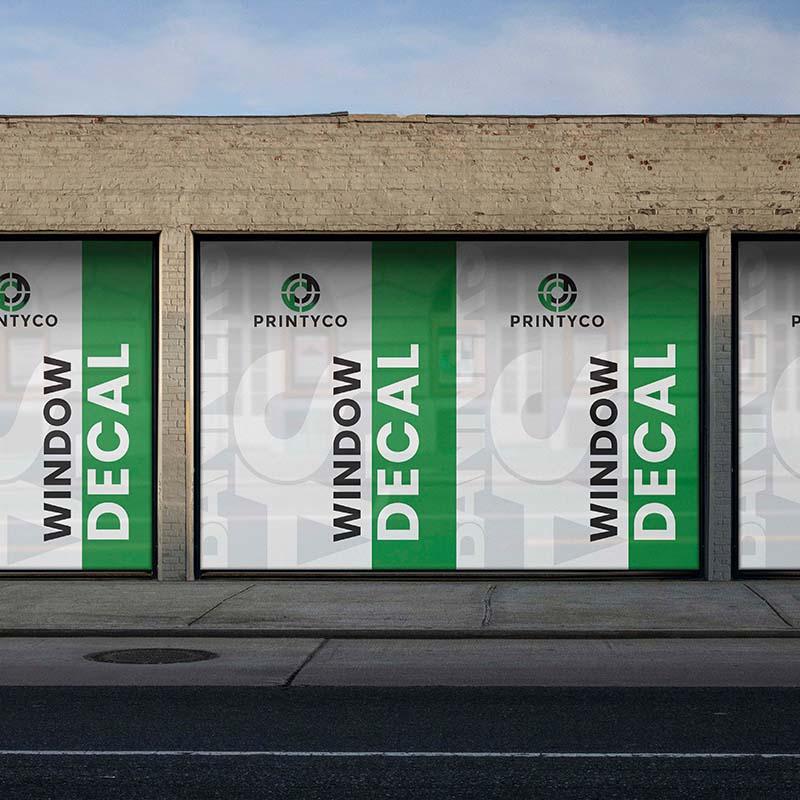
Window decal printing transforms ordinary glass into a bold storytelling canvas, letting businesses and creatives turn storefronts, office partitions, and home windows into high-impact visual assets.
How Window Decal Printing Works
At its core, window decal printing uses specialized wide-format printers and durable, adhesive vinyl to produce crisp graphics that cling to smooth surfaces without mechanical fasteners. A design is first prepared in vector format, colors are calibrated to match brand guidelines or artistic intent, and the file is sent to a solvent, UV, or eco-solvent printer that lays down vibrant ink on the material.
Once printed, the vinyl receives a protective laminate when needed, then precision-cut or die-cut to the desired shape. What makes the process efficient is the removable adhesive, which allows for repositioning during installation and clean removal without leaving residue, so the same window space can be refreshed season after season with minimal effort.
Key Benefits for Businesses and Creators
Window decal printing offers a rare combination of high impact and low interference, turning glass surfaces into powerful touchpoints without blocking light or sightlines. Retailers can showcase promotions, menus, or directional signage directly on storefront glass, while offices use them for branding, wayfinding, and team identity, all without permanent construction.
- Cost-effective compared to painted signs or complex architectural installations.
- Highly customizable in shape, size, and finish, from matte to glossy or even frosted effects.
- Quick turnaround, with many shops able to print, cut, and deliver within days.
- Reusable and portable, so campaigns can travel across locations with simple repositioning.
For events, window decals become modular backdrops and sponsor displays that can be installed and removed in minutes, while for restaurants they turn large glass panels into appetizing menus that still allow diners to enjoy the view outside.
Design Best Practices for Maximum Legibility
Successful window decal printing starts with thoughtful design that accounts for glare, reflections, and viewing distance. Using high-contrast color pairings, simplified imagery, and generous negative space ensures that text and icons remain readable from the sidewalk, across the street, or behind glass.
- Keep critical information in the central view area where reflections are less intense.
- Test how the design looks in both daylight and nighttime lighting with artificial backlight if applicable.
- Use vector artwork to avoid pixelation when the decal is scaled to large formats.
- Consider perforation options for parts of the graphic that should remain see-through for safety and airflow.
Collaborating with a printing partner who understands substrate behavior and environmental exposure helps avoid common pitfalls like color shifts or adhesive failure on slightly textured or coated glass.
Material and Finish Options to Match Your Vision
The market offers a variety of vinyl types and finishes so your window decal printing project can align with both aesthetic and durability requirements. Standard calendered vinyl suits short to medium-term indoor campaigns, while cast vinyl provides superior conformability and longevity for outdoor installations that face wind, rain, and UV exposure.
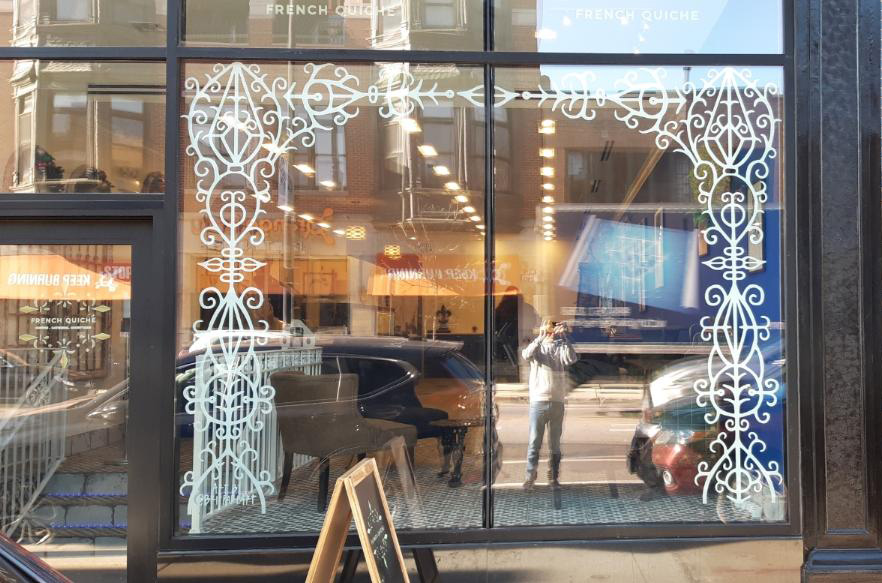
Specialty finishes can elevate the look and function of each installation. A frosted or etched appearance can provide privacy for ground-floor offices, while a high-gloss finish intensifies colors for bold branding. Textured laminates or patterned backings add tactile interest and help hide minor imperfections on older glass surfaces, ensuring a polished result regardless of the substrate condition.
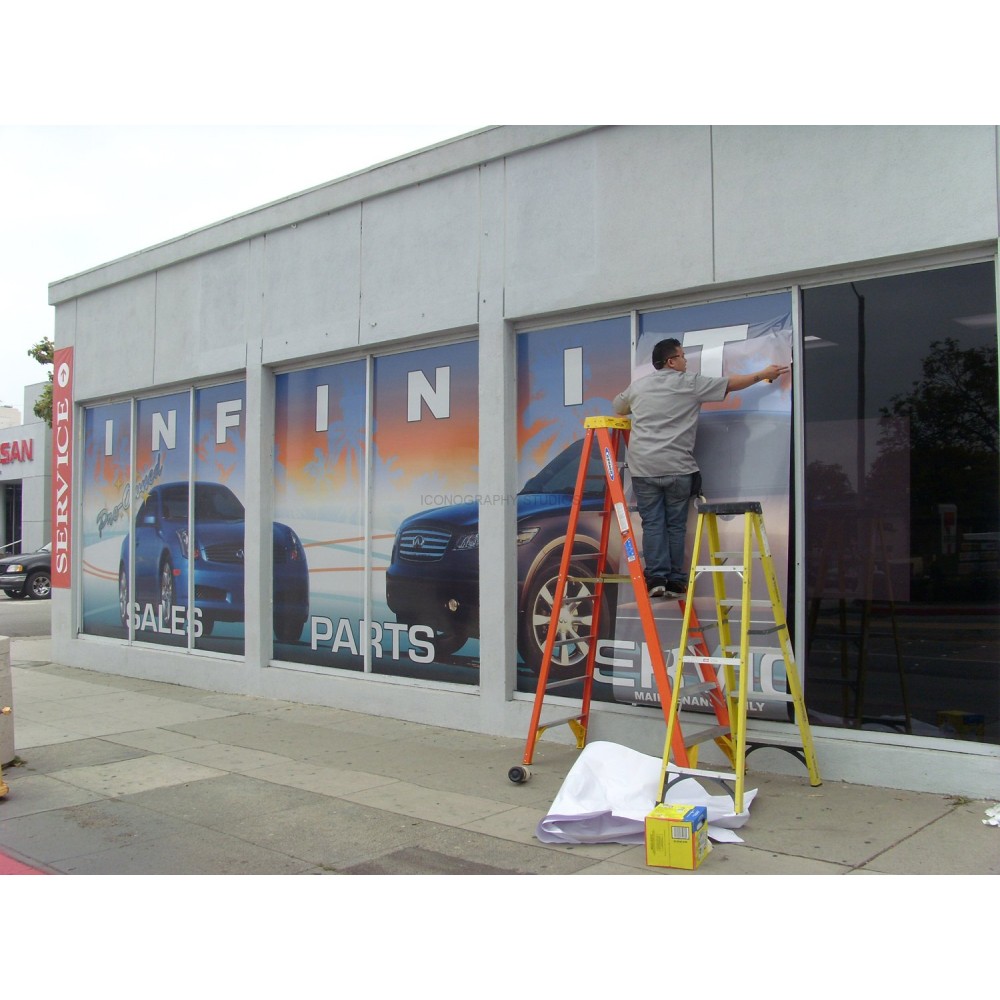
Installation and Maintenance Tips
Even the most stunning window decal printing will look unprofessional if bubbles, wrinkles, or misalignment distract from the message. Preparing the surface with a mild cleaner, working in a dust-free environment, and using a soft squeegee from the center outward help achieve a smooth, bubble-free finish.
- Measure and mark alignment guides before peeling the backing to speed up positioning.
- Use a slip solution of mild soap and water during placement for larger formats to adjust positioning gently.
- Dry the edges thoroughly and press firmly to prevent moisture trapping.
- Clean gently with a microfiber cloth and non-abrasive solutions to preserve the adhesive and printed surface.
With proper care, most indoor decals last several years, while outdoor applications can remain vibrant through multiple seasons, especially when chosen materials include UV inhibitors and anti-graffiti coatings.
Creative Applications Across Industries
Beyond storefront signage, window decal printing fuels innovation in fields as diverse as hospitality, healthcare, education, and transportation. Cafes create whimsical sidewalk art that changes with the weather, museums design interactive timelines along glass exhibit walls, and gyms use motivational graphics on locker room partitions to energize visitors.

Corporate campuses employ window decals for cultural messaging and internal events, turning elevators and conference towers into storytelling surfaces. Public transit authorities apply perforated decals to vehicle windows to maintain visibility for passengers while reinforcing route branding, proving that utility and creativity can coexist in a single print run.
Window decal printing remains a versatile, visually striking medium that bridges indoor and outdoor communication, offering adaptable branding, clear messaging, and design flexibility without permanent commitment.
How to make and apply a vinyl window decal with a Cricut! Full Process | JMKDIY
Links to vinyl and transfer tape below! Here's an in depth tutorial on creating a custom decal with your cricut. I go over every step ...
