Vinyl Transfer Sticker
Whether you are customizing a vehicle, adding personality to your laptop, or launching a small brand, a vinyl transfer sticker is one of the easiest and most versatile ways to apply professional graphics.
What is a Vinyl Transfer Sticker
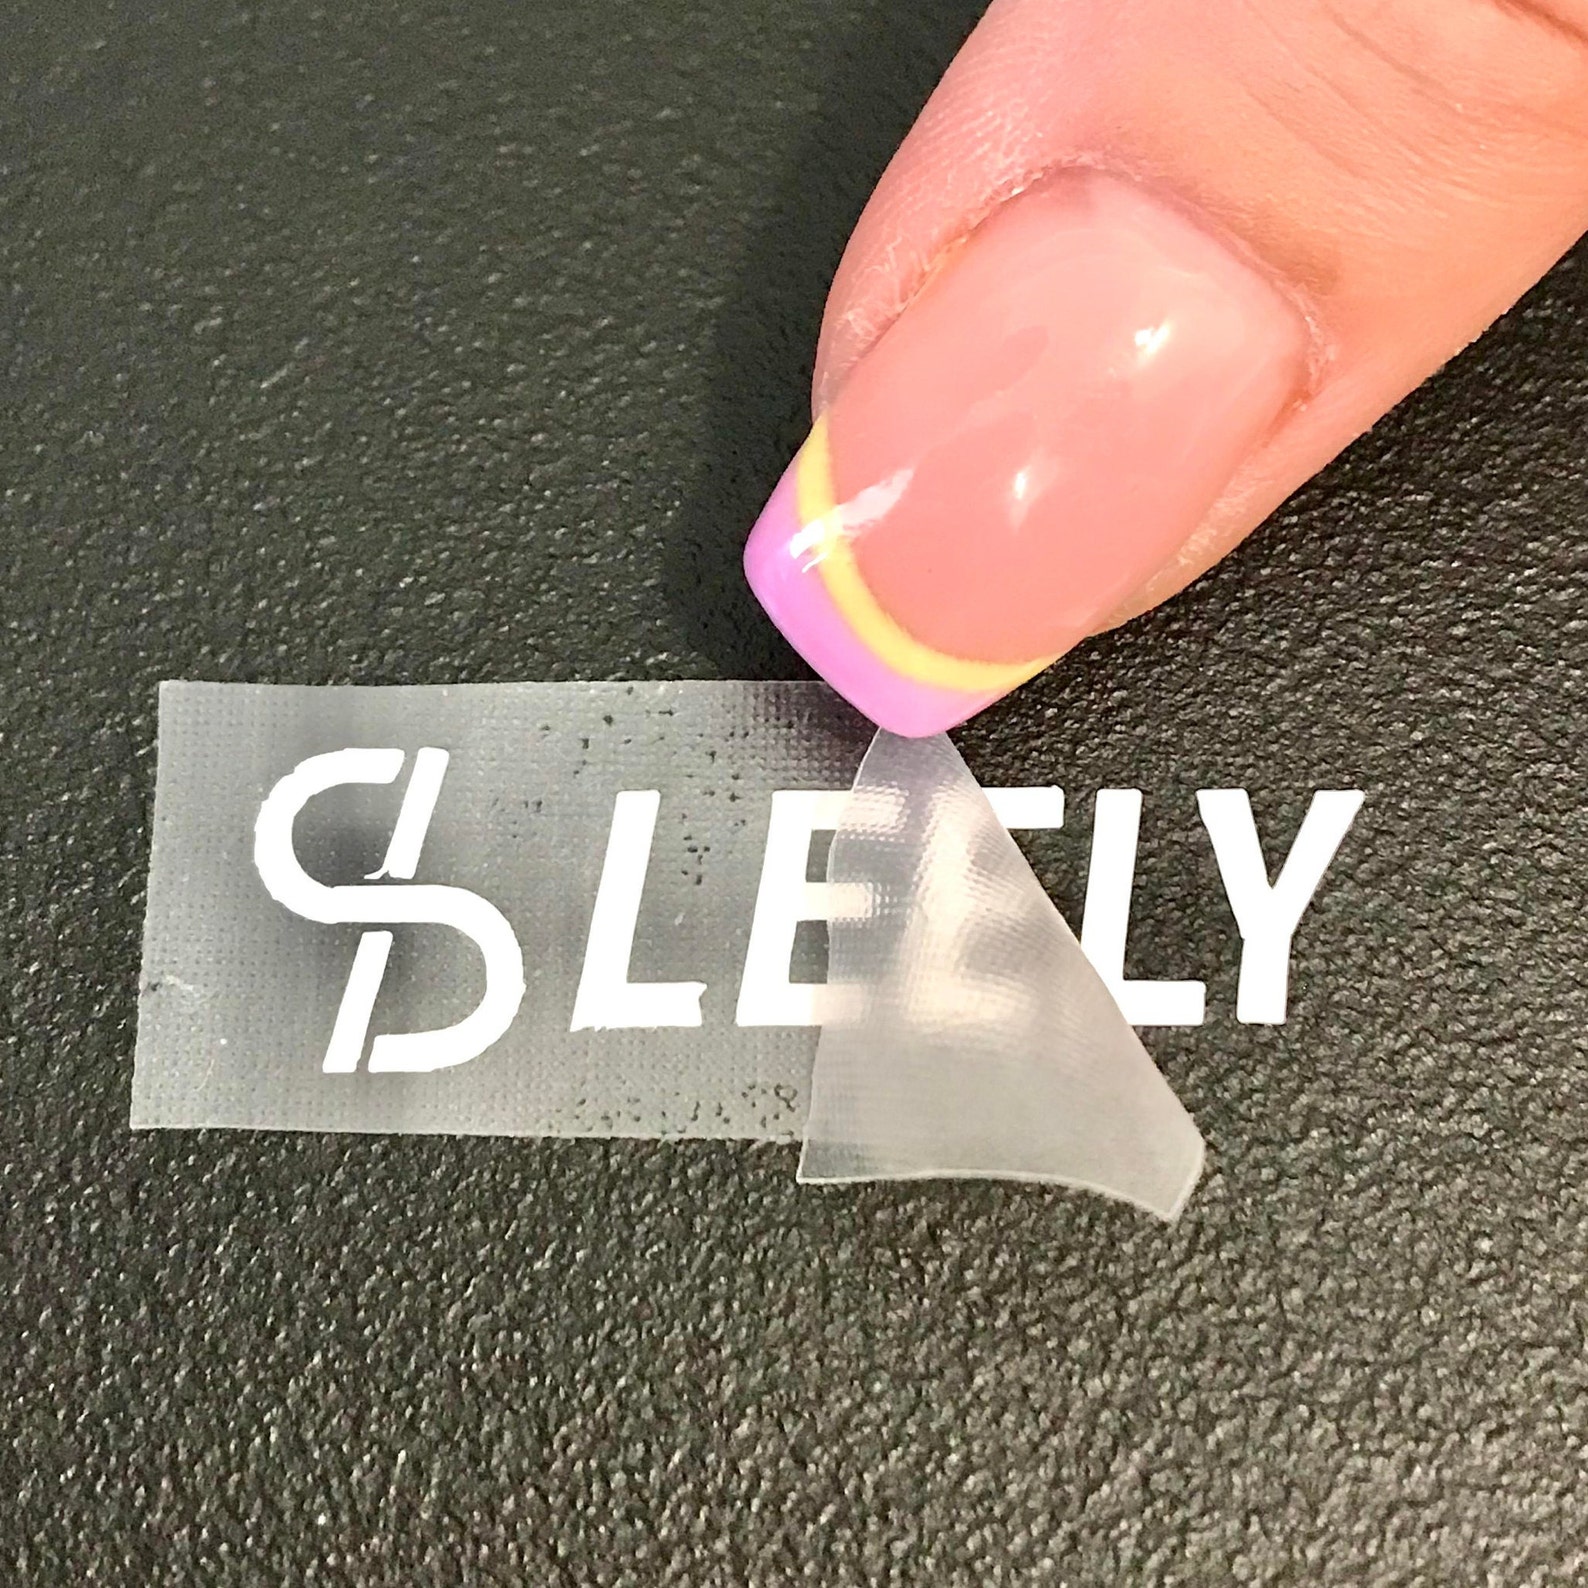
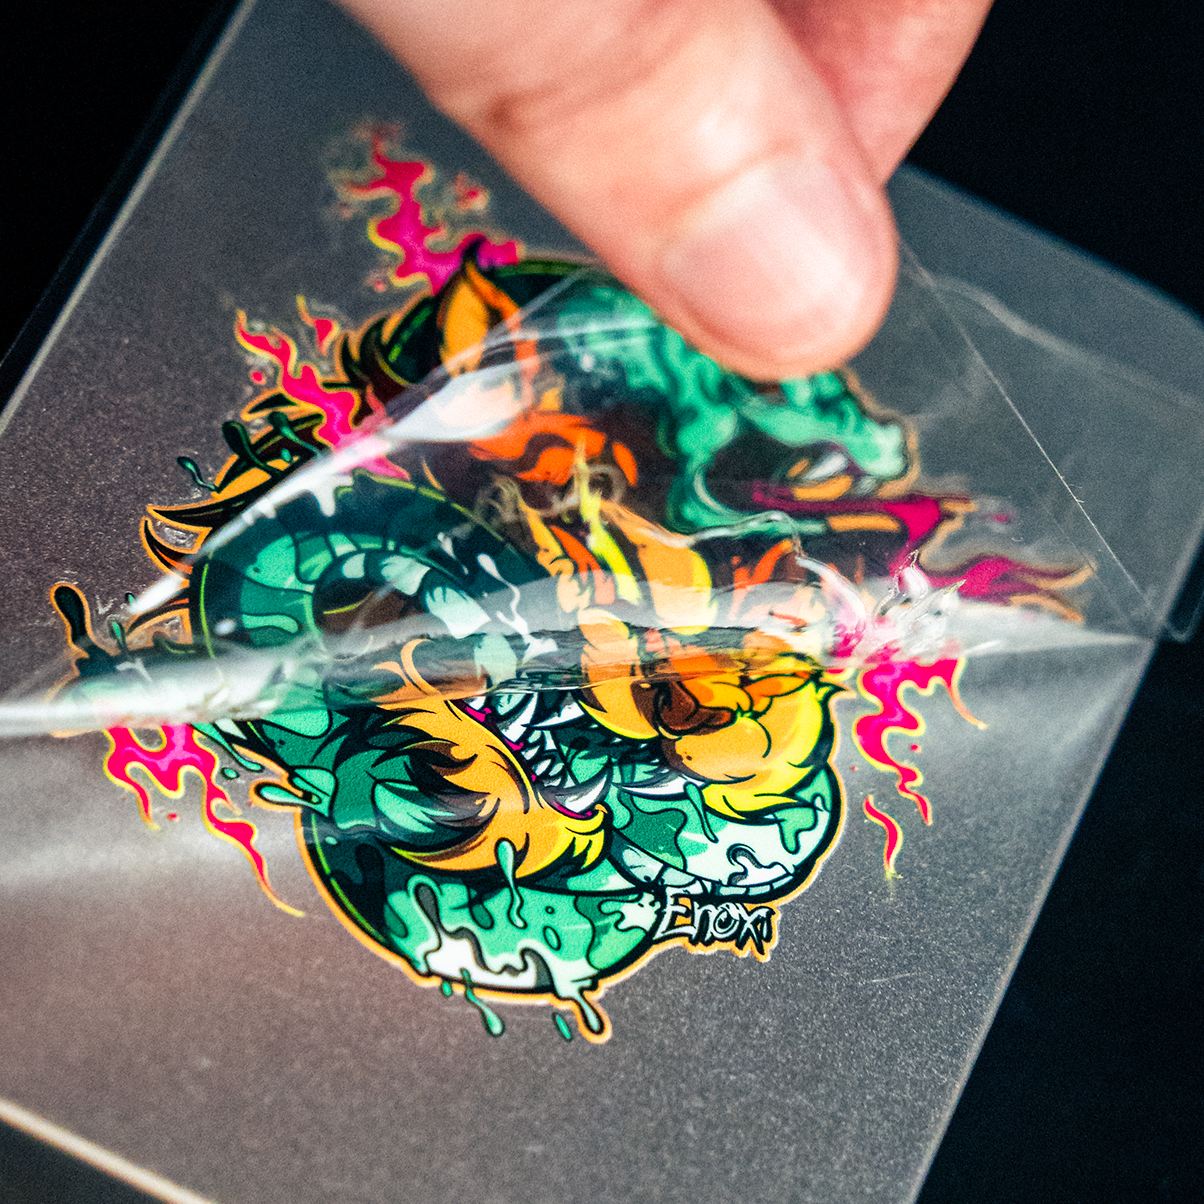
A vinyl transfer sticker is a pre-designed or custom-cut graphic printed on vinyl material and covered with a transfer tape that allows you to position the image precisely before the final adhesive bonds to the surface. Unlike simple peel-and-stick labels, these stickers use a medium tack adhesive that holds everything in place during application, so you can align, slide, and adjust the design until it looks exactly right.
The backing is typically a white or clear carrier sheet that you remove after the image is on the target surface, leaving only the vinyl graphics and the smooth transfer tape behind. This method is popular for both temporary and long lasting applications, because it gives you control over placement while avoiding the bubbles, wrinkles, and misalignment that often happens when applying stickers freehand.
How a Vinyl Transfer Sticker Works
The process relies on three main layers, the vinyl face material, the printed or cut design, and the transfer tape that keeps everything together until you are ready to install it. When you peel the backing off the sticker, the adhesive on the vinyl sticks to the transfer tape, and the combined sheet can then be pressed onto almost any clean, dry, and smooth surface.
Pressure sensitive adhesives allow the vinyl to conform slightly to curves and edges, which makes these stickers suitable for car doors, helmets, water bottles, and other shaped objects. The carrier sheet protects the adhesive and the delicate vinyl until installation, reducing the risk of damage or contamination from dust and fingerprints.
Common Uses and Applications
Vinyl transfer stickers are popular in both personal and commercial settings because they combine the look of a painted graphic with the flexibility of a removable or repositionable solution. Many people use them to decorate personal items, such as laptops, skateboards, coolers, and luggage, giving each object a distinct style without the permanence of paint.

- Automotive detailing, including side windows, bumpers, and tool boxes.
- Branding and signage for small businesses, cafes, and retail shops.
- Event promotion, where organizers need consistent branding across banners, tables, and staff apparel.
- Craft and hobby projects, where precise shapes and detailed lettering are required.
Choosing the Right Material and Finish
Not all vinyl is the same, and selecting the correct type can make the difference between a sticker that lasts for years and one that peels or fades quickly. Matte finishes reduce glare and often give a more subdued, premium look, while gloss finishes add vibrancy and extra depth to colors, making graphics appear sharper under most lighting conditions.
Consider the environment where the sticker will be placed, because outdoor applications require more durable vinyl that can resist UV rays, rain, and temperature fluctuations. For short term use or items that may be frequently handled, a standard indoor outdoor vinyl can offer a good balance between cost, appearance, and longevity.
Preparing the Surface for Application
Even the best vinyl transfer sticker can fail if the surface is not properly prepared, so taking a few minutes to clean and dry the area is essential. Dust, oils, old decals, and waxy residues can prevent the adhesive from bonding correctly, leading to lifted edges or cloudy residue.

Use a mild soap solution, isopropyl alcohol, or a dedicated surface cleaner to remove contaminants, then rinse thoroughly and let the area dry completely before installing the sticker. If you are applying the sticker to a textured surface, such as fabric or rough metal, you may need to use additional pressure or a softer squeegee to ensure full contact.
Application Tips and Techniques
Applying a vinyl transfer sticker correctly reduces frustration and helps you achieve a professional finish without specialized tools. Start by cutting the design close to the shape, but leave a small border that makes it easier to handle the sticker without bending or creasing the material.
Use a squeegee or a soft cloth to press the sticker down from the center outward, pushing out air bubbles as you go. If you notice any small bubbles after the sticker has set, gently lift the edge and reapply that section while pressing again to release trapped air. For detailed projects, a hobby knife or a cutting machine can help you weeding off excess vinyl before transfer, ensuring that only the parts of the design you want to keep remain attached to the transfer tape.

With the right preparation, a little patience, and a few simple techniques, a vinyl transfer sticker can transform ordinary objects into personalized statements or turn a business into a more recognizable brand.
By understanding how these stickers work, which materials suit your needs, and how to apply them cleanly, you can enjoy durable, attractive graphics on a wide range of surfaces, making every project a professional looking success.
How to apply: Custom Vinyl Lettering
Get yours today https://www.amazon.com/dp/B0DP5QRWZ2.
