Vinyl Helmet Decals
Vinyl helmet decals are a simple and stylish way to personalize your helmet, turning everyday gear into a bold statement of identity and style.
What Are Vinyl Helmet Decals
Vinyl helmet decals are graphic designs cut from adhesive vinyl and applied to helmets to add color, text, logos, or intricate artwork. Because the material is flexible, durable, and printable, it can conform to curved surfaces while resisting moisture and UV fading. Unlike paint or stickers, quality vinyl maintains vibrant graphics without peeling or bubbling when exposed to heat, sweat, and weather.
These decals are commonly used on motorcycle, bicycle, skate, and sport helmets, allowing riders to express personality while staying visible and safe. Because they are removable, they are a low-commitment option for experimenting with different styles, teams, or seasonal themes. Whether you want subtle branding, retro pin-up art, or high-contrast warning stripes, vinyl offers a versatile solution that blends protection with personal flair.
Benefits of Using Vinyl Decals on Helmets
One of the biggest advantages of vinyl helmet decals is customization without compromise. You can choose from thousands of designs, create your own artwork, or match team colors and sponsorships with precise branding. The adhesive backing provides a secure hold, yet it is gentle enough to avoid leaving heavy residue when removed carefully.
- Durability: Vinyl resists cracking, fading, and water damage, making it suitable for daily riding and long trips.
- Easy application: With proper surface preparation and a squeegee, most decals install in minutes and can be adjusted during placement.
- Low maintenance: Clean with mild soap and water, and touch up or replace only the worn sections instead of repainting the entire helmet.
Another benefit is visibility and safety. High-contrast graphics and reflective overlays can enhance your presence on the road or trail, especially when integrated thoughtfully into the design. By combining aesthetics with function, vinyl decals help you stand out while staying protected.
How to Choose the Right Design
Selecting the right design starts with understanding your purpose and style. If you use your helmet for commuting, simple logos or brand marks may be practical and professional. For recreational riding, you might lean toward bold patterns, tribal art, or illustrated scenes that reflect your interests.
- Consider helmet shape and available space, as curved edges and chin bars affect how a graphic flows.
- Match color schemes to your gear or bike for a cohesive look without overwhelming the silhouette.
- Think about future changes; modular or removable accents allow you to refresh your look seasonally.
Many riders combine a main central emblem with smaller accents along the sides or rear to create balance. Sketching ideas on paper or using digital mockups can help you visualize proportions before applying any vinyl. This planning step reduces mistakes and ensures the final result aligns with your vision.
Preparing the Helmet Surface
Proper surface preparation is essential for long-lasting adhesion and a clean finish. Start by removing dust, oils, and old decals with a gentle adhesive remover or isopropyl alcohol, then let the helmet dry completely.
Avoid applying decals in extremely hot or dusty conditions, as heat can cause premature curing and dust particles can become trapped. If the surface is slightly textured or coated, test a small piece of vinyl first to confirm bonding and removability. A well-prepared surface ensures crisp edges, smooth bubbles-free application, and easier removal when you want to update your look.

Application Techniques for a Professional Finish
Begin by positioning the decal loosely, adjusting alignment with your fingers before committing. Use a soft squeegee or credit card to press from the center outward, pushing air bubbles toward the edges. Work slowly and at a slight angle to avoid trapping wrinkles under the vinyl.
- Trim excess material with a sharp hobby knife for clean edges around vents or chin guards.
- Apply heat gently with a hairdryer on low setting to soften the vinyl around curves, improving conformity.
- Allow the adhesive to set for several hours or overnight before full exposure to moisture or vibration.
If you make a mistake, carefully lift the edge and re-position while the adhesive is still forgiving. Taking your time during installation pays off with a sleek, factory-like result that lasts through rides, photos, and weather changes.
Maintenance and Longevity Tips
To keep your vinyl helmet decals looking sharp, rinse off road salt, bug residue, and dirt regularly with mild detergent and cool water. Avoid abrasive sponges or harsh chemicals, which can scratch the vinyl or lift the edges.

Store your helmet in a shaded, cool place when not in use, as prolonged sun exposure can cause colors to fade over time. Inspect the edges periodically and re-press any lifting sections with gentle heat to maintain a strong bond. With proper care, high-quality vinyl graphics can remain vibrant for years, making your helmet both a safety tool and a personal canvas.
By choosing the right vinyl helmet decals, preparing the surface thoughtfully, and applying with care, you can transform your helmet into a standout piece of gear that reflects your style and ensures long-lasting appeal.
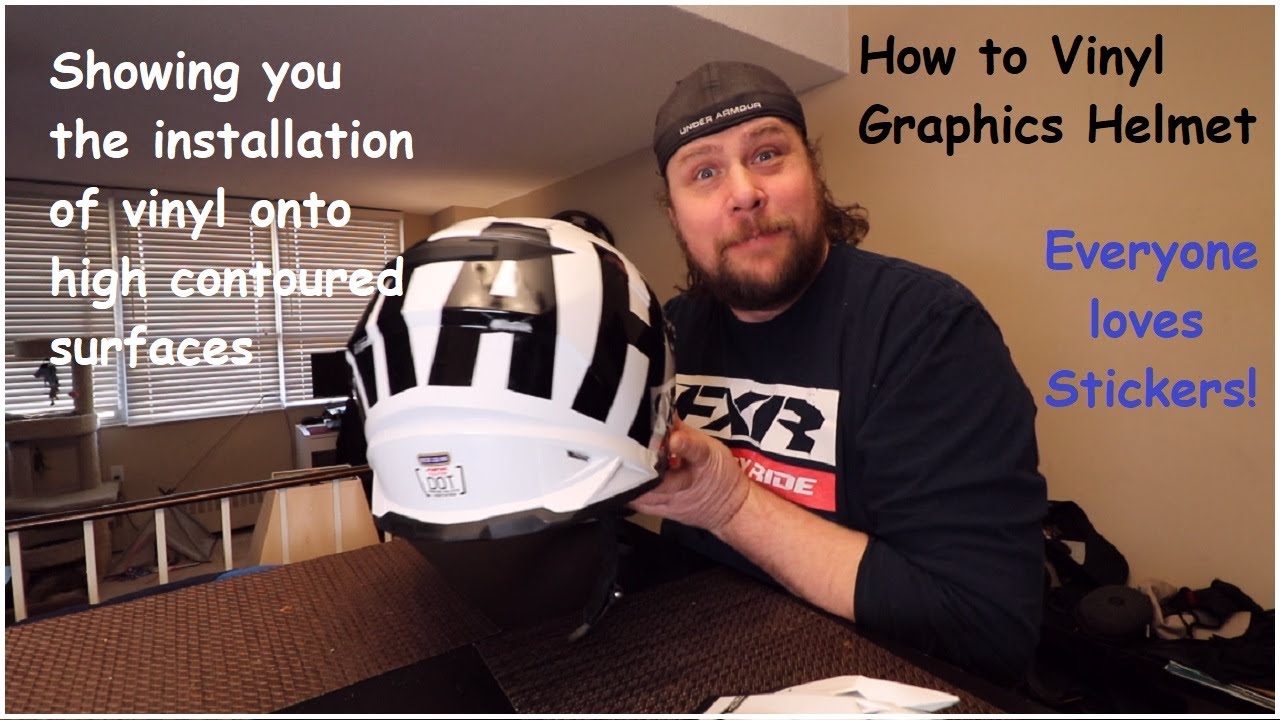
Helmet Chin bar vinyl decal application.
Helmet Chin bar vinyl decal application.
