Vinyl Decals For Walls
Vinyl decals for walls are an easy and stylish way to refresh any room without the commitment of paint or wallpaper.
What Are Vinyl Wall Decals and How Do They Work
Vinyl wall decals are adhesive cutouts made from durable vinyl material that stick to smooth surfaces like painted walls, glass, or furniture. They come as a single sheet or with multiple pieces, and you apply them using a transfer tape to get a clean, precise placement. Because they are thin and flexible, they conform to slight textures on walls while remaining removable in most cases.
The backing of each decal has a low-tack adhesive that lets you adjust the position for a few moments before it becomes permanent. This means you can test your layout, ensure the design is centered, and avoid mistakes. High-quality vinyl holds up well to cleaning, minor abrasion, and fading, making it suitable for both decorative and informative wall graphics.

Choosing the Right Size and Shape for Your Space
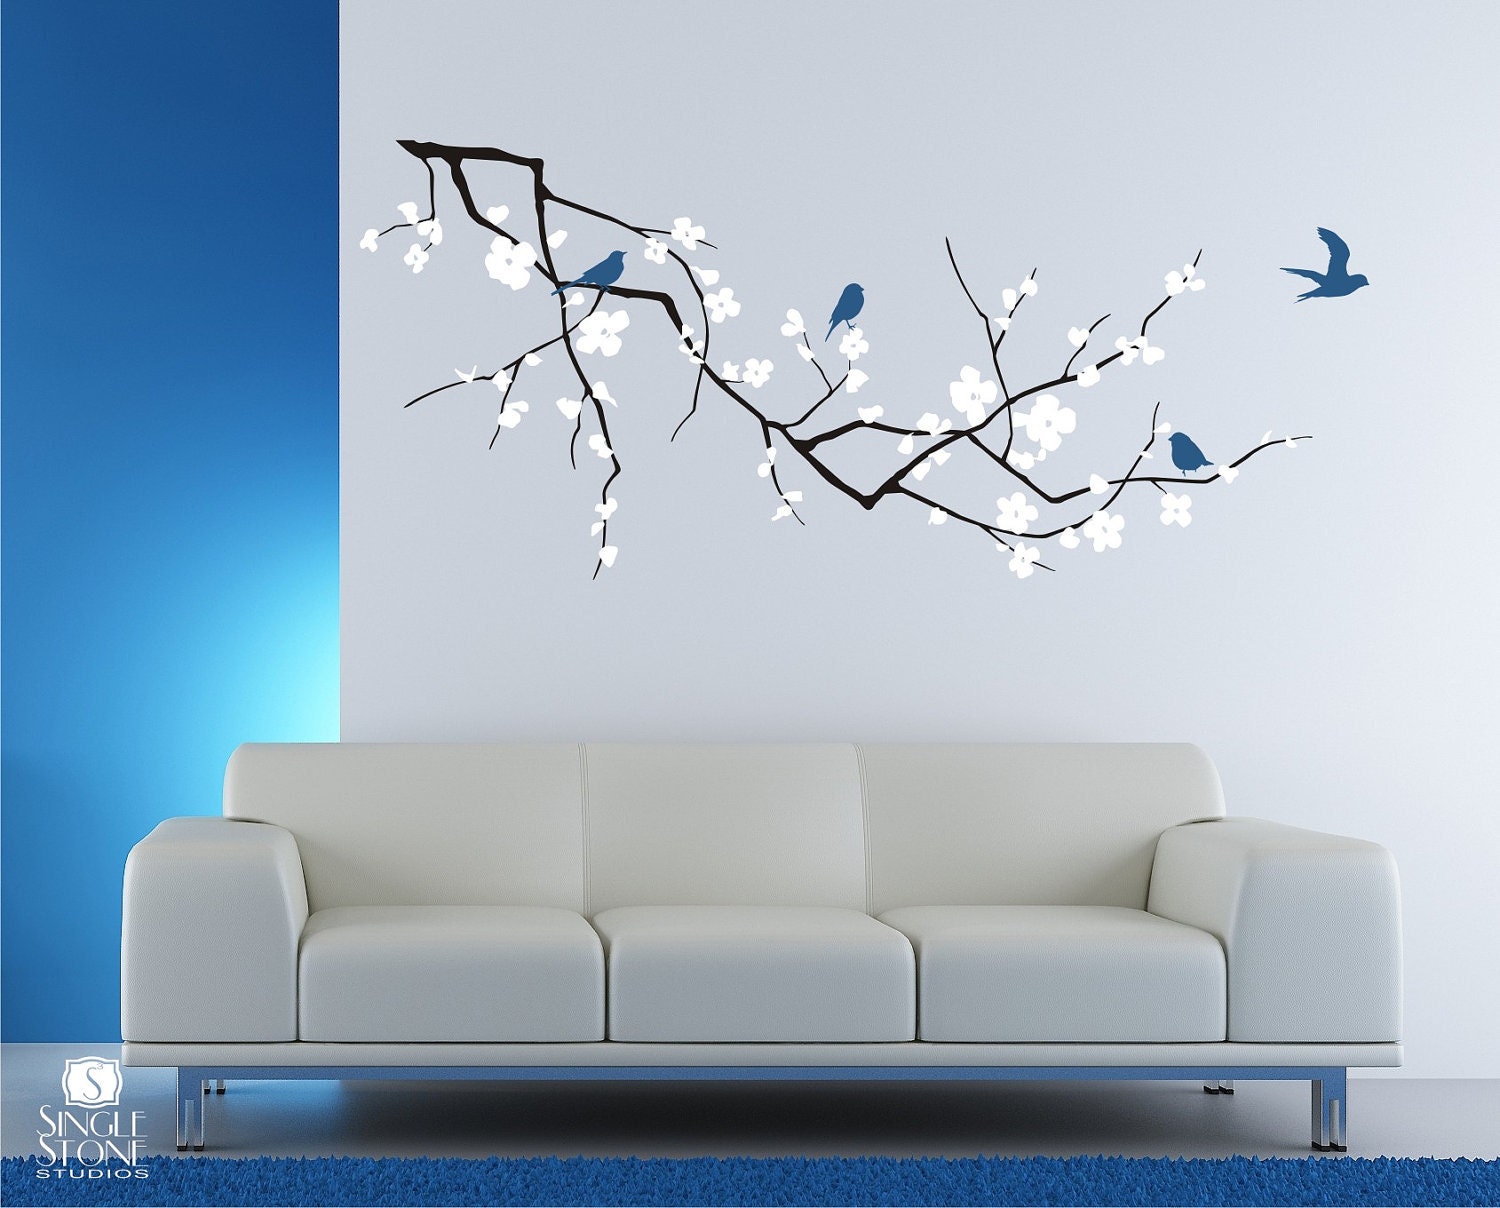
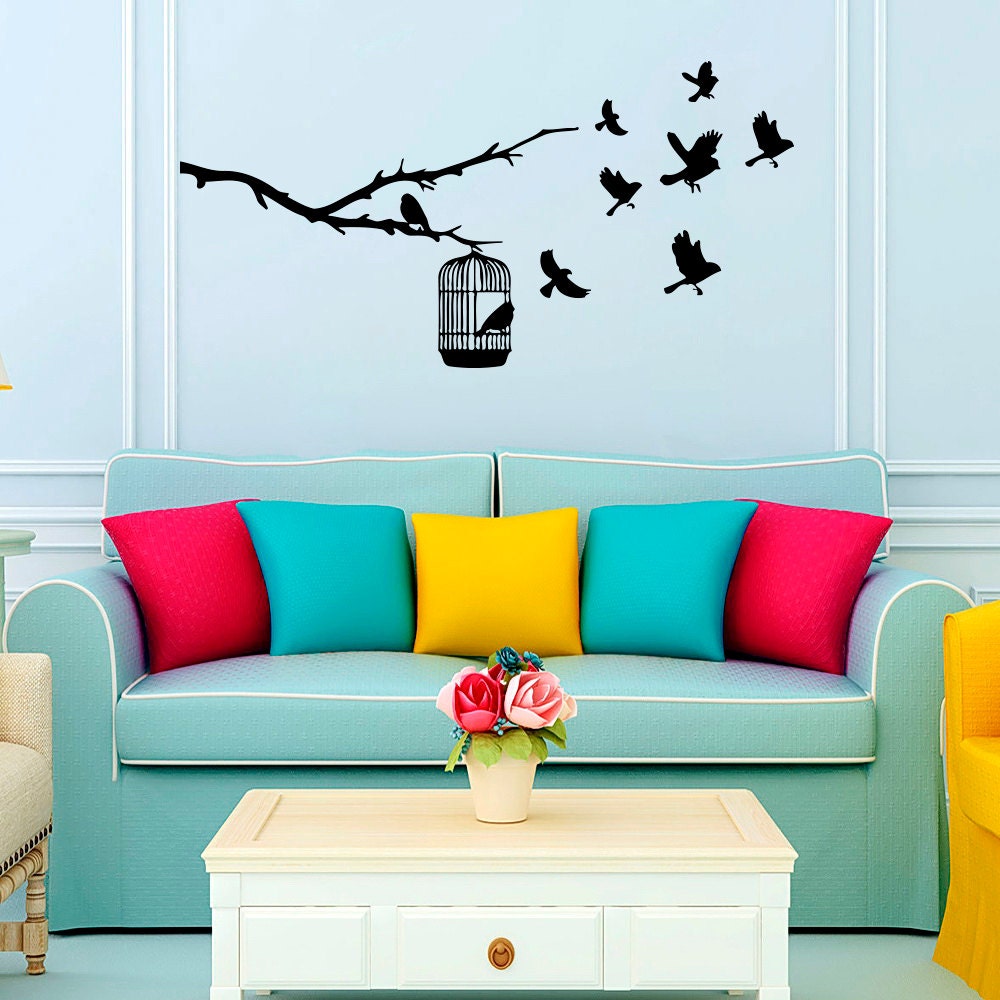
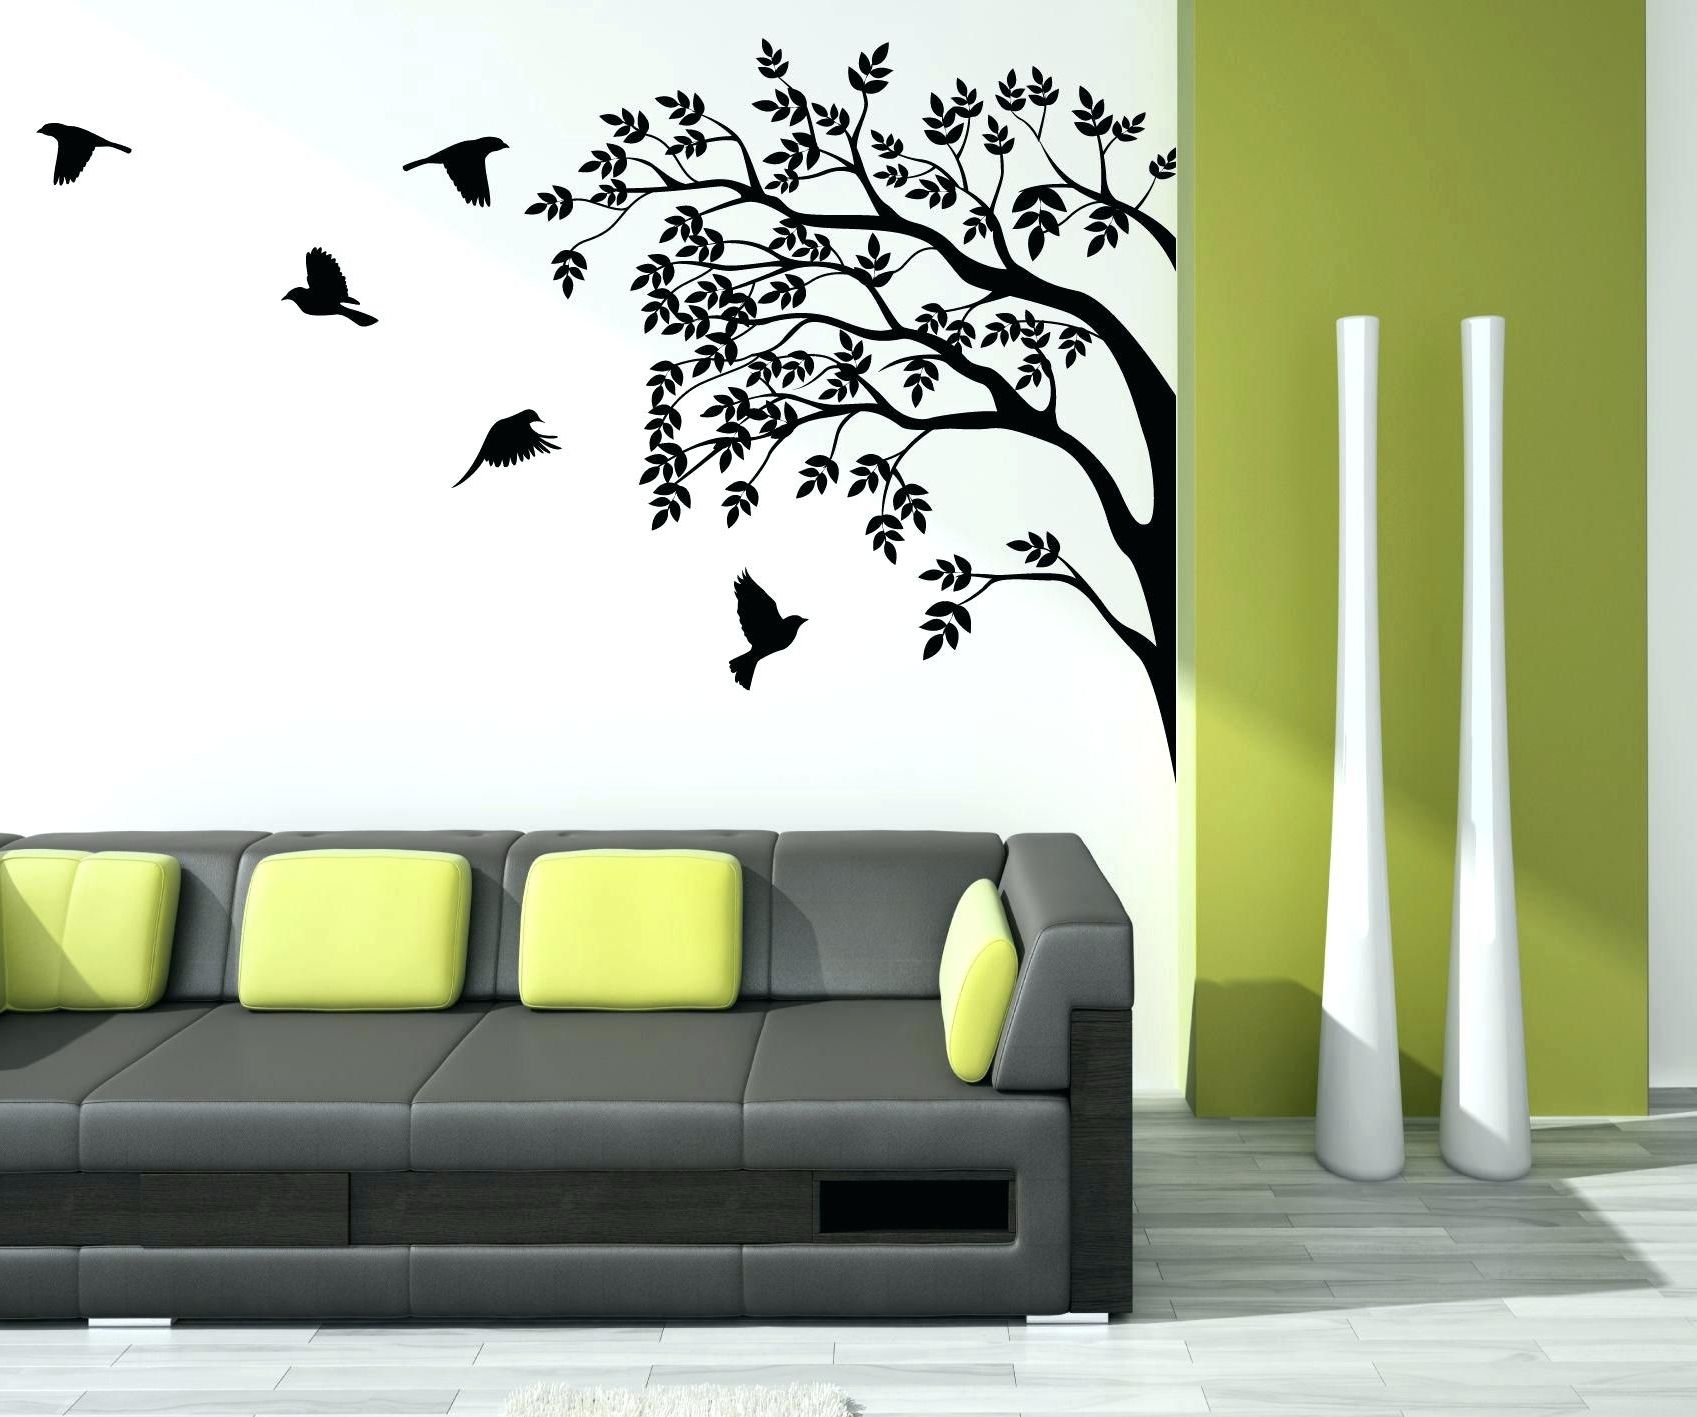
The size and shape of your vinyl decals should match the wall area you want to transform. Large statement pieces work well behind furniture or above sofas, while narrow strips can frame a window or highlight a built-in shelf. Measure the available space, sketch a rough layout on paper, and use that as a guide when ordering or designing your decals.
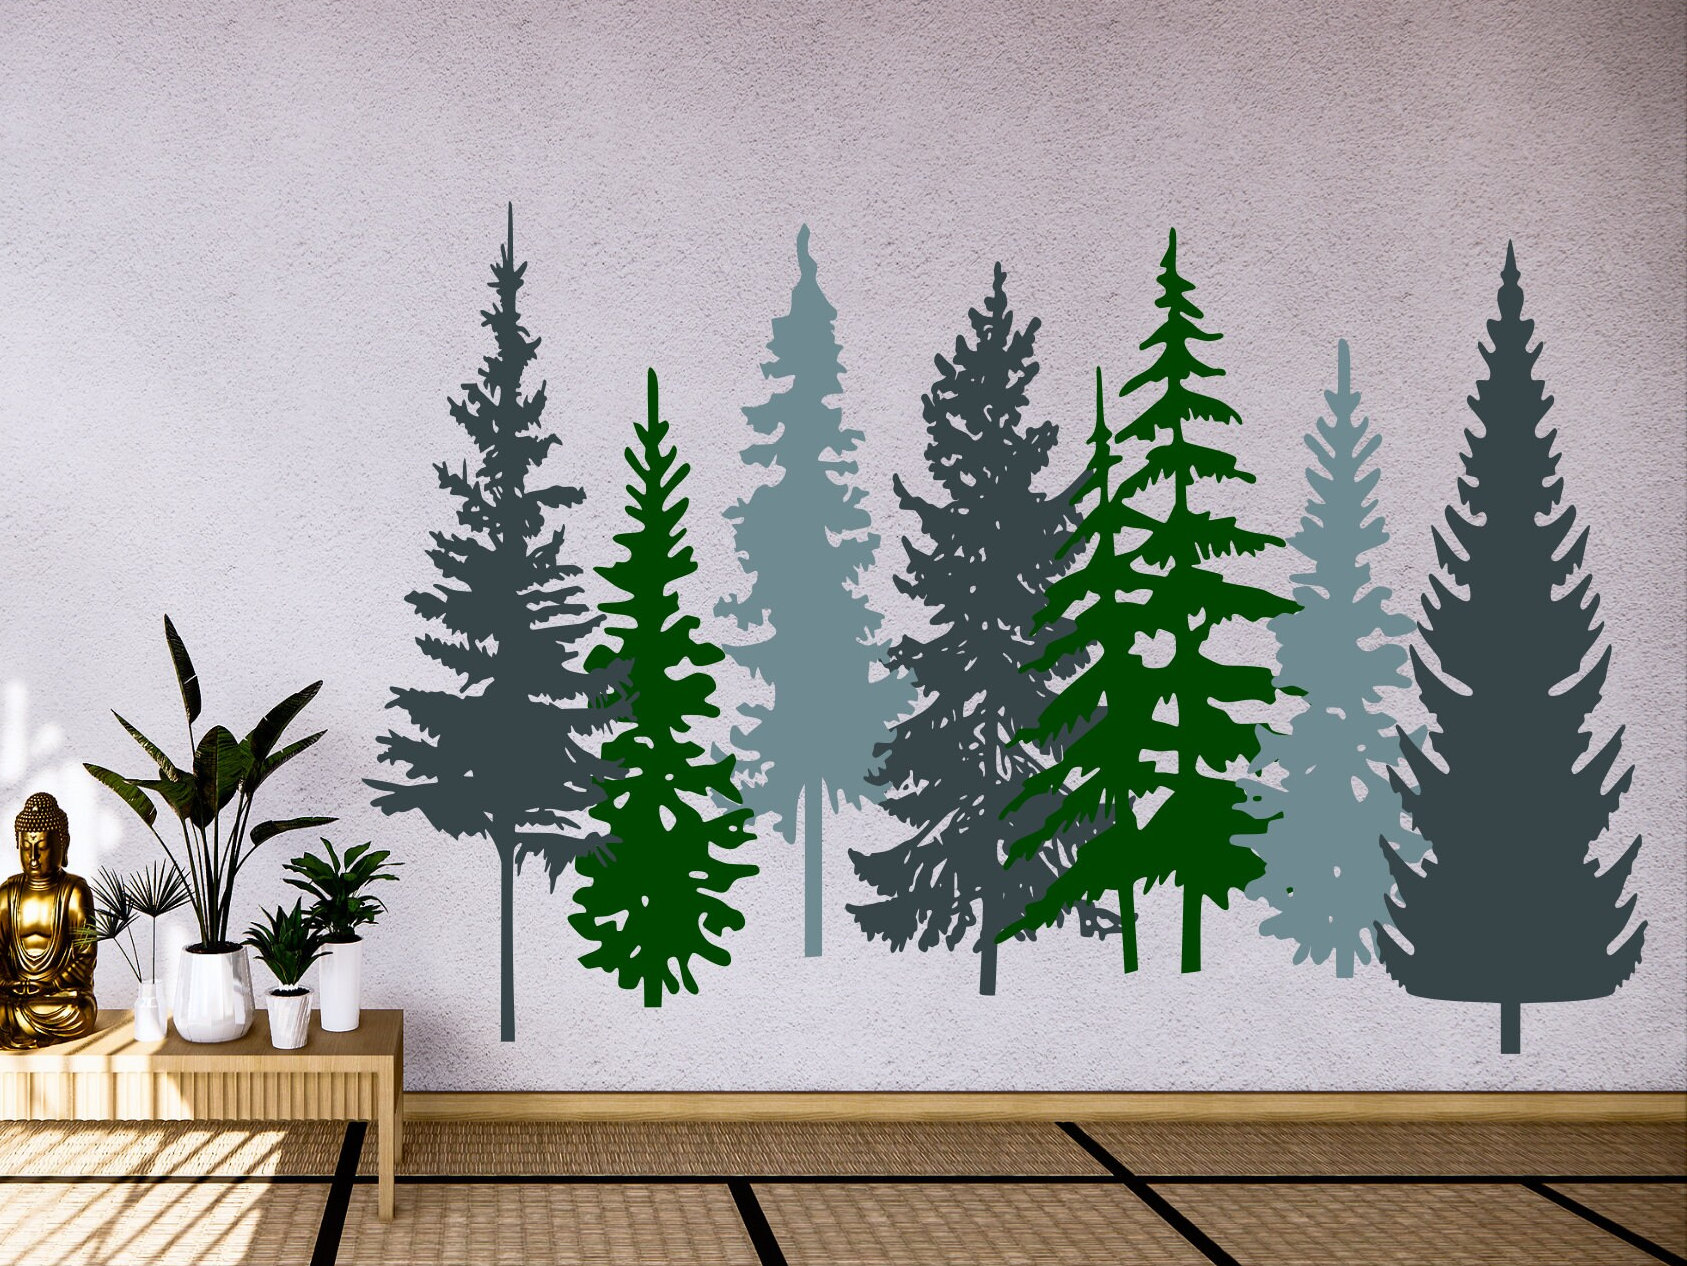
Consider the proportions of your room when deciding between a single large decal, a cluster of small decals, or a continuous pattern that runs along the wall. A cohesive arrangement, such as a gallery-style group or a linear motif, can tie the design together. Use these tips to keep the look balanced:
- Keep a consistent gap between individual decals for a clean arrangement.
- Align decals with furniture edges or architectural lines.
- Test the visual weight by taping paper cutouts to the wall before applying.
Picking Designs and Themes That Match Your Style
From botanical motifs and geometric patterns to inspirational quotes and city skylines, vinyl wall decals offer a huge range of themes. Choose a style that reflects your personality and complements the existing color scheme so the graphics enhance rather than clash. Neutral palettes and subtle line art work well in serene spaces, while bold graphics can energize a playful room.
When you mix themes, aim for a shared visual language, such as similar line thickness, color family, or subject matter. A cohesive theme makes the wall feel curated instead of chaotic. You can also coordinate decals with textiles, artwork, or accent pieces to create a unified look throughout the room.
- Match dominant colors in the decal to accents in the room.
- Use simpler designs in small spaces and intricate patterns in larger areas.
- Combine decals with painted elements for a custom, layered effect.
Preparing the Wall Surface for Application
A clean, smooth surface is essential for a bubble-free installation. Dust, grease, and texture can prevent the adhesive from bonding properly, so wipe down the wall with a mild cleaner and let it dry completely. For freshly painted walls, allow the paint to cure for at least 48 hours before applying decals to avoid peeling.
If the wall is slightly textured, you can still use vinyl decals, but you may need to work carefully to press out air pockets. In some cases, a thin primer or wall liner can create a more uniform base. Proper preparation reduces the risk of lifting edges and increases the lifespan of your wall graphics.

- Turn off lights and use a level to plan your layout before peeling the backing.
- Use painter's tape to hold the decal in place while you adjust it.
- Work from the center outward to push out air bubbles smoothly.
Applying Vinyl Decals Like a Pro
Start by cleaning the surface again with rubbing alcohol to remove any residue. Peel the backing slowly and align the top edge of the decal with your marked guide. Press the decal onto the wall from the center toward the edges, using a squeegee or credit card to smooth out air bubbles and ensure strong adhesion.
If your design has multiple pieces, apply the main piece first and then align the smaller elements using registration marks or a light pencil guide. Take your time with this step, as precise placement is easier than repositioning once the adhesive engages. A well-applied vinyl wall graphic looks seamless and professional.
Maintaining and Removing Wall Decals Safely
Most vinyl wall decals can be cleaned gently with a soft cloth, mild soap, and cool water. Avoid harsh chemicals or abrasive tools that might scratch the surface or lift the edges. With proper care, these graphics can last several years without losing vibrancy or peeling.
When you want to change the look, most decals remove cleanly from painted walls without leaving residue. Slowly peel the decal at a sharp angle, and use a mild adhesive remover if needed. If you encounter stubborn spots, test the remover on a small hidden area first to protect your wall finish.
Creative Ways to Use Vinyl Decals in Every Room
Vinyl decals for walls work beautifully in bedrooms, home offices, kitchens, and even rental spaces where you want temporary customization. You can create a feature wall behind the bed, add motivational quotes near your workspace, or frame a window with a subtle pattern. In the kitchen, a simple backsplash decal can update the look without a major renovation.
Experiment with layering decals, combining them with stickers, or using them to highlight architectural details like beams or niches. Because they are removable and repositionable, vinyl wall decals are a low-risk way to experiment with bold design ideas. This flexibility makes them ideal for seasonal updates, events, or simply evolving your style over time.
By choosing thoughtful designs, preparing the surface well, and applying with care, vinyl decals for walls become a powerful tool for personalizing your space with minimal effort and maximum impact.
Wall Decals: How To Apply a Wall Decal - Accent Studios Wall Decals
http://www.DecalMyWall.com - How to Apply a Wall Decal. In this wall decal video how-to, we take you through the process that ...
