Vinyl Decals For T Shirts
Vinyl decals for t shirts are a fun and low‑maintenance way to refresh your wardrobe with bold graphics, custom logos, or subtle text.
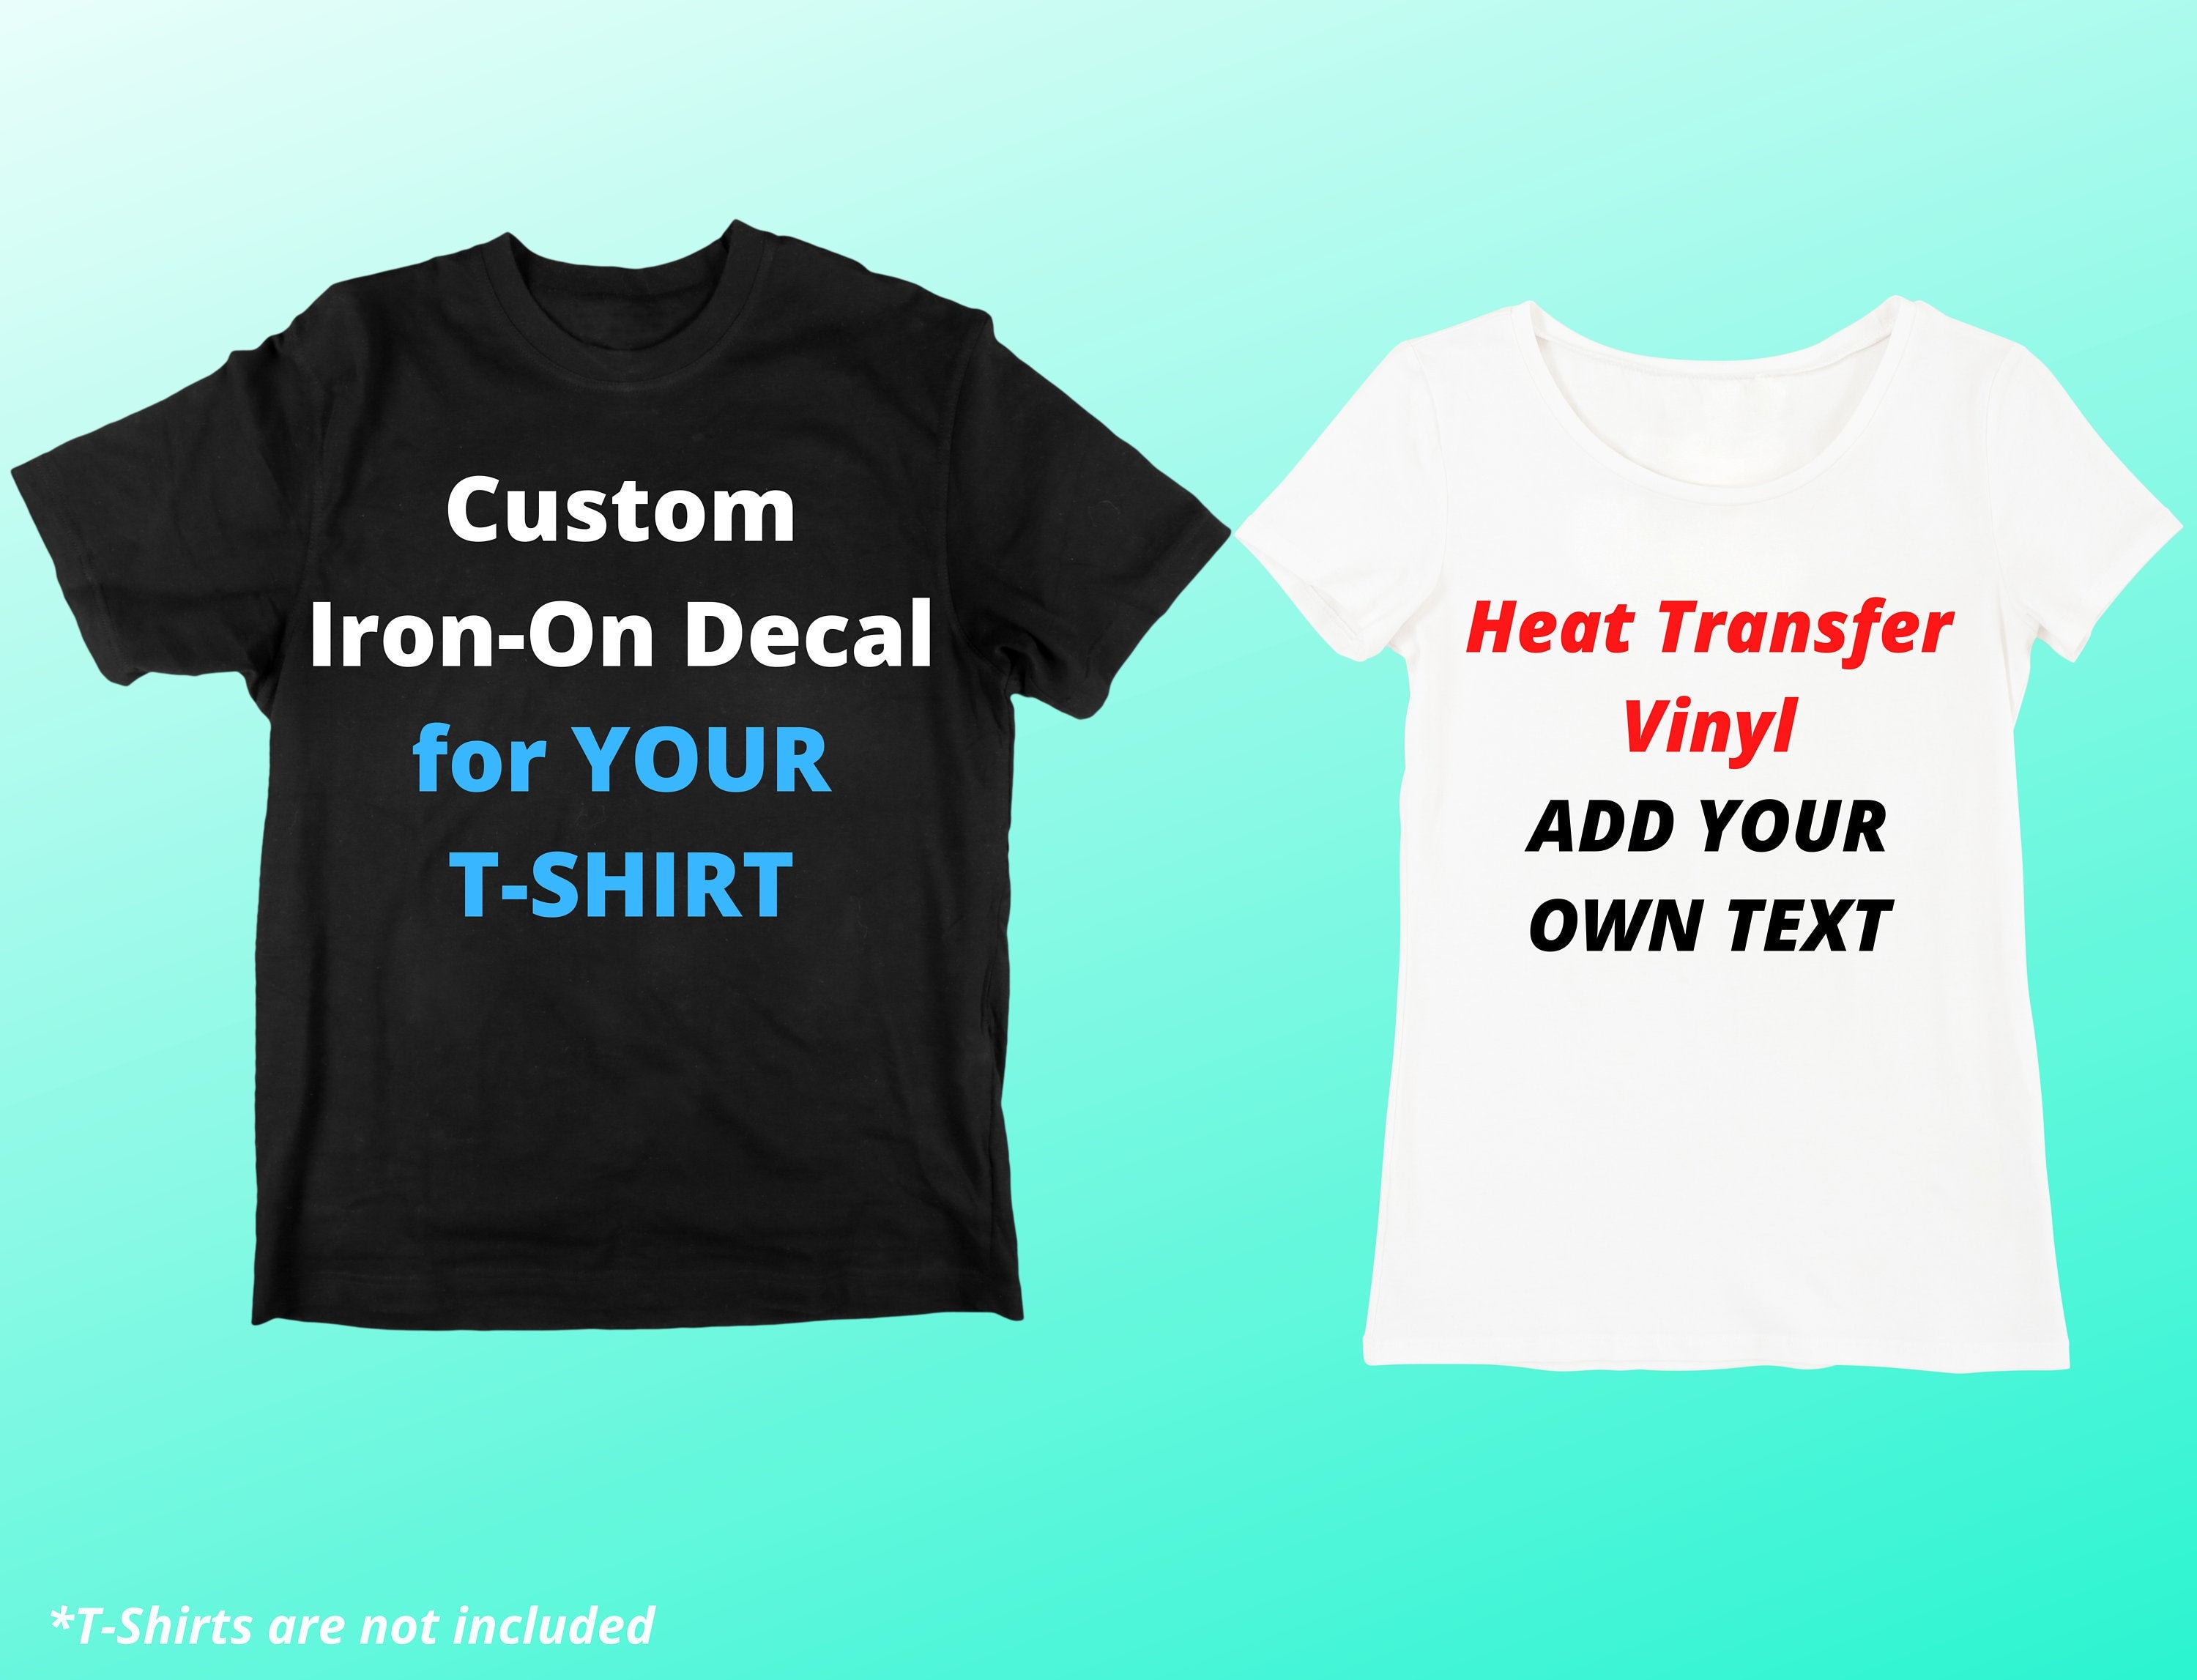
What Are Vinyl Decals for T Shirts
Vinyl decals for t shirts are thin, adhesive cutouts made from vinyl film that you can place on fabric to add instant designs without screen printing or embroidery.
They are popular among crafters, small brands, and people who want to personalize gifts, promote ideas, or simply experiment with style on a budget.
How Vinyl Decals Work on Fabric
Each decal has a printed design on a vinyl sheet with a protective top layer, plus a removable backing that exposes a sticky adhesive when pulled away.

When you press the decal onto a t shirt and smooth out air bubbles, the adhesive bonds lightly to the fabric so the graphic stays in place through many wears and washes when applied correctly.
Choosing the Right Vinyl for T Shirts
Not all vinyl is the same, and picking the right type helps your decal survive laundry cycles and daily movement without peeling or cracking.
- Standard printable vinyl works well for smooth, light fabrics when you add a heat press or firm pressure during application.
- Stretch vinyl or fabric‑compatible vinyl is more flexible, making it better for areas that move, like around shoulders or under the arms.
- Flock or soft‑feel vinyl gives a textured, matte look that can mimic screen printed softness, while glossy vinyl adds a vibrant, reflective finish.
Consider Fabric and Color Contrast
Light colored t shirts let you use dark vinyl for high contrast, while dark shirts often require lighter vinyl or a carefully planned design to avoid a muddy appearance.
Test a small scrap of your fabric with the vinyl type you plan to use so you can check adhesion, washability, and comfort before committing to a full project.

Design Tips for Vinyl Decals on T Shirts
Great vinyl graphics start with smart design choices that account for cut lines, detail level, and how the image will sit on the body.
- Keep fine details bold and simple, since very thin lines can tear or detach during weeding or washing.
- Use overlapping elements or small connecting tabs in your artwork to prevent parts of the decal from lifting at the edges.
- Consider the placement on the shirt, such as chest, sleeve, or back, because curves and seams affect how flat the decal will lie.
Preparing Your File for Cutting
Export your design as a vector file so the vinyl cutter follows clean paths instead of pixelated edges that blur over time.
Set the correct cut depth and speed for the specific vinyl and blade type, then always do a small test cut to verify that the material feeds smoothly and the vinyl feeds without wrinkling.
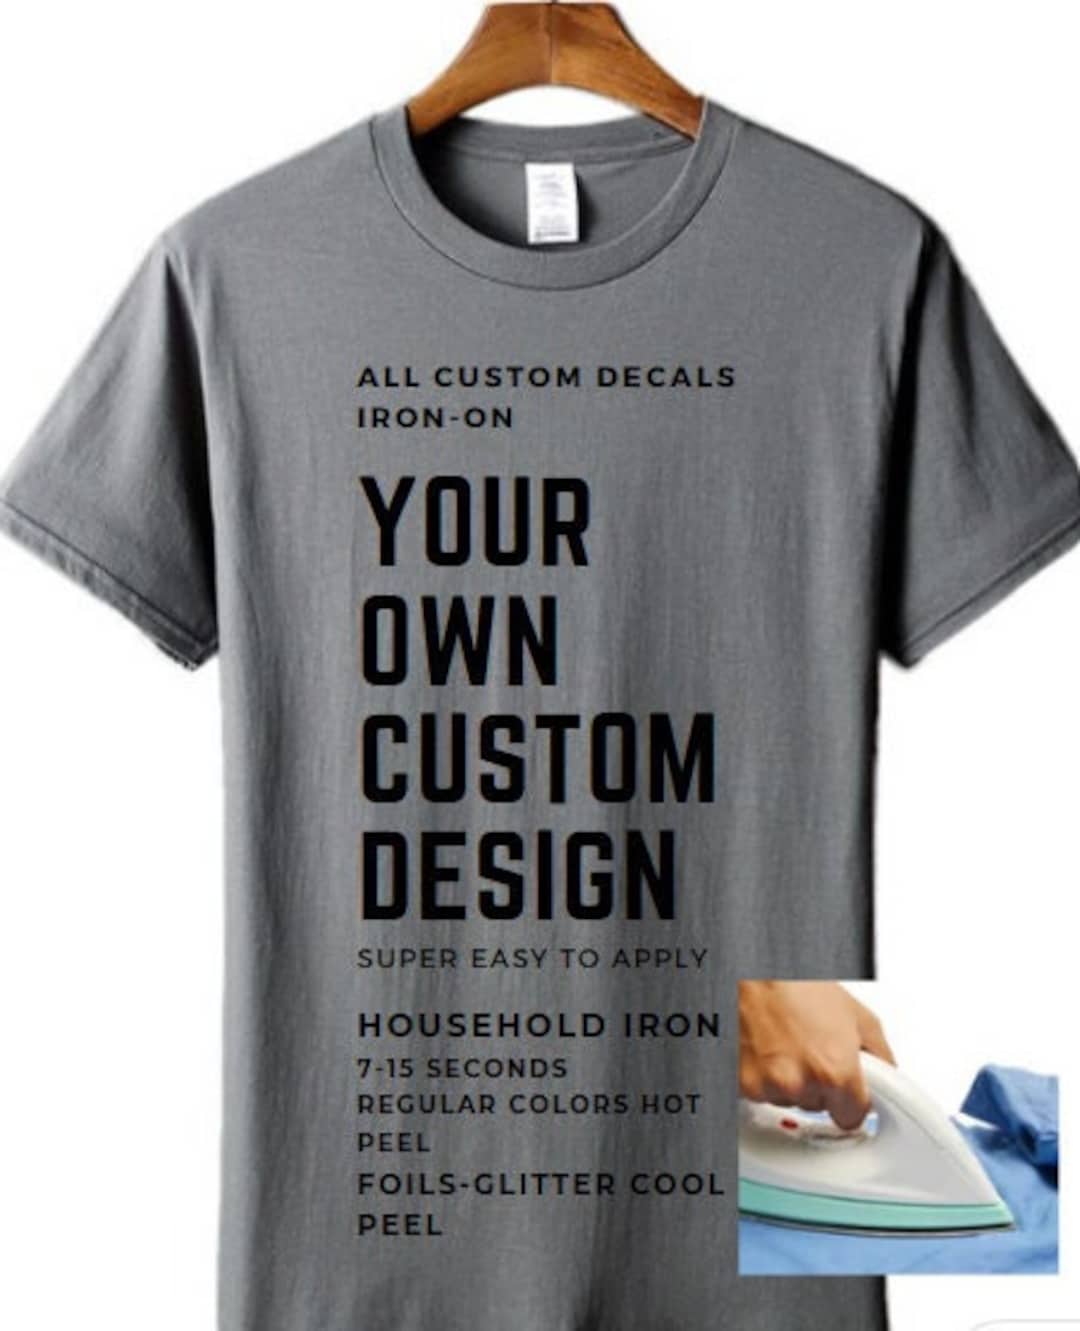
How to Apply Vinyl Decals to T Shirts
Applying vinyl decals neatly makes the difference between a professional finish and a patchy, bubbled look on your t shirt.

Take your time with each step, from cutting and weeding to positioning and pressing, to ensure the graphic stays vivid and flexible.
Step by Step Application Process
- Cut the decal slightly larger than the final design so you have extra material to handle.
- Weed away the excess vinyl around the design, leaving only the parts you want on the shirt.
- Place the decal on the t shirt, use a squeegee to smooth from center outward, and remove the transfer tape at a sharp angle.
- Press the shirt with a heat press or a firm household iron according to the vinyl manufacturer’s temperature and time guidelines.
- Let the shirt cool completely before peeling away any carrier liner or additional layers.
After curing, wait at least 24 hours before the first wash to allow the adhesive to set fully and bond securely with the fabric.
Caring for and Troubleshooting Vinyl Decals
With proper care, vinyl decals can stay vibrant and flexible, but ignoring basic guidelines can lead to peeling, fading, or cracking.
- Turn the t shirt inside out before washing to protect the edges and reduce friction against zippers or buttons.
- Use cold or warm water on a gentle cycle and avoid harsh detergents that might break down the adhesive.
- Air dry or use low heat, and avoid ironing directly over the decal to preserve the graphic and its bond.
Common Issues and Fixes
If edges start to lift, you can often reapply heat briefly and press them back down, making sure the shirt is completely dry before styling.
Fading usually happens with lower quality vinyl or repeated high heat, so choosing durable materials and following care instructions helps your designs last longer.
Creative Ideas and Uses for Vinyl Decals on T Shirts
Vinyl decals open the door to endless personalization, from small accent patches to full statement pieces that turn ordinary shirts into wearable art.
Experiment with layering multiple decals, combining glossy and matte finishes, or placing graphics along seams for a dynamic, coordinated look.
- Create matching sets for friends or family with names, inside jokes, or shared symbols.
- Use decals to cover faded logos, repair small holes visually, or add seasonal motifs without permanent changes.
- Try temporary or repositionable vinyl for designs you want to swap out often, keeping your style fresh and flexible.
Whether you are customizing a gift, launching a tiny brand, or refreshing your own closet, vinyl decals for t shirts offer a fast, creative, and reversible way to express yourself with color, texture, and personality.
Cricut Iron-On for Beginners: Easy Heat Transfer Vinyl T-Shirt Tutorial
Ready to make your first custom T-shirt with your Cricut machine? In this beginner-friendly tutorial, we'll walk you through ...
