Vinyl Decals For Rv
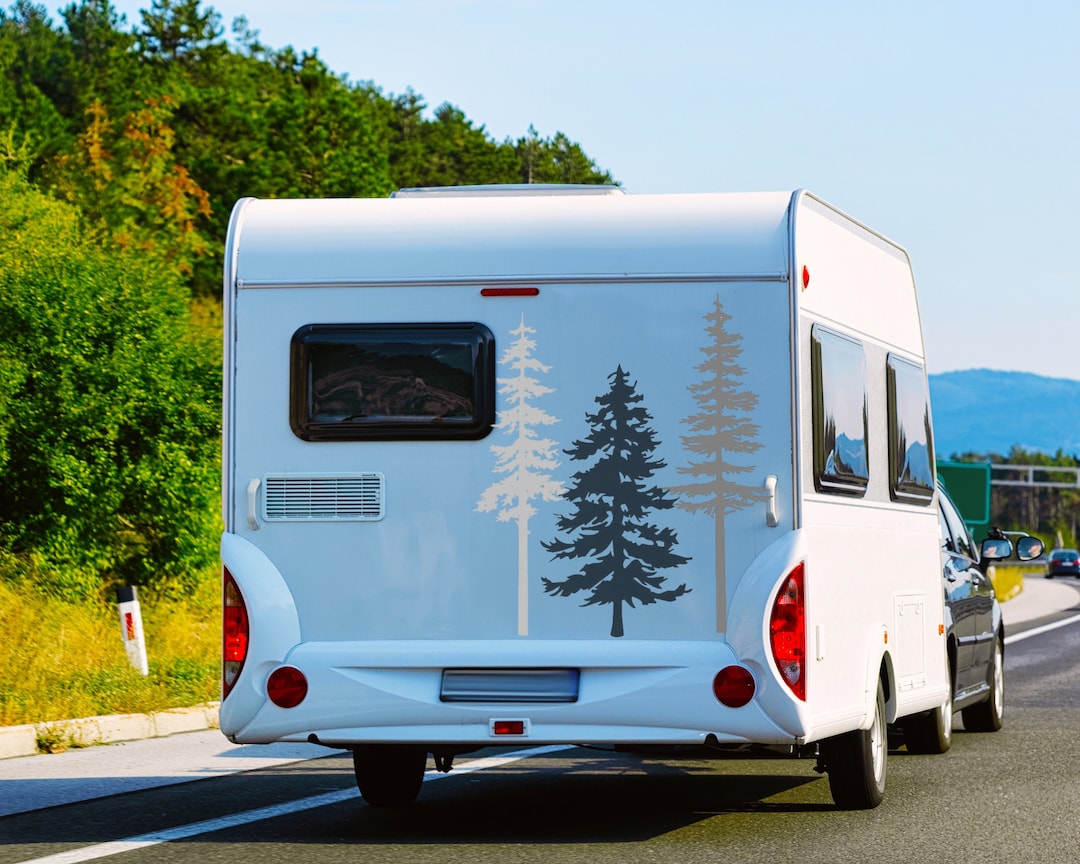
Vinyl decals for RV are a stylish and low‑maintenance way to give your motorhome or camper a custom look that protects the paint while expressing your personality.
Why Vinyl Decals Are a Great Choice for RV Owners
Vinyl decals for RV are popular because they combine bold graphics with durable protection, and they are far easier to apply than a full vehicle wrap. High‑quality cast vinyl conforms to curves and edges, resists cracking, and can handle UV exposure, road debris, and weather without fading quickly. Unlike paint or wraps, removable decals let you refresh your look season after season without a big investment, making them ideal for renters, full‑timers, and weekend travelers alike.
Another advantage is how clean and seamless the result can be. Professionally cut decals sit flush on the surface, so they do not catch dirt or peel at corners the way cheap stickers might. You can cover large panels like doors, bumpers, and fenders, or add subtle branding and simple graphics along the sides. Because the material is waterproof and often coated with a clear laminate, washing your RV or using a pressure washer won’t damage the design, so your custom look stays sharp mile after mile.
How to Choose the Right Decal Design for Your RV
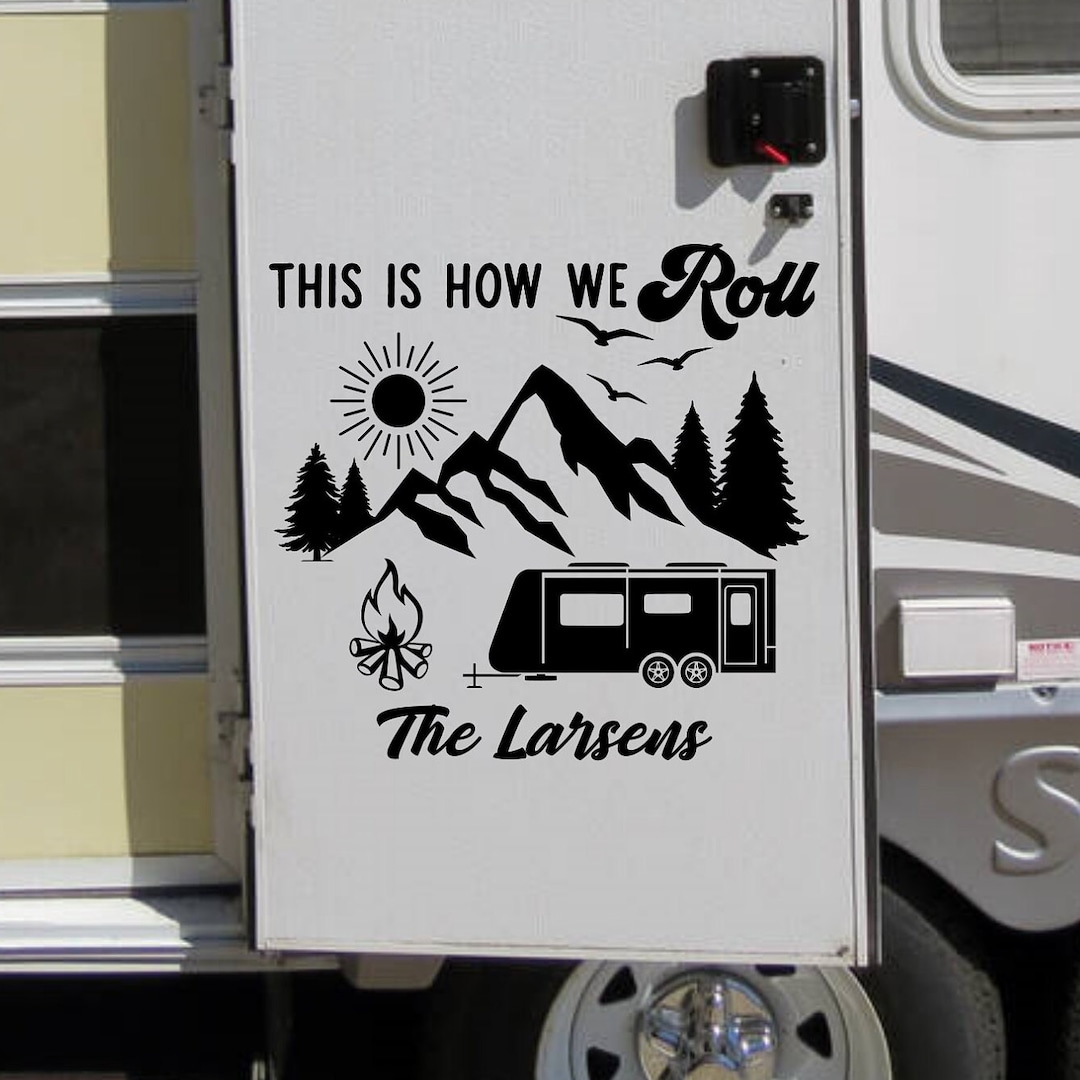
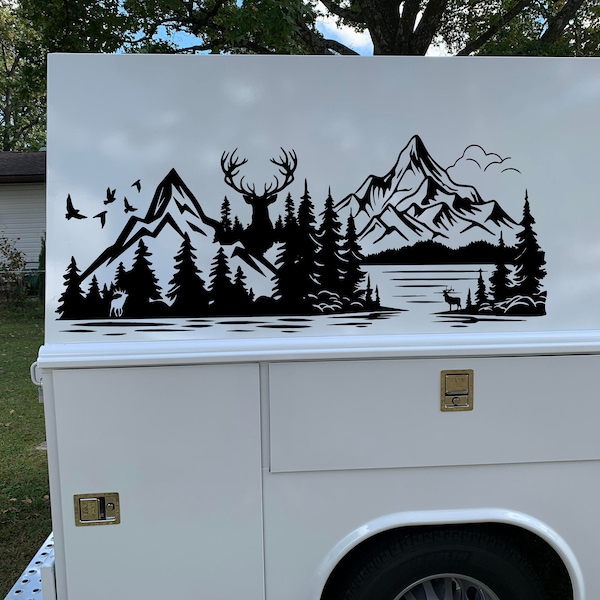
Start by thinking about the story you want your RV to tell. A bold logo or name at the front doors can make your vehicle easy to identify in campgrounds, while stripes and accent graphics along the sides add motion and style without overwhelming the original paint. If you love a specific theme, such as mountains, waves, or geometric patterns, you can translate that into vinyl art that wraps around wheel wells, along the lower panels, or across the rear door.
- Consider the size and placement so the design remains legible at a distance.
- Choose colors that contrast with your RV’s base color for maximum impact.
- Use simple shapes and strong lines for a modern, minimalist look.
- Test a digital mockup on a photo of your RV before ordering to see how it will sit in real life.
Many makers offer scalable vector files, so you can adjust line weight and text while keeping the edges crisp. If you want a cohesive look across multiple vehicles, you can use the same family of decals with different colorways for each rig. For a more integrated feel, combine large panels with smaller icons, creating a visual flow that guides the eye along the length of the RV.
Preparing and Applying Vinyl Decals for Best Results
Proper surface prep is the key to long‑lasting results. Before applying vinyl decals for RV, wash the area with mild soap, rinse thoroughly, and let it dry completely. Remove any old wax, oils, or residues with isopropyl alcohol, and lightly scuff glossy panels if you want the adhesive to grab better. It is also wise to work in a shaded, dust‑free space with temperatures above 50°F (10°C), so the vinyl stays pliable and the adhesive cures evenly.

Use a soft squeegee, a credit card, or a specialized application tape to lay the decal down smoothly, pushing out air bubbles from the center outward. If the design is large, you can apply it in sections, overlapping slightly so the seams disappear. After the decal has set for a day or two, give it a gentle wash to remove any remaining residue and verify that edges are fully bonded. With careful installation, the graphics will stay vivid through rain, sun, and open‑road adventures.
Protecting and Maintaining Your RV Decals
To keep your vinyl decals for RV looking fresh, rinse off road salt, bug splatter, and bird droppings promptly, since acidic residues can eventually affect the adhesive or cause edge lifting. When washing, use a soft sponge or microfiber mitt and avoid stiff brushes that might catch on raised edges. Most removable decals can handle occasional pressure washing, but hold the nozzle at a distance and use a wide fan pattern to reduce the chance of peeling.
- Wash by hand with mild automotive soap and dry with a clean microfiber towel.
- Apply a UV‑protective ceramic coating or paint sealant to the surrounding paint for extra defense.
- Avoid harsh chemical cleaners or abrasive pads that can scratch the vinyl surface.
- Inspect edges periodically and gently press down any lifting corners before they collect dirt.
Over time, high heat and long parking sessions in direct sun can cause fading, especially on very light backgrounds. Choosing a reputable brand with good outdoor durability ratings and a clear protective overlaminate will extend the life of the graphics and keep colors vibrant between detailing sessions.
Removing and Replacing Vinyl Decals Without Damage
One of the biggest perks of vinyl decals for RV is how easily they can be changed when you want a new look. To remove most removable decals, start by lifting a corner with a plastic card or your fingernail, then slowly peel back at a low angle so the adhesive does not tear. If residue remains, rub it gently with a microfiber towel and a solution of warm water plus a few drops of dish soap or a dedicated adhesive remover.
Before applying a new set of vinyl decals for RV, clean the area again to remove any leftover glue, dust, or oils, and let it return to room temperature. Take your time aligning the new design, especially if it has registration marks or detailed lettering, because small shifts are much less noticeable on larger panels than on tight corners. With each change, you can refine your style, respond to new color trends, or match seasonal camping destinations, turning your rig into a rolling canvas that evolves with you.
Finding Quality Vinyl Decals and Professional Installation
When you search for vinyl decals for RV, look for makers that specify cast vinyl, UV‑stable inks, and a clear overlaminate for outdoor durability. Reading reviews, checking before‑and‑after photos, and asking about warranty or replacement policies can help you avoid cheap films that crack, fade, or lose adhesion after a few months. Many shops also offer design services, so you can work with a graphic artist to turn your ideas into a file that cuts cleanly and aligns perfectly on your vehicle.

Professional installers often use pattern templates, precise measuring, and specialized tools to handle large wraps and intricate shapes, reducing the risk of bubbles or edge lifting. If you prefer a DIY approach, start with a smaller decal on a less visible area to build confidence with application techniques. Whichever route you choose, quality materials and careful installation will ensure your custom graphics stay vibrant, protect the underlying paint, and turn heads wherever you park.
By combining thoughtful design, careful installation, and regular maintenance, vinyl decals for RV become more than accessories—they become a durable, customizable skin that protects your investment and makes every trip a reflection of your style.
The Top 5 Best RV Decals in 2026 - Must Watch Before Buying!
The Top 5 Best RV Decals Shown in This Video: 5. ▻ RV State Travel USA Map Vinyl Sticker https://amzn.to/4a7xyFy 4.
