Vinyl Decals For Golf Carts
Vinyl decals for golf carts are a simple, stylish way to give your buggy a custom look while protecting the paint and adding personality at the same time.
What Are Vinyl Decals for Golf Carts
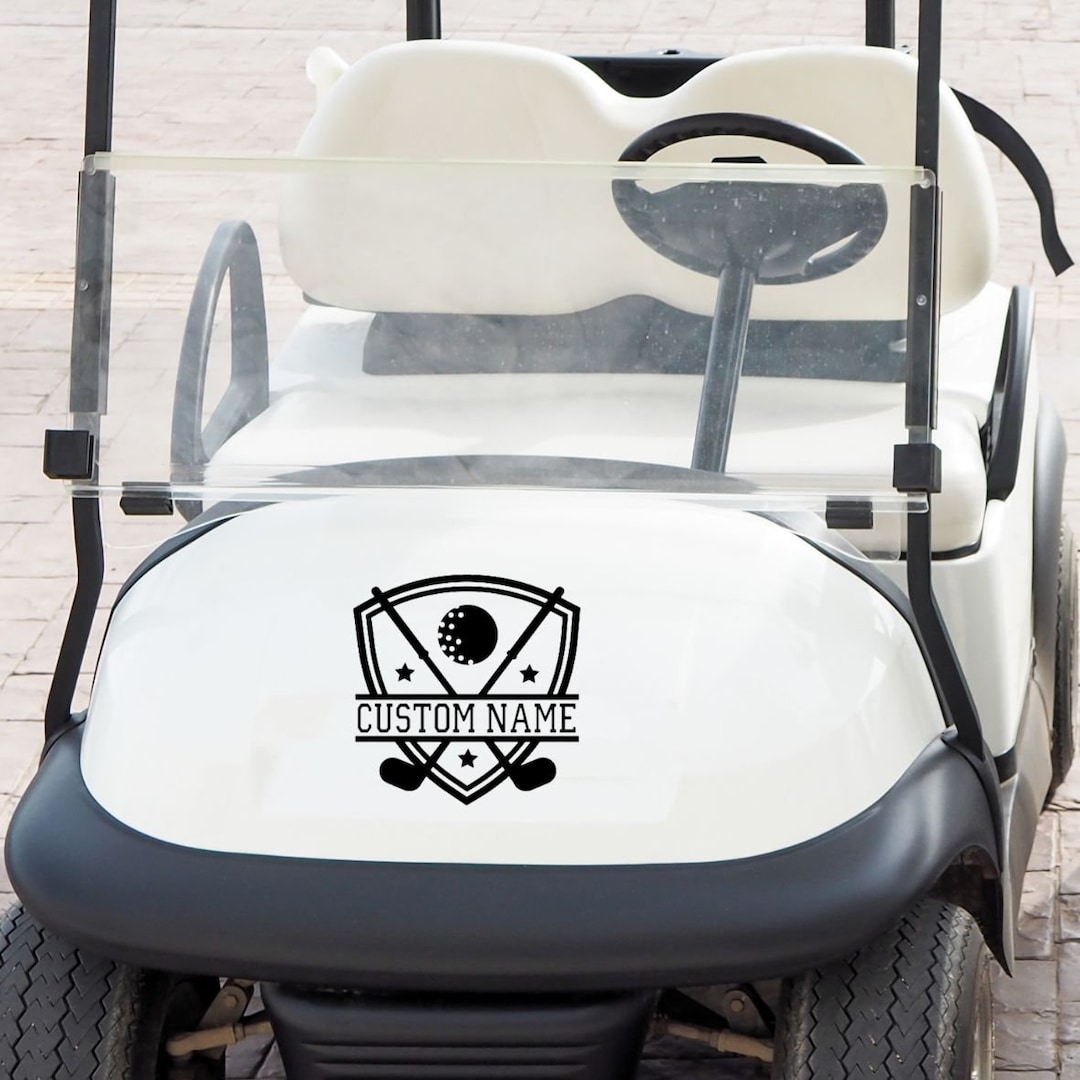
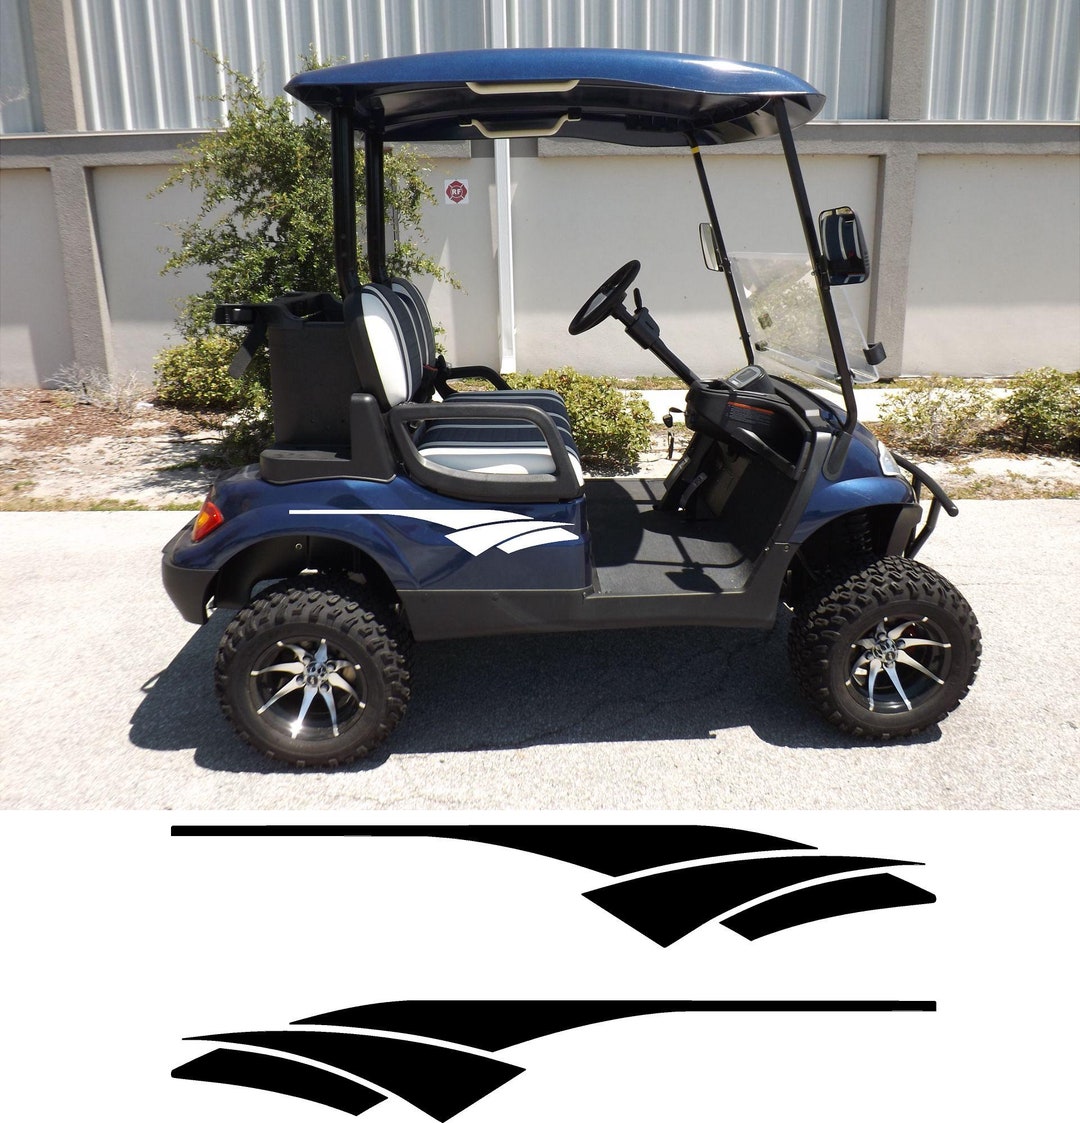
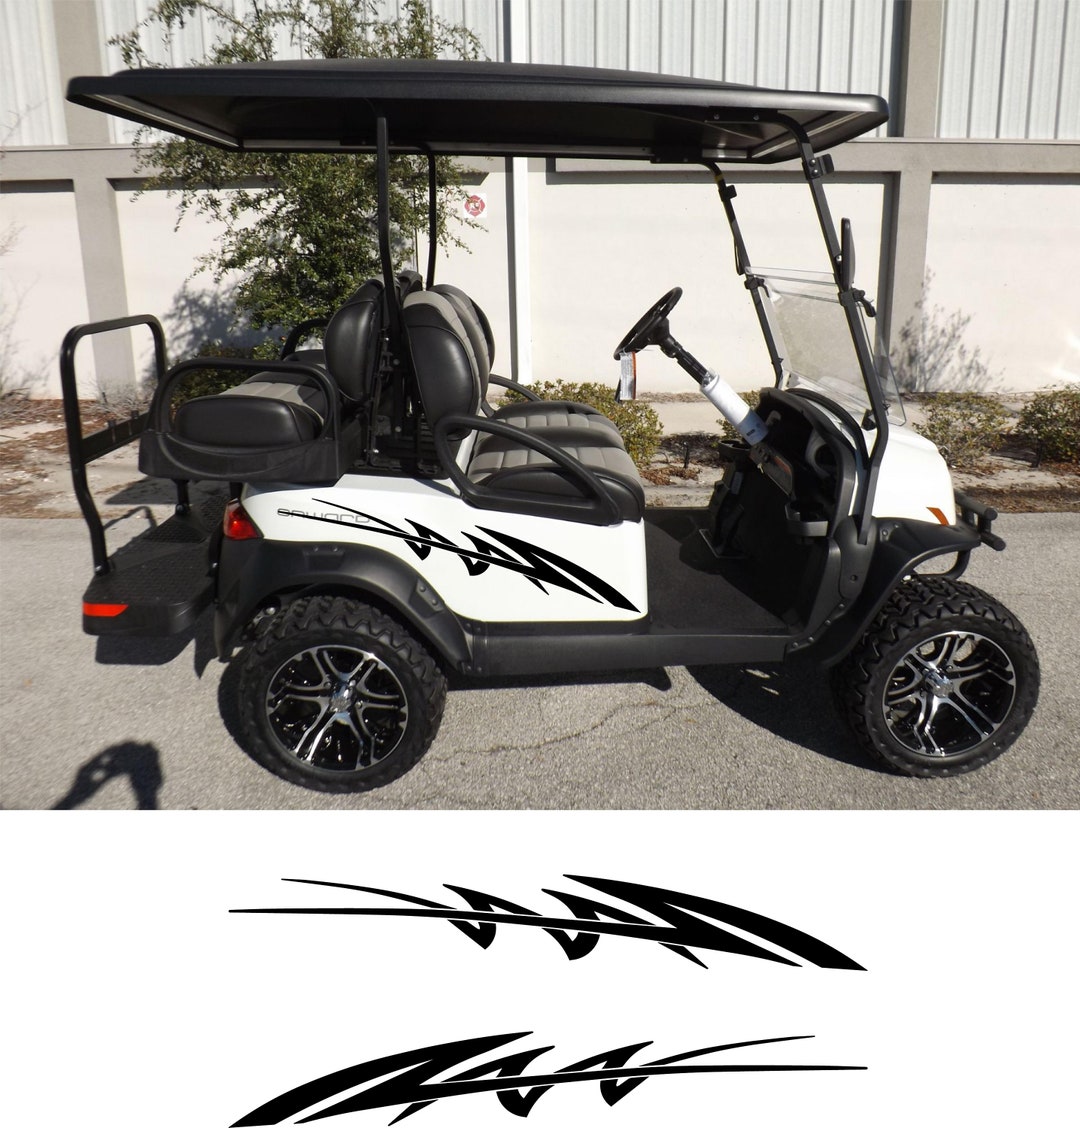
Vinyl decals for golf carts are cut-from-sheet designs made from durable, weather-resistant vinyl that adheres smoothly to painted surfaces. Unlike paint or wraps, these graphics are removable, which means you can change your look without harming the original finish. They are popular among golf enthusiasts who want to express team colors, club affiliations, or personal style without a permanent commitment. Because they are lightweight and flexible, they fit well on curved panels, doors, and even the roof line of many golf cart models.
These decals are produced using precision cutting technology, which allows for clean lines, detailed logos, and intricate patterns. The vinyl material resists fading, cracking, and peeling under normal exposure to sun and rain. Many modern decals also include air-release channels that prevent bubbles during installation, making the application process much easier for beginners. Whether you want a subtle emblem on the back or a full side-panel design, vinyl offers a versatile solution for golf cart customization.
Benefits of Using Vinyl Decals
One of the biggest advantages of vinyl decals is affordability compared to a full vehicle wrap or professional paint job. You can achieve a high-impact look for a fraction of the cost, which is ideal for hobbyists, small golf clubs, or event organizers. The installation process is typically quick, often taking less than an hour for a standard set of decals, and does not require special tools. This means less downtime for your golf cart and more time on the course or around the course.
Another benefit is protection. The vinyl layer acts as a shield against minor scratches, UV damage, and environmental contaminants. When it is time to remove the decal, the vinyl usually leaves a clean residue that can be wiped away with proper cleaners, leaving the original paint intact. For clubs or businesses that rotate branding or seasonal themes, this flexibility is invaluable. You can refresh the entire look of your fleet simply by applying a new set of vinyl graphics.
- Cost-effective customization for individual owners and teams
- Quick installation with minimal technical skill required
- Protects the original paint from wear and weather
- Removable and reusable for different events or branding updates
- Wide range of colors, finishes, and sizes available
Choosing the Right Design
Selecting the right design is crucial to achieving the look you want on your golf cart. You can choose from club logos, sponsor brands, racing stripes, floral patterns, or abstract shapes that match your personal taste. Many suppliers offer design templates, but you can also work with a graphic designer to create a one-of-a-kind look. Consider the overall color scheme of your cart, including the roof, wheels, and interior, so the decal integrates seamlessly.

Think about the message or mood you want to convey. Bright, bold graphics work well for tournament teams and promotional events, while subtle emblems are better for everyday recreational use. Before committing, it is helpful to view the decal on paper or digitally at actual size. Pay attention to details like font readability, line thickness, and how the graphics will wrap around corners or edges on your specific cart model.
Measuring and Preparing Your Golf Cart
Precise measurement is the foundation of a clean installation. Use a measuring tape to record the height, width, and key contours of the areas where you plan to place the vinyl decals for golf carts. Take photos from different angles so you can reference curves, panel gaps, and existing features when positioning the graphics. Clean the surface thoroughly with a mild soap and water solution, then dry completely to remove dust, dirt, and oils that could interfere with adhesion.
Some preparatory steps can make the application much smoother. If the surface is glossy, a light wipe with isopropyl alcohol can improve grip. Protect areas you do not want to cover with masking tape or removable paper. For larger installations, it is useful to have a helper to hold the decal in place while you align it. Taking your time during preparation reduces the need for rework and ensures the vinyl sticks evenly across every section.

Application Techniques and Tips
Applying vinyl decals correctly helps avoid bubbles, wrinkles, and early lifting. Start from the center of the decal and slowly press outward toward the edges, using a soft squeegee or credit card to smooth the surface. Work in small sections, especially on curved panels, to maintain control and alignment. If the decal has transfer tape, keep it attached until the vinyl is fully in place and smoothed out.
Use a heat gun or hairdryer on a low setting to gently soften the vinyl if it resists stretching around corners. This technique makes the material more flexible without damaging the adhesive. Avoid using sharp tools to push out bubbles, as they can scratch the surface. After installation, wait at least twenty-four hours before washing or exposing the cart to heavy rain, allowing the adhesive to cure properly.
Maintenance and Longevity
With proper care, vinyl decals for golf carts can last several years while retaining their vivid appearance. Regular washing with a gentle detergent and a soft cloth helps prevent buildup of dirt and road salts that can degrade the vinyl over time. Avoid harsh chemicals, abrasive sponges, or pressure washers that can lift the edges or cause premature peeling.
Inspect the decals periodically for signs of lifting, especially around corners and edges. Promptly pressing down any raised sections can extend the life of the installation. When the time comes to remove the vinyl, use a hairdryer to warm the surface, which helps release the adhesive without leaving stubborn residue. Following these simple maintenance steps ensures your golf cart graphics stay sharp and professional-looking season after season.
How to Install our 8 piece golf car graphics kit
This video covers the proper application tips for layout and application of our 8 piece golf car graphics successfully from start to ...
