Transfer Stickers For Glass
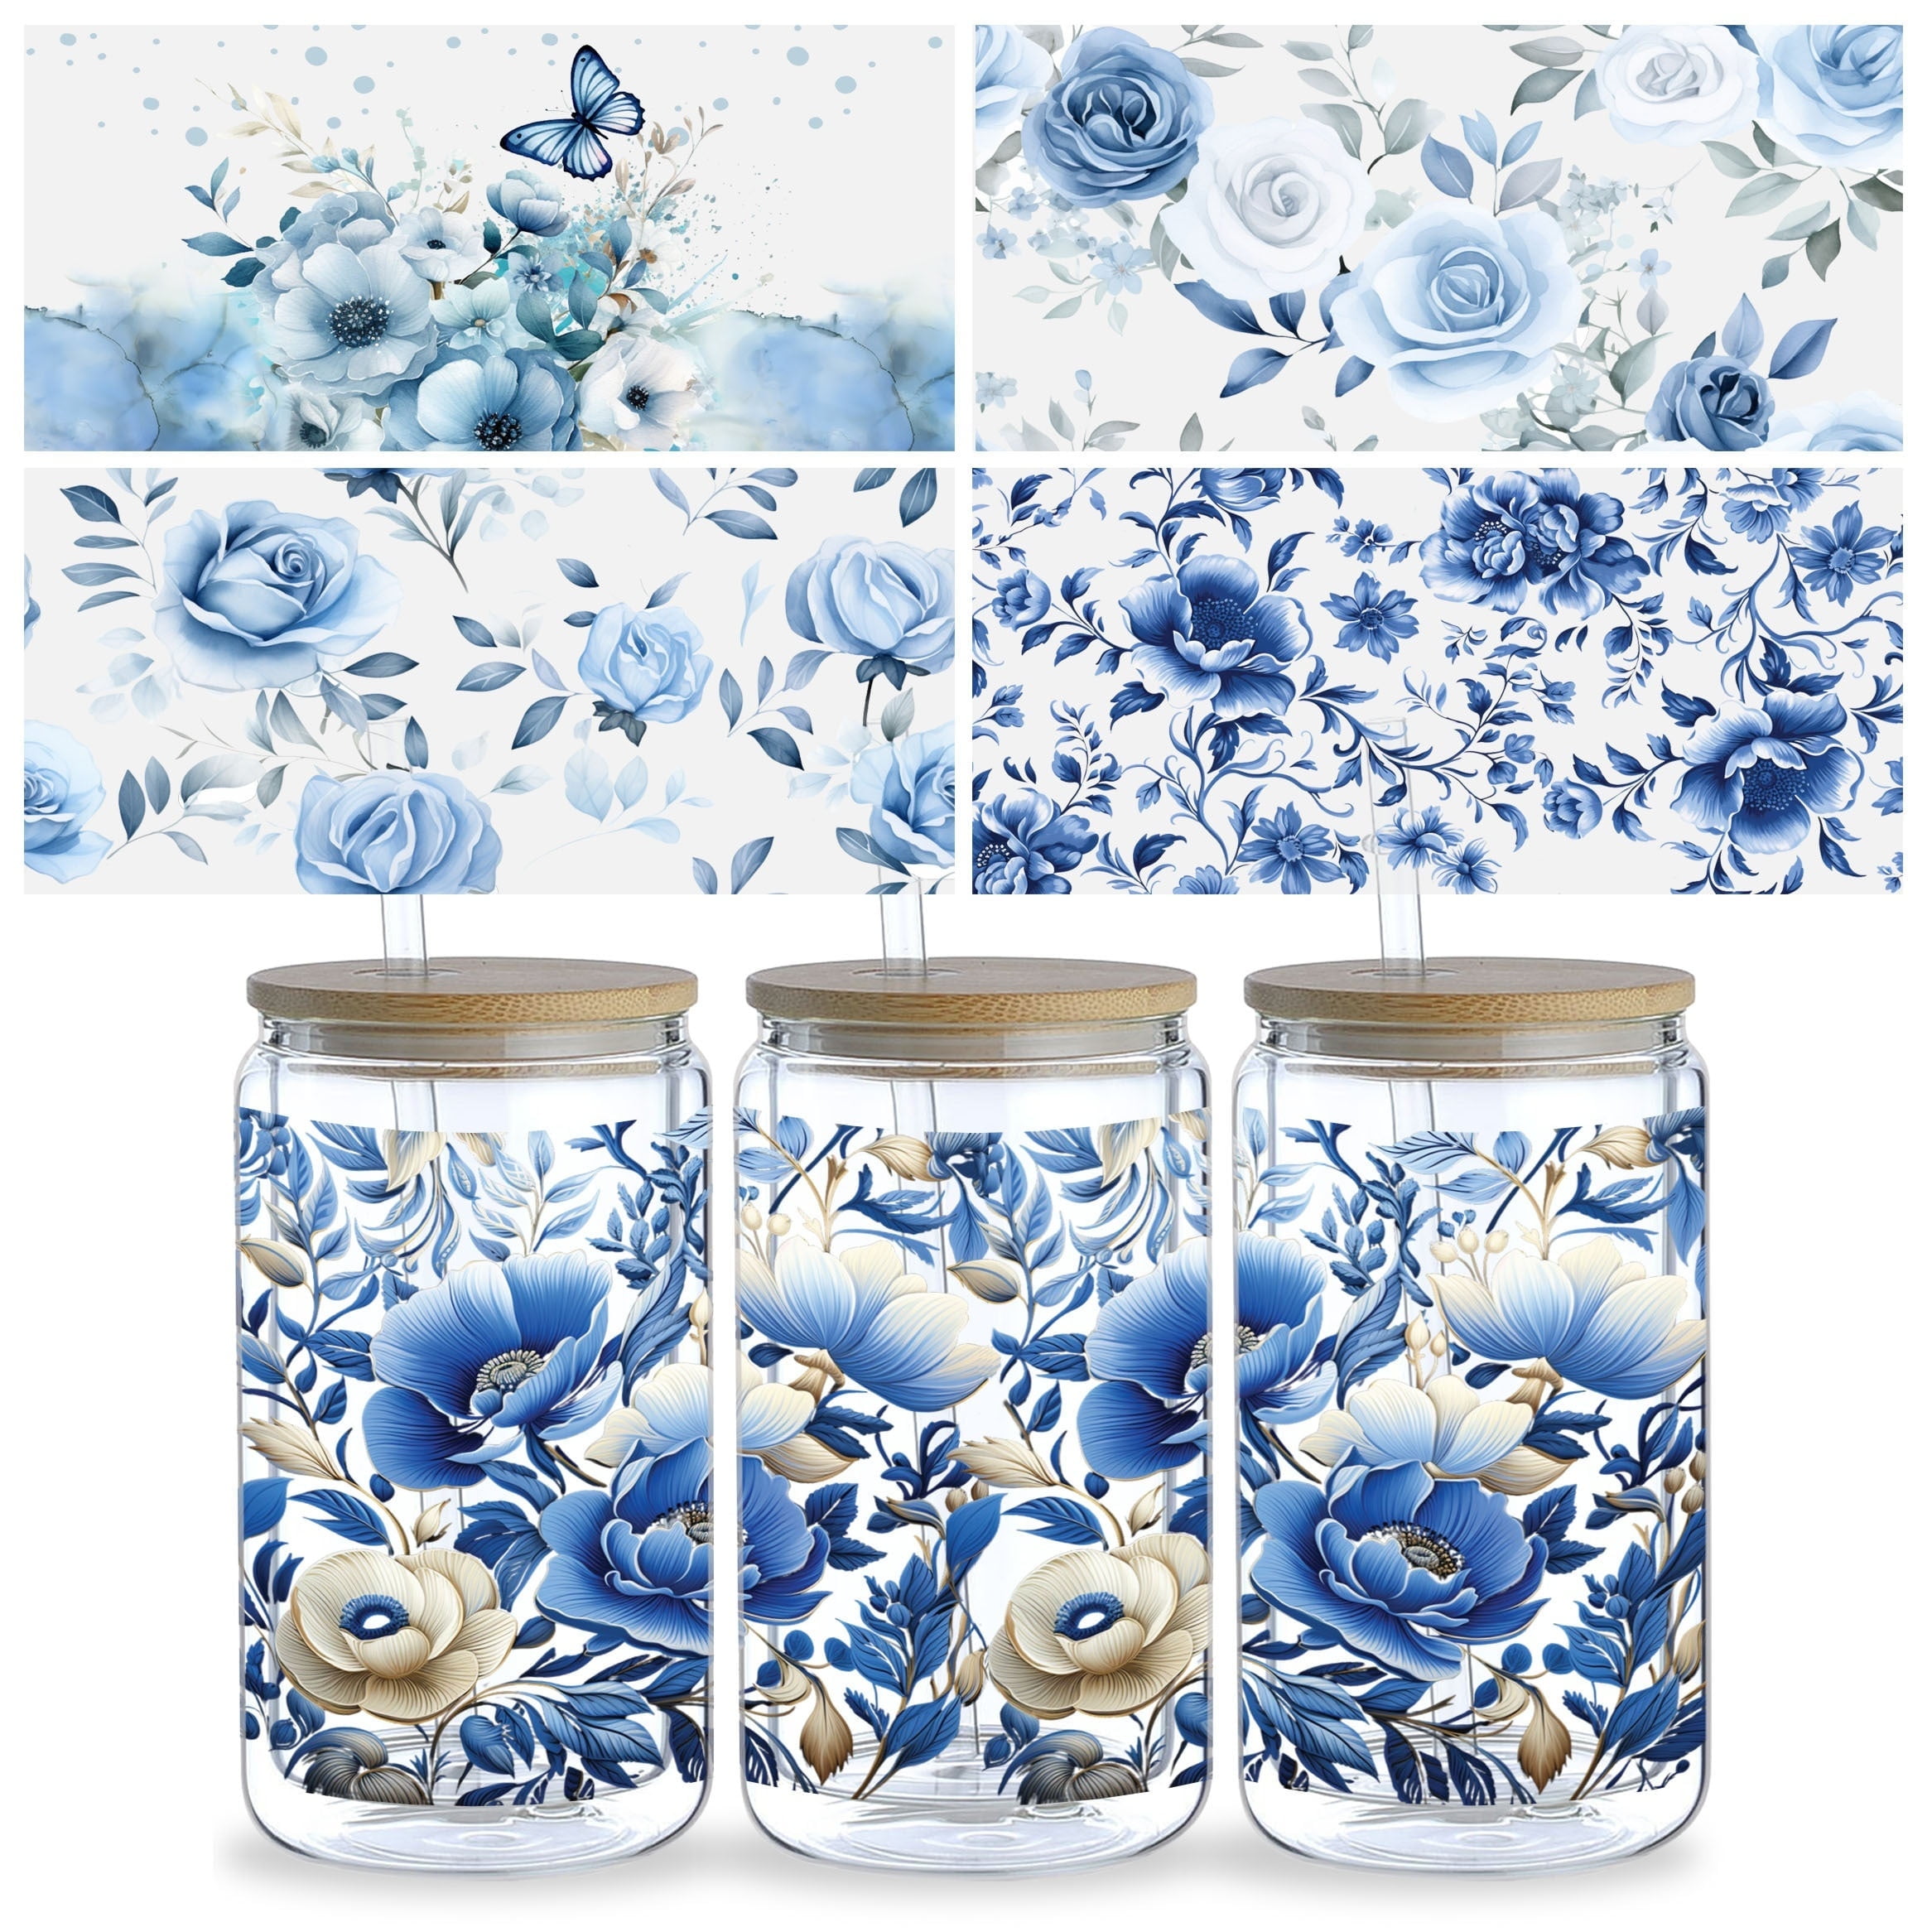
Transfer stickers for glass make it simple to add detailed designs, logos, or art to windows, mirrors, and drinking glasses without needing advanced skills or tools.
What Are Transfer Stickers for Glass and How Do They Work
Transfer stickers for glass are pre-designed or custom-cut graphics printed on special film, attached to a removable carrier sheet, and applied to glass surfaces through a wet or dry positioning method. They differ from ordinary stickers because they use a transfer medium that lets you slide the design onto the glass, align it perfectly, and then peel away the carrier to leave only the vinyl or adhesive layer on the surface.
The adhesive backing is usually strong enough to stay on glass through normal handling and cleaning, yet gentle enough to remove cleanly from many smooth glass, mirror, and even some plastic surfaces when done correctly. This combination of precision printing and transfer technology means you can achieve professional results, including detailed lettering, intricate illustrations, and multi-color overlays, without the need for screen printing or messy paints.
Choosing the Right Type of Transfer Sticker for Glass Projects
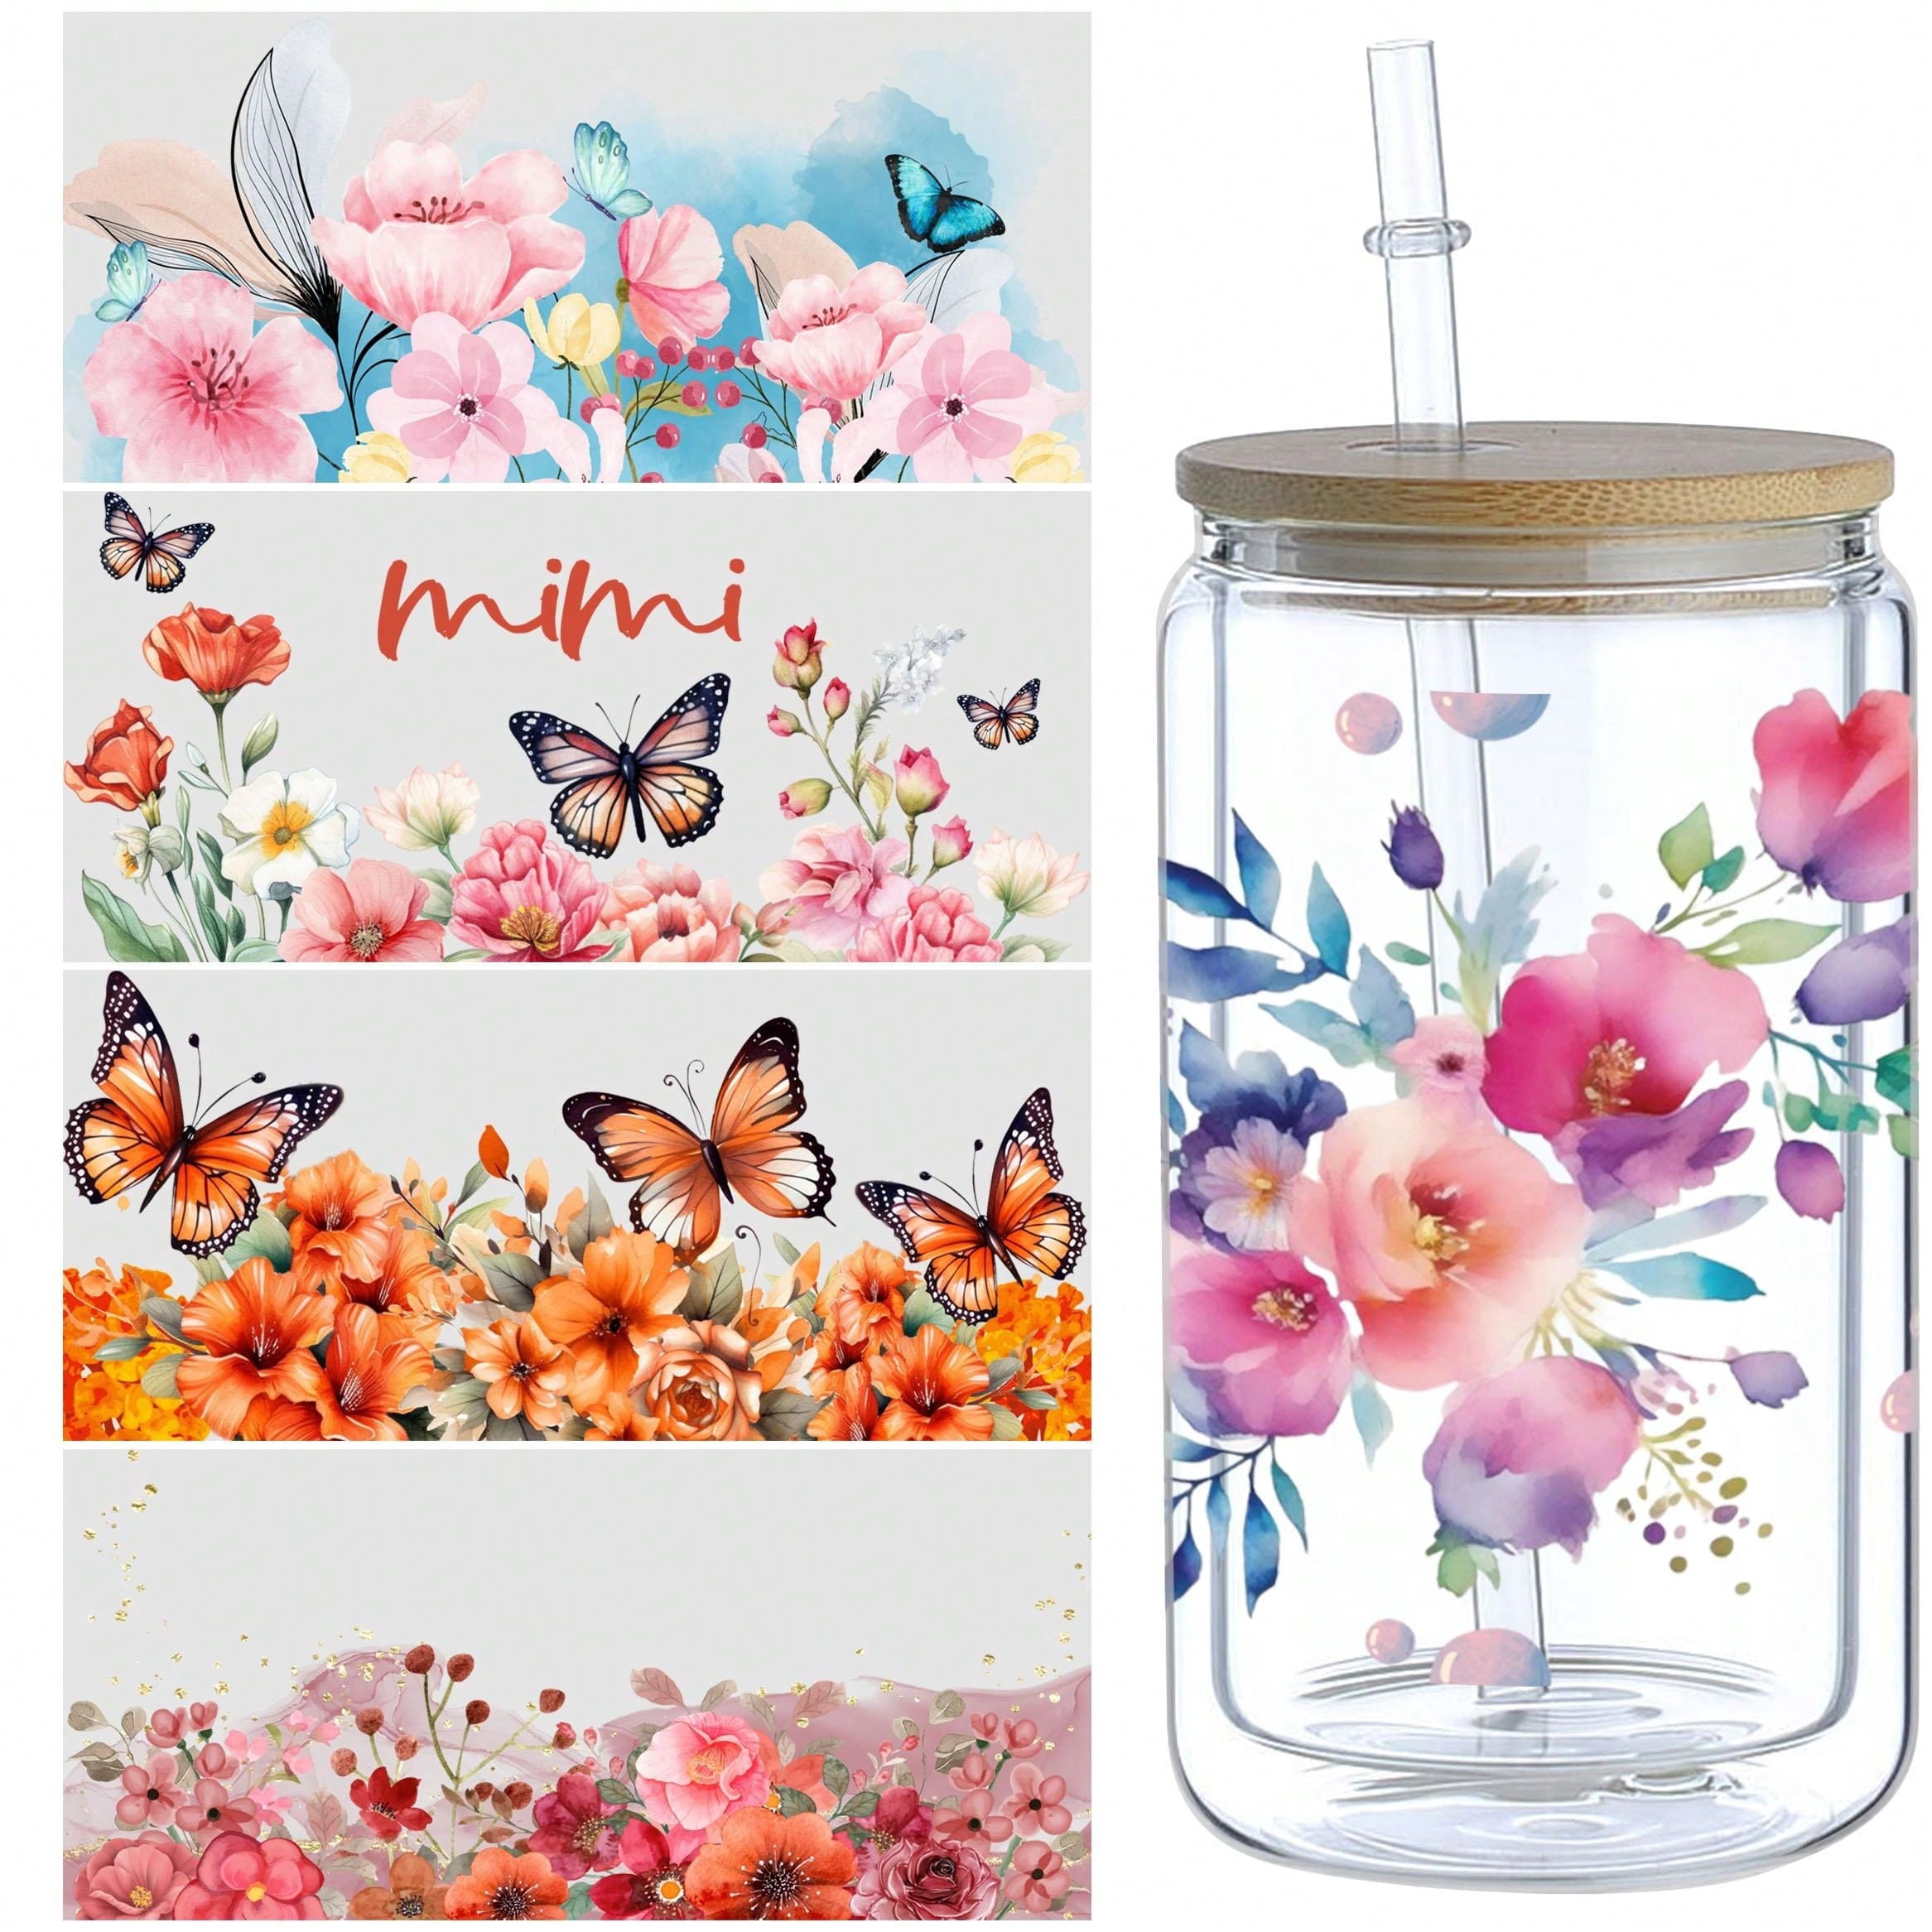
When you shop for transfer stickers for glass, you will find options such as printable vinyl transfers for DIY designs, cut vinyl decals for bold text and logos, and frosted or holographic films that add texture and style. Each type brings different levels of opacity, reflectivity, and adhesion, so considering the final look and the surface conditions is important before committing to a product.
Consider these common types and their best uses:
- Printable transfer film for custom artwork and detailed graphics, ideal for small businesses and personal projects.
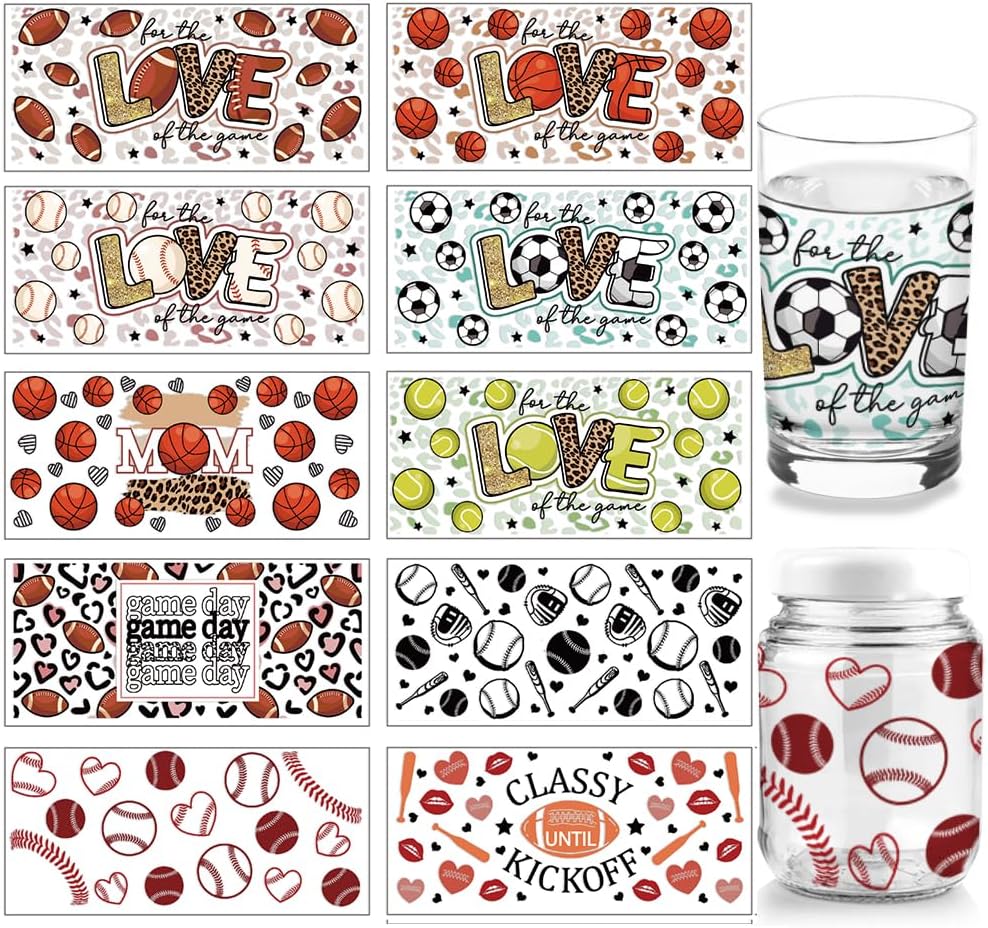
- Die-cut vinyl decals for brand logos, storefront signage, and clear window graphics that need crisp edges.
- Frosted or etched vinyl for privacy while still allowing light to pass through, popular in bathrooms and office partitions.
- Removable and reusable options for renters or seasonal decor, which let you change designs without leaving residue.
Matching the sticker type to the glass surface, viewing distance, and desired permanence will help you avoid issues like bubbling, peeling, or difficulty removal later on.
Preparing Glass Surfaces for Perfect Transfer Sticker Adhesion
Good preparation is the key to clean lines and long-lasting results when you apply transfer stickers for glass, because dust, oil, or uneven surfaces can cause lifting or early failure. Start by cleaning the area with a mild glass cleaner or isopropyl alcohol, then rinse and dry thoroughly to remove any residue that could interfere with adhesion.
For best results, follow these preparation steps:
- Wash the glass with warm, soapy water and rinse well to remove dust and fingerprints.
- Use a lint-free cloth or paper towel to dry the surface completely.
- Wipe down the area with rubbing alcohol to cut through any remaining oils.
- Mask off nearby areas with tape or paper to protect them during application.
Taking a few extra minutes to ensure the glass is spotless and dry will reduce the risk of bubbles, misalignment, and poor bonding, especially on larger or more detailed transfers.
Step-by-Step Application Process for Transfer Stickers on Glass
Applying transfer stickers for glass correctly involves a careful sequence of peeling, positioning, and smoothing so the design stays aligned and bubble-free. Most installers recommend the wet application method, where you spray a light mist of soapy water on the glass before laying down the transfer, which gives you time to adjust and push out air pockets.

Follow this general workflow for reliable results:
- Print or cut your design on the transfer film, and test fit it on the glass if possible.
- Clean and dry the glass surface as described in the preparation stage.
- Place the transfer on the glass, align the top edge, and secure it with a few pieces of tape.
- Spray the surface and the back of the transfer with clean water or a weak soap solution.
- Slide the carrier sheet away slowly while using a squeegee or soft cloth to press the vinyl down firmly.
- Let the adhesive set for a few minutes before removing any remaining moisture and checking edges.
Using a firm, smooth tool to press from the center outward helps release trapped water and prevents wrinkles, especially on curved glass or detailed lettering.
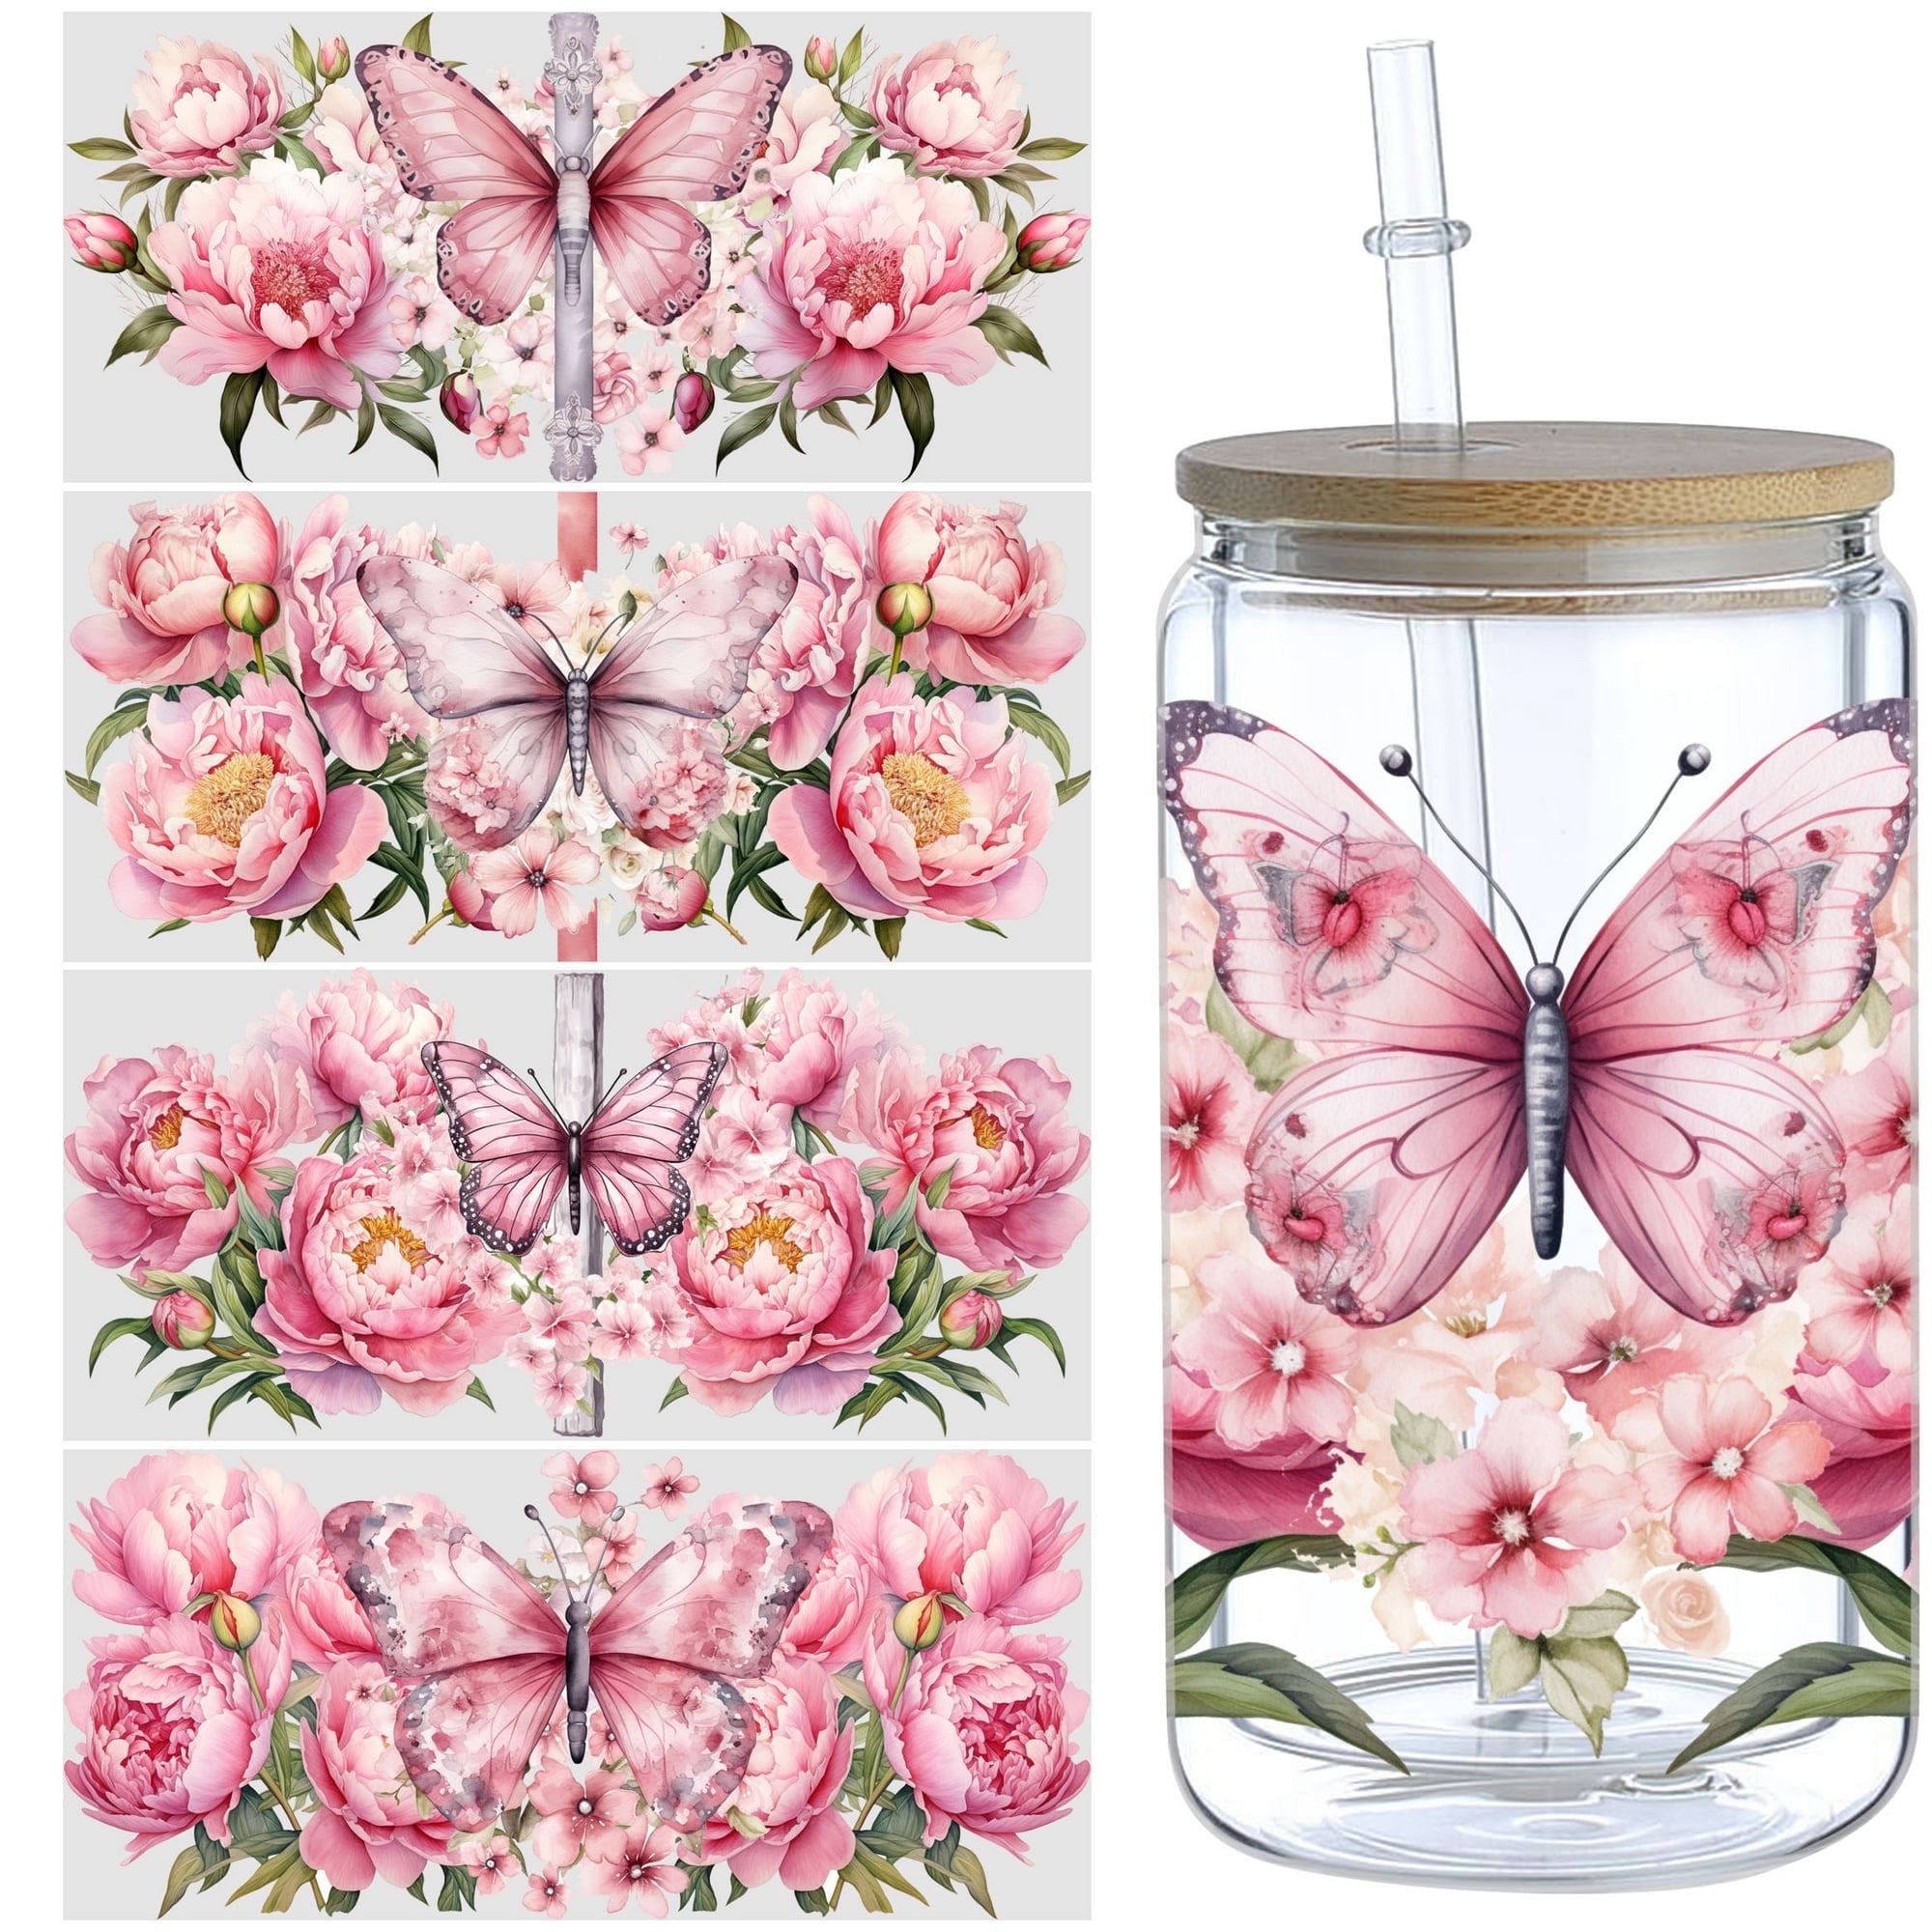
Design Tips and Creative Ideas for Glass Transfer Projects
One of the best features of transfer stickers for glass is how versatile they are for both decorative and functional projects, from bold storefront signs to subtle cabinet accents. You can create layered effects with overlapping colors, use negative space in the design for a modern look, or incorporate brand elements so that windows and glass doors become powerful marketing surfaces.

Keep these design principles in mind for glass projects:
- Use high-contrast colors and clear typography for readability from a distance.
- Test your artwork on paper first to check spacing and proportions.
- Break large designs into smaller sections for easier alignment and bubble removal.
- Consider how light reflects off the glass, especially with metallic or holographic finishes.
Whether you are designing a seasonal window display, a branded meeting room partition, or personalized drinkware, planning the layout and color scheme in advance will make the transfer process smoother and more visually impactful.
Maintenance, Removal, and Longevity of Glass Transfer Stickers
After successfully installing transfer stickers for glass, proper care can significantly extend their life and keep the graphics looking sharp through countless cleanings. Most vinyl and adhesive transfers will last several weeks to many months on indoor glass and somewhat less on surfaces exposed to direct sunlight, heavy cleaning, or temperature fluctuations.
To maintain and, when needed, remove your transfer stickers for glass without damage, follow these guidelines:
- Clean gently with a soft cloth, mild glass cleaner, or a mix of water and vinegar.
- Avoid abrasive pads or harsh chemicals that can scratch the glass or lift the edges.
- If you want to remove the decal, apply warm air from a hair dryer or soak the area to loosen the adhesive gradually.
- Peel slowly at a low angle to reduce residue, then wipe with a clean cloth and, if necessary, a little adhesive remover.
By treating the transferred graphic with care and choosing high-quality materials, you can enjoy crisp visuals, easy updates, and a professional finish every time you change a design or refresh a space.
Conclusion
Transfer stickers for glass offer a practical and attractive way to personalize windows, mirrors, and drinkware with detailed graphics, text, or branding, and they work well for both temporary decor and long-term signage. With careful surface preparation, the right transfer materials, and thoughtful design choices, you can achieve clean, bubble-free results that enhance visibility and style.
Experimenting with different finishes, layering techniques, and removal practices will help you refine your process and get the most out of each project, whether you are decorating at home or promoting your business through glass surfaces.
UV DTF Stickers on Glass Tumbler
How to apply UV DTF Sticker to a glass tumbler.
