Transfer Stickers
Transfer stickers bring instant personality to notebooks, laptops, and phone cases with minimal effort.
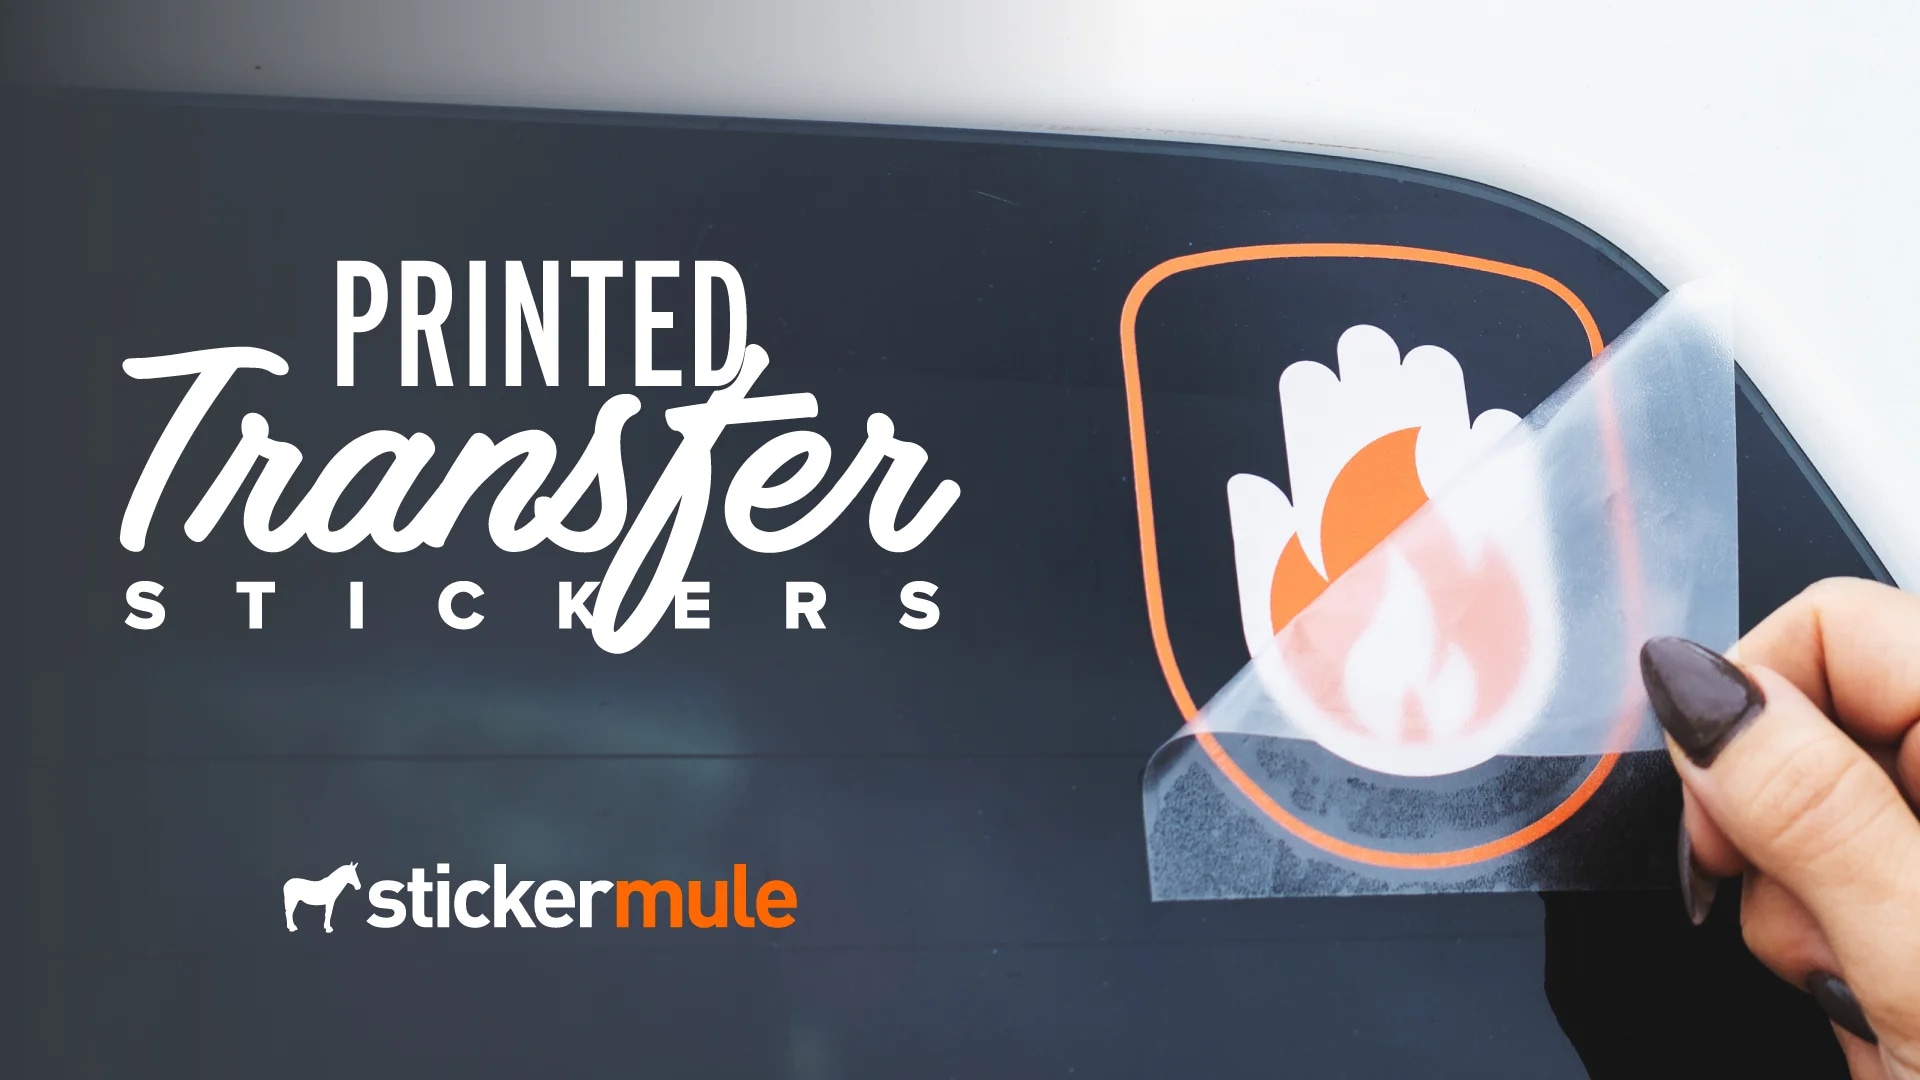
What Are Transfer Stickers and How Do They Work
Transfer stickers are adhesive designs printed on a temporary carrier, usually a sheet of water‑soluble or peel‑away backing that lets you slide the artwork onto surfaces like paper, metal, glass, or fabric. Unlike regular stickers with a permanent adhesive back, these rely on a layer of adhesive that activates with water or pressure, allowing precise placement before becoming firmly fixed. You will commonly see vinyl transfer stickers for cars, detailed die‑cut transfers for scrapbooking, and soft silicone or rubber versions for journaling and bullet planners.
The appeal lies in the balance between the precision of a decal and the flexibility of a sticker, because you can test the layout, reposition with a little water, and then lock it in for a smooth, bubble‑free finish. Because the adhesive is typically stronger than a standard sticker, transfer stickers tend to last longer on uneven or textured surfaces, making them popular for customizing gear that faces wear, weather, and daily handling. Whether you are personalizing a laptop, decorating a wedding favor, or adding flair to your journal spreads, understanding how these transfers behave on different materials helps you choose the right type and avoid peeling or fading too soon.
Popular Types and Uses Across Hobbies and Industries
In the world of paper crafting and scrapbooking, clear or slightly sticky transfer sheets let you place intricate die‑cut designs onto pages, and you can smooth them down with a brayer for a clean, professional look. For travelers and car enthusiasts, durable vinyl transfer stickers serve as subtle badges that can be applied to luggage, helmets, or vehicle windows, often featuring logos, route maps, or minimalist line art. Meanwhile, artists and small creators favor soft rubber or silicone transfers for adding hand‑drawn lettering and illustrations to mugs, planters, and fabric items, especially when screen printing is not practical.
Event planners also lean on transfer stickers for cohesive branding, using them to label favors, decorate cake stands, or mark seating plans with a temporary yet elegant touch. In each scenario, the method of application matters, because surfaces that are dusty, oily, or highly textured may require cleaning or light sanding to ensure the adhesive bonds evenly. By matching the transfer material to the project—vinyl for outdoor durability, delicate paper‑based transfers for indoor crafts, and flexible rubber for curved items—you can tailor the look and longevity to the final use.
How to Apply Transfer Stickers for a Flawless Finish
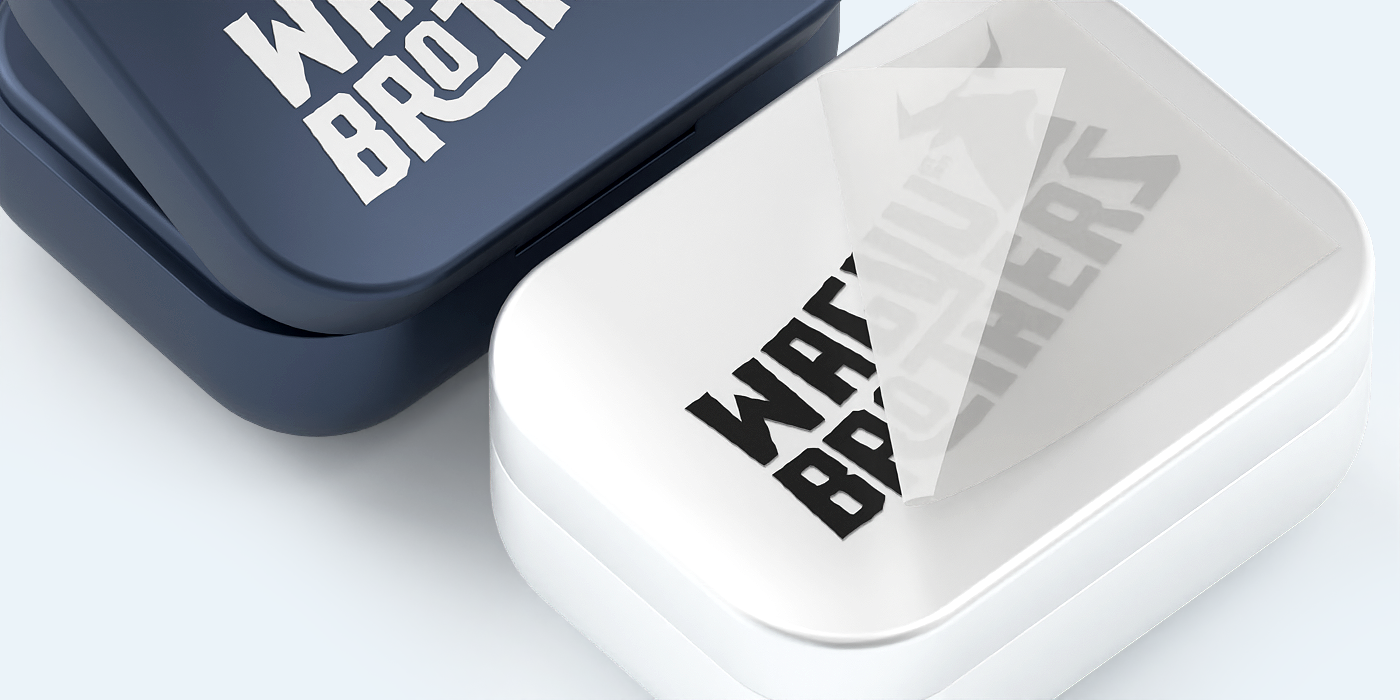
Start by cleaning the surface to remove dust, oils, and residues, since any particles trapped underneath can lead to weak spots or early lifting. Position the design, secure it lightly with tape if needed, and then dampen the transfer sheet or the surface with clean water if the product calls for it; gently slide the artwork into place, using a soft squeegee or credit card to push out air bubbles and excess moisture. Once the piece lies smoothly and evenly, let it set according to the instructions, because some types cure as the adhesive bonds chemically, while others simply need time to dry thoroughly before heavy handling.
For best results, match your technique to the material: vinyl transfers often respond well to firm, even pressure, while delicate paper transfers may require a gentle touch to avoid tearing the carrier. Keep a microfiber cloth handy to blot moisture, avoid applying extreme heat or bending the item immediately after placement, and inspect the edges to confirm full contact. With a little practice, you will develop a feel for how much water, pressure, and drying time your chosen transfer stickers need on different surfaces.
Creative Design Tips and Customization Ideas
When you design your own transfer stickers, vector graphics give the sharpest edges and scales cleanly whether you are cutting by hand or using a machine, so simplify complex details that might break during application. Consider the color contrast between the sticker and the background, test small pieces before committing to a large area, and experiment with layering several transfers to build depth, such as a base color followed by a detailed top layer. For a cohesive look, keep a consistent style palette across projects, and use subtle gradients or line weights that translate well into the final material, whether it is matte vinyl, glossy silicone, or textured paper.
Hand lettering fans can trace custom phrases onto the carrier sheet, while digital creators can print intricate patterns and then cut them to size for mixed media art, bullet journals, or greeting cards. Pay attention to the adhesive side and the direction of the design, because some transfers must be flipped before applying water, and small registration marks can help you line up multi‑part designs. By planning the sequence of placement, drying, and sealing, you reduce the risk of smudging, tearing, or misalignment, especially when you are working with detailed scenes or tiny text.
Caring for Transfer Stickers and Solving Common Issues
After the transfer sets, you can often enhance durability with a compatible sealant, but check the manufacturer’s recommendations because some adhesives are sensitive to certain solvents or heat. Wash items gently by hand, avoid harsh scrubbing around the edges, and dry them promptly to prevent water from seeping underneath and lifting the design. If you notice lifting at the corners, a carefully applied dot of adhesive or a specialized repair glue can reactivate the bond, while minor air bubbles may be smoothed out gently if caught early.
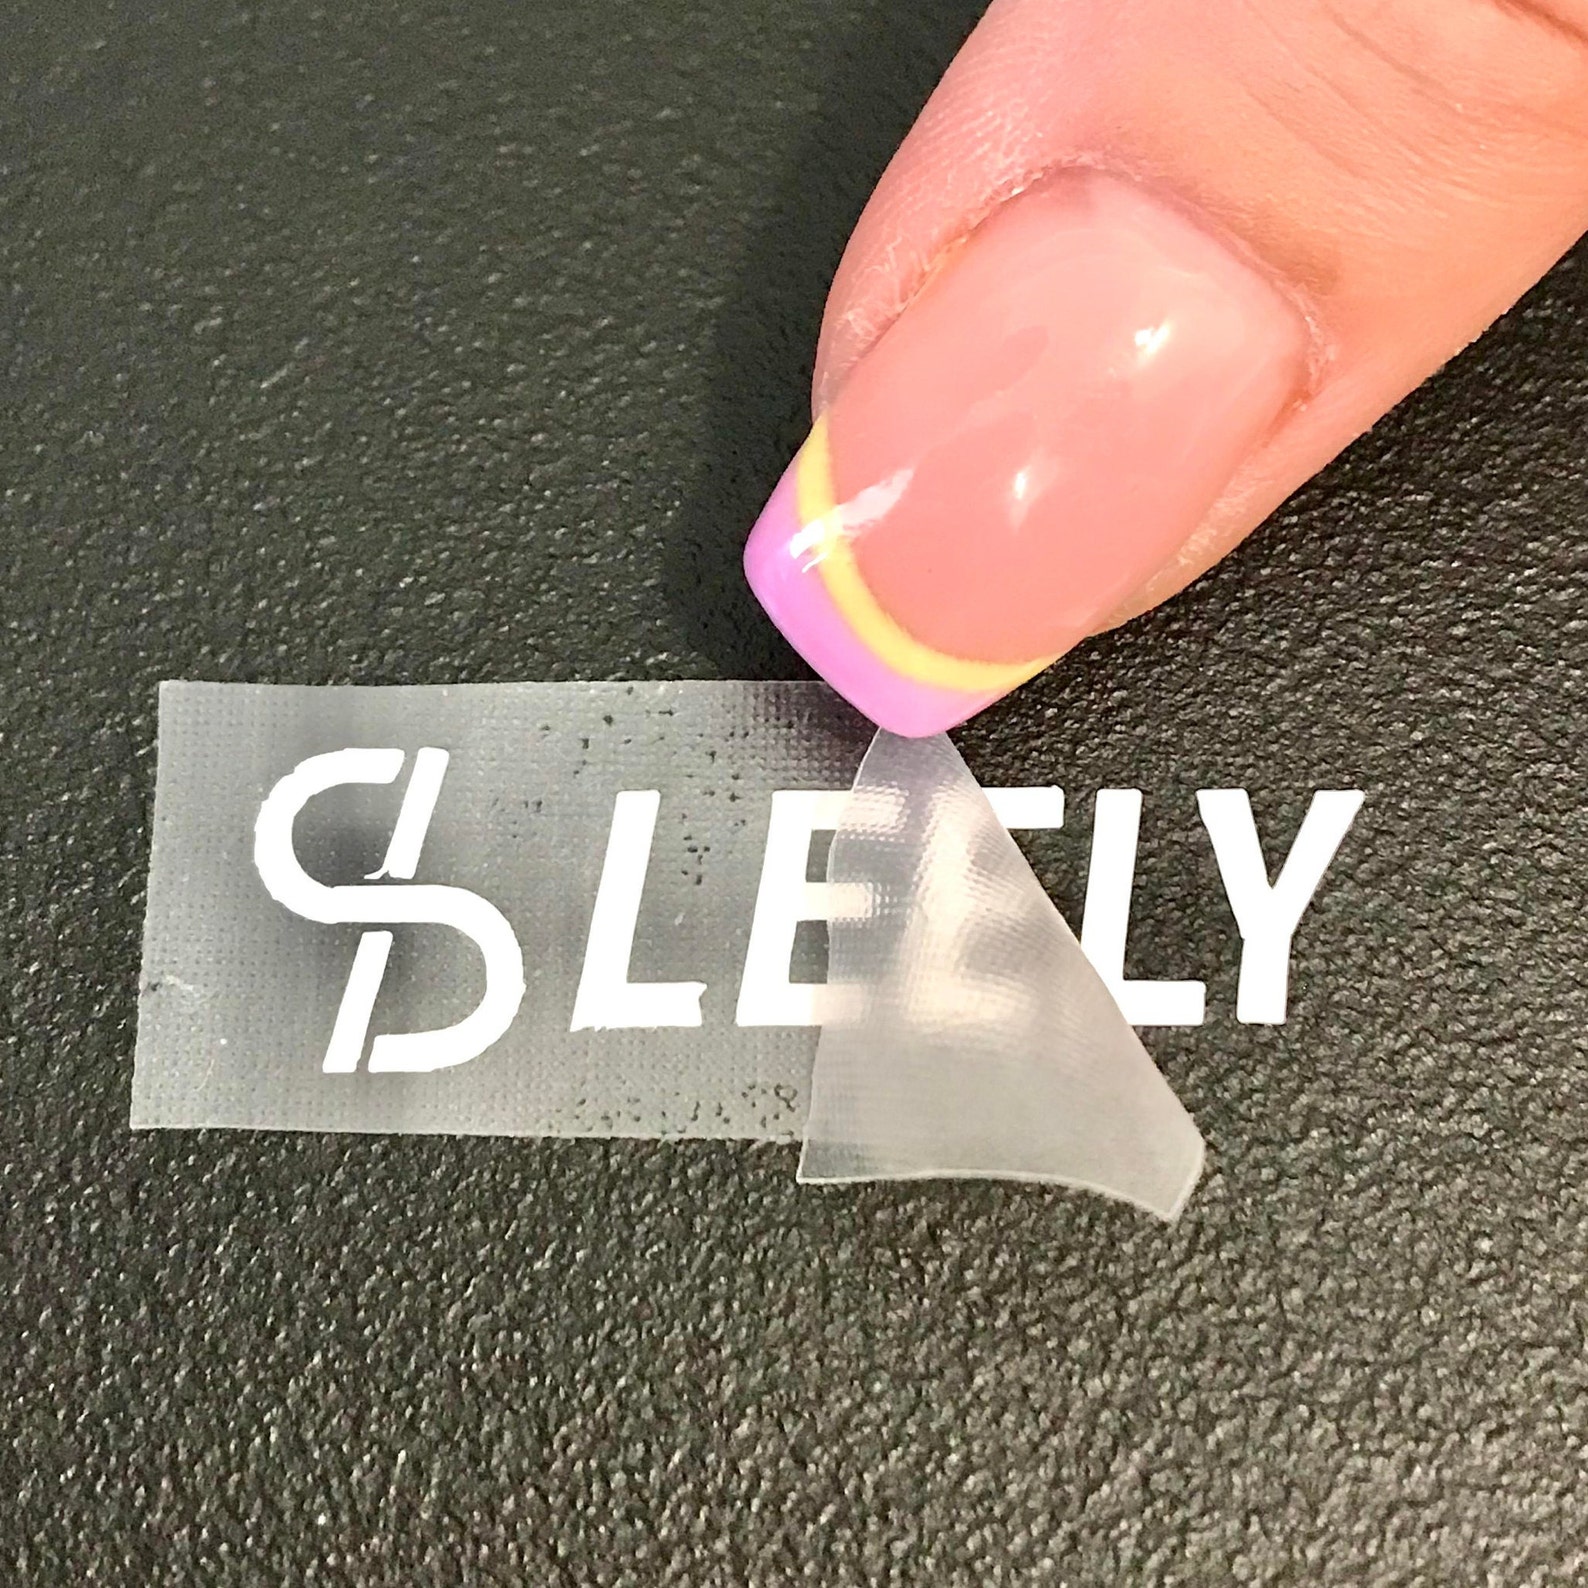
Storage also matters, because curled sheets or exposure to humidity can cause transfers to stick prematurely or lose flexibility, so keep them flat in a cool, dry place inside protective sheets or original packaging. When you need to remove a transfer stickers, try a slow, steady pull at a shallow angle, and if residue remains, a mild adhesive remover or rubbing alcohol on a soft cloth can help without damaging most surfaces. With mindful application, proper care, and a bit of experimentation, transfer stickers remain a versatile way to refresh your belongings, express your style, and test out bold designs without a permanent commitment.
How to apply transfer stickers
Learn how to apply transfer stickers to any surface. ===================== Sticker Mule's weeded transfer stickers make it ...
