Transfer Decal
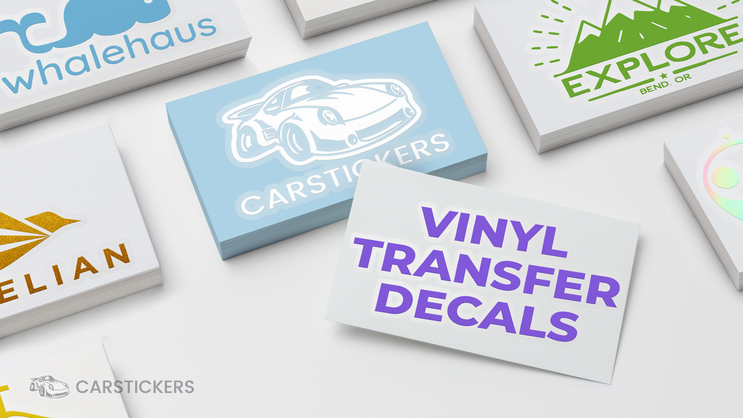
A transfer decal is a versatile printing method that lets you move detailed designs, text, or graphics from a carrier sheet to a surface with precision and ease.
What Is a Transfer Decal and How Does It Work
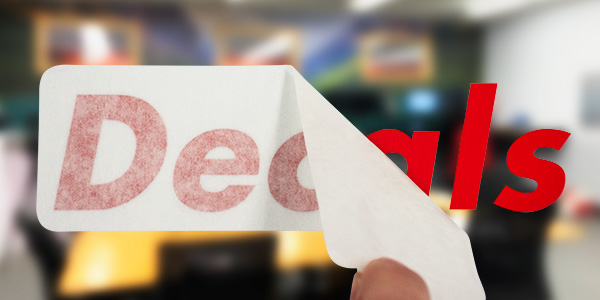
A transfer decal, often called a transfer sticker or waterslide decal, is a printed design on special paper coated with a removable adhesive layer. After printing, the decal is submerged in water briefly so the clear carrier film slides off, leaving only the inked design that can be slid and positioned onto the target surface before drying and sealing.
Because the design floats on water, it conforms smoothly to curves, edges, and detailed shapes that would be difficult to achieve with standard stickers or direct printing on the object. The result is a professional finish with sharp lines, vibrant colors, and a smooth overlay that looks almost like a painted graphic but without the time and mess of hand painting.

Common Uses of Transfer Decals in Crafts and Industry
Transfer decal techniques are popular in hobbyist circles, small businesses, and industrial settings because they combine the detail of digital or screen printing with the flexibility of a temporary carrier. Crafters use them to decorate model vehicles, ceramics, glassware, and wooden items, while manufacturers rely on them for labeling, branding, and decorative finishes on plastic, metal, and composite parts.
Typical applications include:
- Model cars, trains, and airplanes for realistic panel lines and logos
- Musical instruments, skateboards, and bicycles for custom graphics
- Home décor items such as tiles, picture frames, and furniture accents
- Food-safe containers and promotional drinkware with branded designs
- Industrial nameplates, warning labels, and functional control panels
Choosing the Right Materials for Long-Lasting Results
The quality of a transfer decal depends heavily on the materials used, from the ink and coating to the type of paper and the adhesive formula. Pigment-based inks and waterproof coatings help resist fading, scratching, and exposure to moisture, which is essential for items that will be handled frequently or cleaned regularly.
When selecting supplies, consider the surface texture and intended use. For smooth, non-porous items like metal or glazed ceramics, a standard transfer decal works well, while rough or absorbent surfaces may require specialized adhesives or sealing steps. Testing a small area first can prevent wasted materials and ensure the transfer adheres evenly without lifting at the edges.
Step-by-Step Process to Apply a Transfer Decal
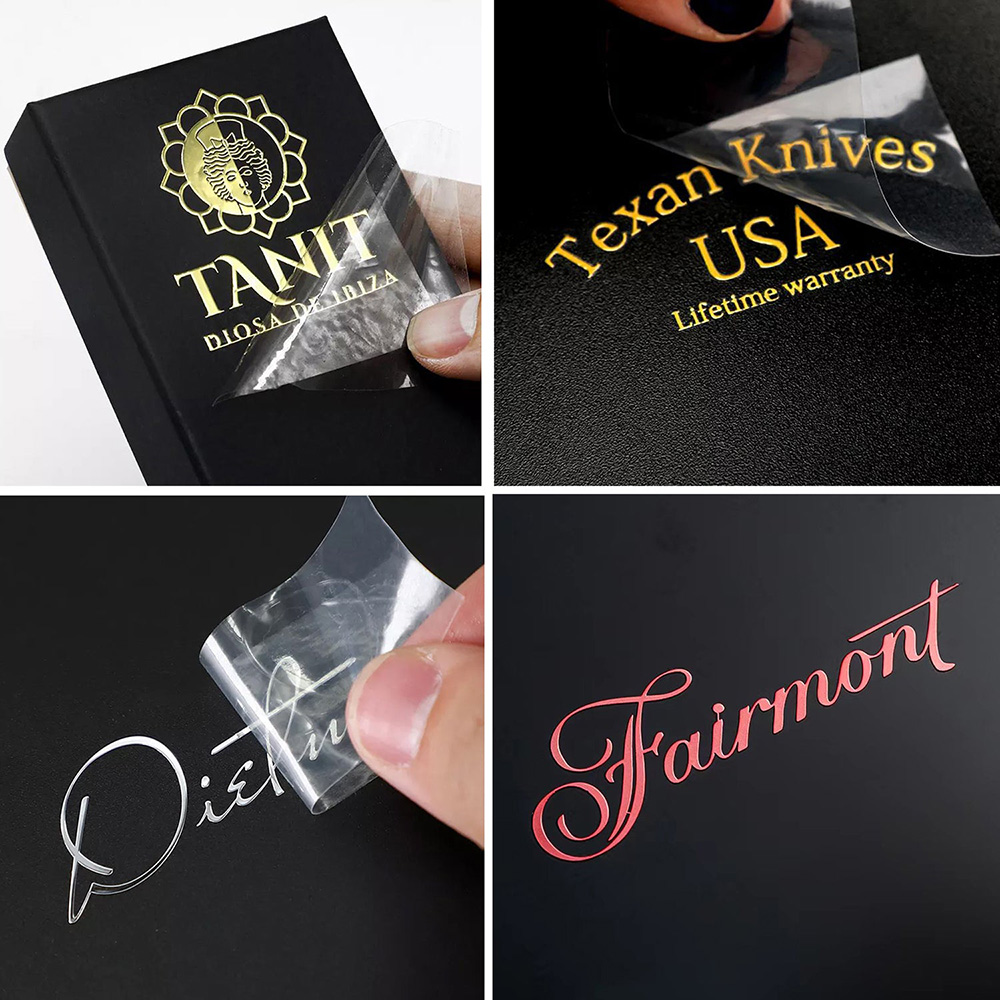
Applying a transfer decal methodically reduces the risk of bubbles, wrinkles, or misalignment. After cleaning the surface thoroughly to remove dust and oils, you cut the design closely, submerge it in lukewarm water, and gently slide the printed layer onto the target surface. Adjusting the position while the adhesive is still wet allows for precise placement, and using a soft squeegee helps press out excess water and air.
Once the decal is in place, letting it dry flat before sealing helps the ink bond properly. Many makers add a clear coat or sealant over the transfer to increase durability, especially for items that will be exposed to wear, sunlight, or frequent handling. Following manufacturer recommendations for drying time and sealing products ensures the best long-term results.
Design Tips for Creating High-Quality Transfer Decals
Designing for transfer decal printing requires attention to detail so that the final result looks clean and professional. Vector graphics often produce the sharpest edges and are easier to resize without losing clarity, while high-resolution raster images can work well for complex photographic artwork if the resolution is sufficient.
- Keep text at a readable size and avoid very thin lines that might break during application
- Test colors on the intended material, as inks can appear differently on light versus dark surfaces
- Leave a small bleed area around the design to ensure full coverage after trimming
- Consider the direction of application and where edges will meet corners to avoid visible seams
Troubleshooting Common Transfer Decal Issues
Even experienced crafters sometimes encounter problems such as bubbles, peeling edges, or faded prints. These issues often stem from trapped water under the decal, insufficient surface cleaning, or using incompatible ink or sealant combinations. Gently lifting and re-positioning the decal while it is still wet can help fix small bubbles, while thorough cleaning and proper sealing reduce the chance of peeling later.
Environmental factors like humidity, temperature, and airflow also affect how the decal behaves during drying. Working in a stable, dust-free environment and allowing ample curing time before handling or sealing improves success rates. Keeping notes on materials, techniques, and settings makes it easier to reproduce great results and adjust when something does not go as planned.

When practiced with care and attention to detail, using a transfer decal method becomes a reliable way to add vivid, customized graphics to a wide range of items. From detailed model finishes to durable labels and artistic home accents, this technique bridges the gap between digital design and physical craftsmanship.
By understanding how a transfer decal works, selecting the right materials, following a structured application process, and refining your designs, you can achieve consistent, professional-quality results that stand up to time and use.
How to: Apply Transfers | Beginner | Warhammer Painting Essentials
Transfers allow us to add intricate details to our miniatures. In this video we'll be showing you how to apply them to both flat and ...
