Stickering On Bike
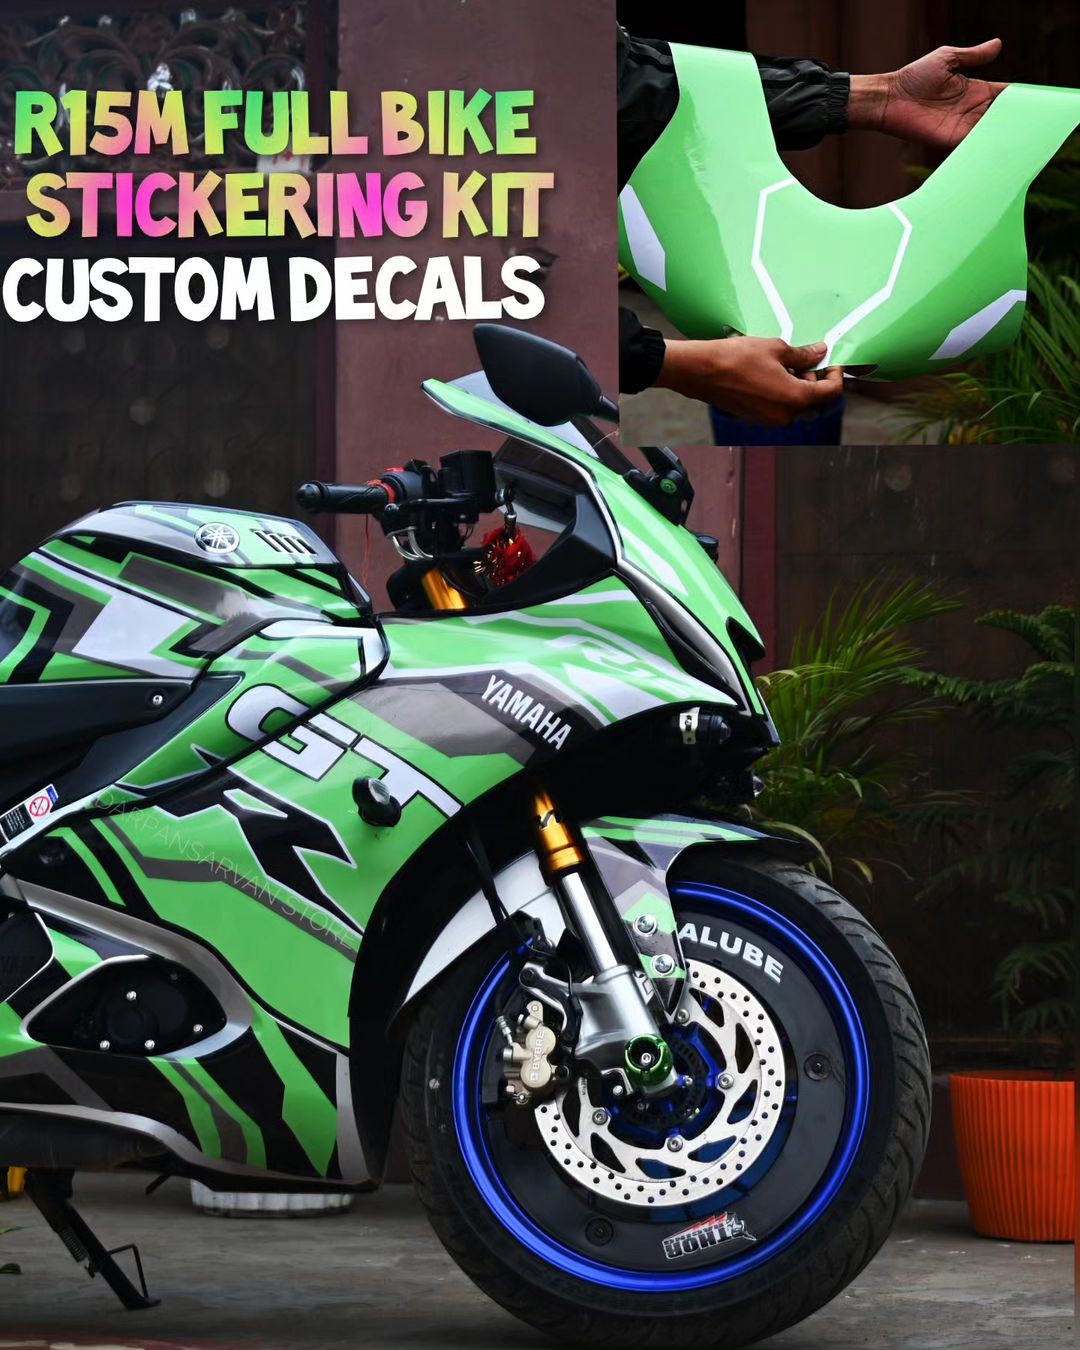
Stickering on bike is a simple and effective way to personalize your ride while protecting it from scratches and UV damage.
Why Riders Add Stickers to Their Frames and Panels
Many cyclists choose stickering on bike as a low-cost way to express personality without changing mechanical parts or geometry. A well-placed sticker can turn a plain commuter into a rolling conversation starter that reflects your music taste, art preference, or community values.
Beyond aesthetics, vinyl stickers can shield paint from road grit and minor abrasions, especially on steel or carbon frames where scratches are more visible. When you apply quality sticker material with proper surface prep, the adhesive forms a gentle barrier that reduces direct contact with dust and moisture.

Choosing the Right Materials and Finishes
The durability of stickering on bike depends heavily on the material and finish you select. Cast vinyl offers premium conformability for complex curves, while calendered vinyl is more budget-friendly but slightly less flexible for intricate panels.
- Glossy finishes create a bold, high-contrast look that stands out in sunlight.
- Matte finishes deliver a subtle, modern vibe and often hide fine dust and road grime better.
- Clear overlaminate or UV-resistant inks help prevent fading and peeling during long rides and varied weather.
Consider the surface texture of your bike; smooth panels accept stickers more evenly than textured downtubes with cable routing grooves.
Preparing the Surface for Long-Lasting Adhesion
Successful stickering on bike starts with a meticulously clean surface free of oils, dust, and old residue. Isopropyl alcohol or a dedicated panel cleaner works well to remove factory mold release and trail grime that standard soap might miss.
Allow the frame to dry completely, and if possible, apply stickers indoors or in the shade to avoid immediate exposure to heat and wind. For best results, warm the vinyl slightly with your hands or a hair dryer set to low, which improves conformability around tubes and welds.
Strategic Placement for Function and Style
When you plan stickering on bike, think about both visibility and protection. Lower downtubes and seatstays are popular because they are easy to see, while also shielding paint from chain slap and road debris.
- Top tubes near the stem can frame your brand or sponsor logo without interfering with handlebar movement.
- Chainstays and dropout areas are ideal for longer wraps that guard against chain marks and minor chips.
- Avoid placing thick stickers on brake levers, hoods, or any gripping surface where thickness could compromise control.
Balance is key; a few bold pieces often read better than an overcrowded collage that distracts from the bike’s design lines.

Application Techniques to Avoid Bubbles and Edge Lifting
Applying stickers cleanly requires patience and a steady hand to prevent trapped air and premature edge peeling. Start from the center and slowly lower the sticker while smoothing outward with a soft squeegee or credit card, pushing bubbles toward the edges.
For stickering on bike with complex curves, use a heat gun on the lowest setting and move constantly to avoid melting the vinyl. Trim excess material with a sharp hobby knife, leaving a tiny border that stretches slightly into the contour for a seamless finish.
If you make a mistake, gently lift the corner and re-position; modern vinyl often allows for minor adjustments without tearing.

Maintenance and Weather Resistance Tips
To keep your sticker work looking fresh, rinse your bike after rides in wet or muddy conditions to prevent grit from grinding into the edges. Use a soft sponge and mild soap, avoiding harsh brushes or abrasive cleaners that can lift vinyl corners.
- Inspect stickers periodically for signs of lifting, especially after impacts or temperature swings.
- Press down any raised edges with a firm cloth to restore adhesion before small problems become full peeling.
- Expect a lifespan of one to three years depending on sunlight exposure, riding frequency, and sticker material.
When a sticker does reach the end of its life, remove it slowly at a shallow angle and use a residue remover to keep the factory paint pristine.
Combining Stickers with Other Custom Graphics
Many riders blend stickering on bike with subtle wraps, hand-painted accents, or laser-cut badges to create a layered visual identity. Stickers are ideal for testing bold ideas before committing to large vinyl wraps that require professional installation.

Coordinate colors with your helmet, shoes, or jersey to build a cohesive look that feels intentional rather than cluttered. Minimalist riders might prefer a single iconic emblem on the downtube, while festival-goers may cover every available surface with vibrant art.
Whatever approach you choose, consistent design language across accessories makes your bike an extension of your personal brand on and off the road.
By selecting quality materials, prepping surfaces carefully, and placing stickers thoughtfully, you can transform your bike into a durable moving canvas that protects paint and showcases your story mile after mile.
How to Apply Decals / Stickers on to your Bike
Please Subscribe and Follow Me on Get your decals made here! https://www.decal-spec.com/ GRUN BIKE REVIEW: ...
