Stickered Bike

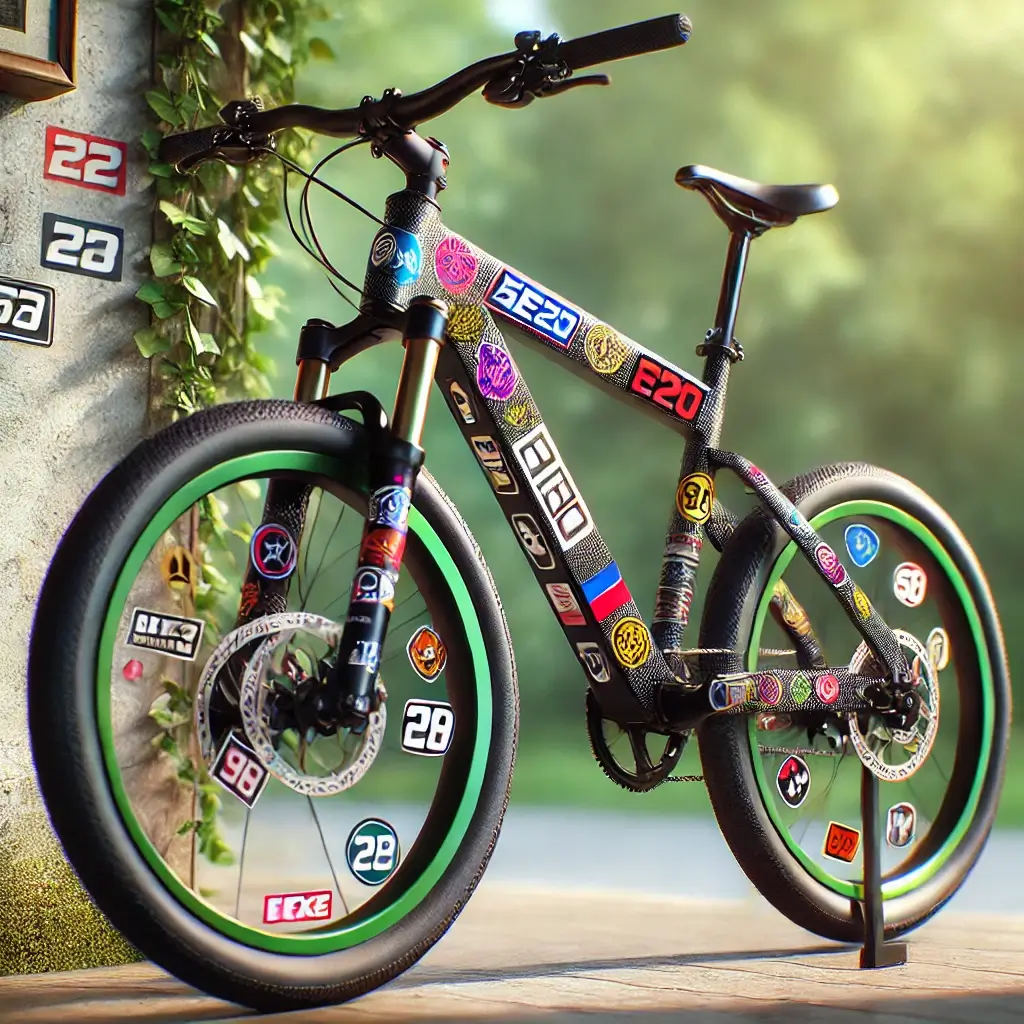
A stickered bike is one of the easiest ways to turn an ordinary ride into a rolling canvas of color and personality. Stickers let you layer in brand badges, art, maps, and memories so your frame instantly communicates who you are before you say a word. In this guide, you will find practical ideas, creative prompts, and maintenance tips to help your stickered bike look bold, cohesive, and cared for.
Why Turn Your Bike Into a Moving Billboard
Your bicycle already carries you through neighborhoods, commutes, and weekend rides, so why not let it carry a little extra expression as well. A stickered bike can signal your passions, routes, or values to strangers in a single glance. Whether you favor minimalist accent strips or full frame murals, stickers create a low-cost, reversible upgrade that fits almost any style.
Beyond aesthetics, stickers can serve as tiny navigational hints on long tours, helping you spot favorite cafes, viewpoints, or repair shops at a distance. When you group several stickers thoughtfully, they can form a visual theme around cycling clubs, travel routes, or even a calendar of events you have completed. Because stickers are removable, you can refresh the look seasonally, after a big trip, or whenever you crave a change.
Choosing the Right Stickers for Your Ride
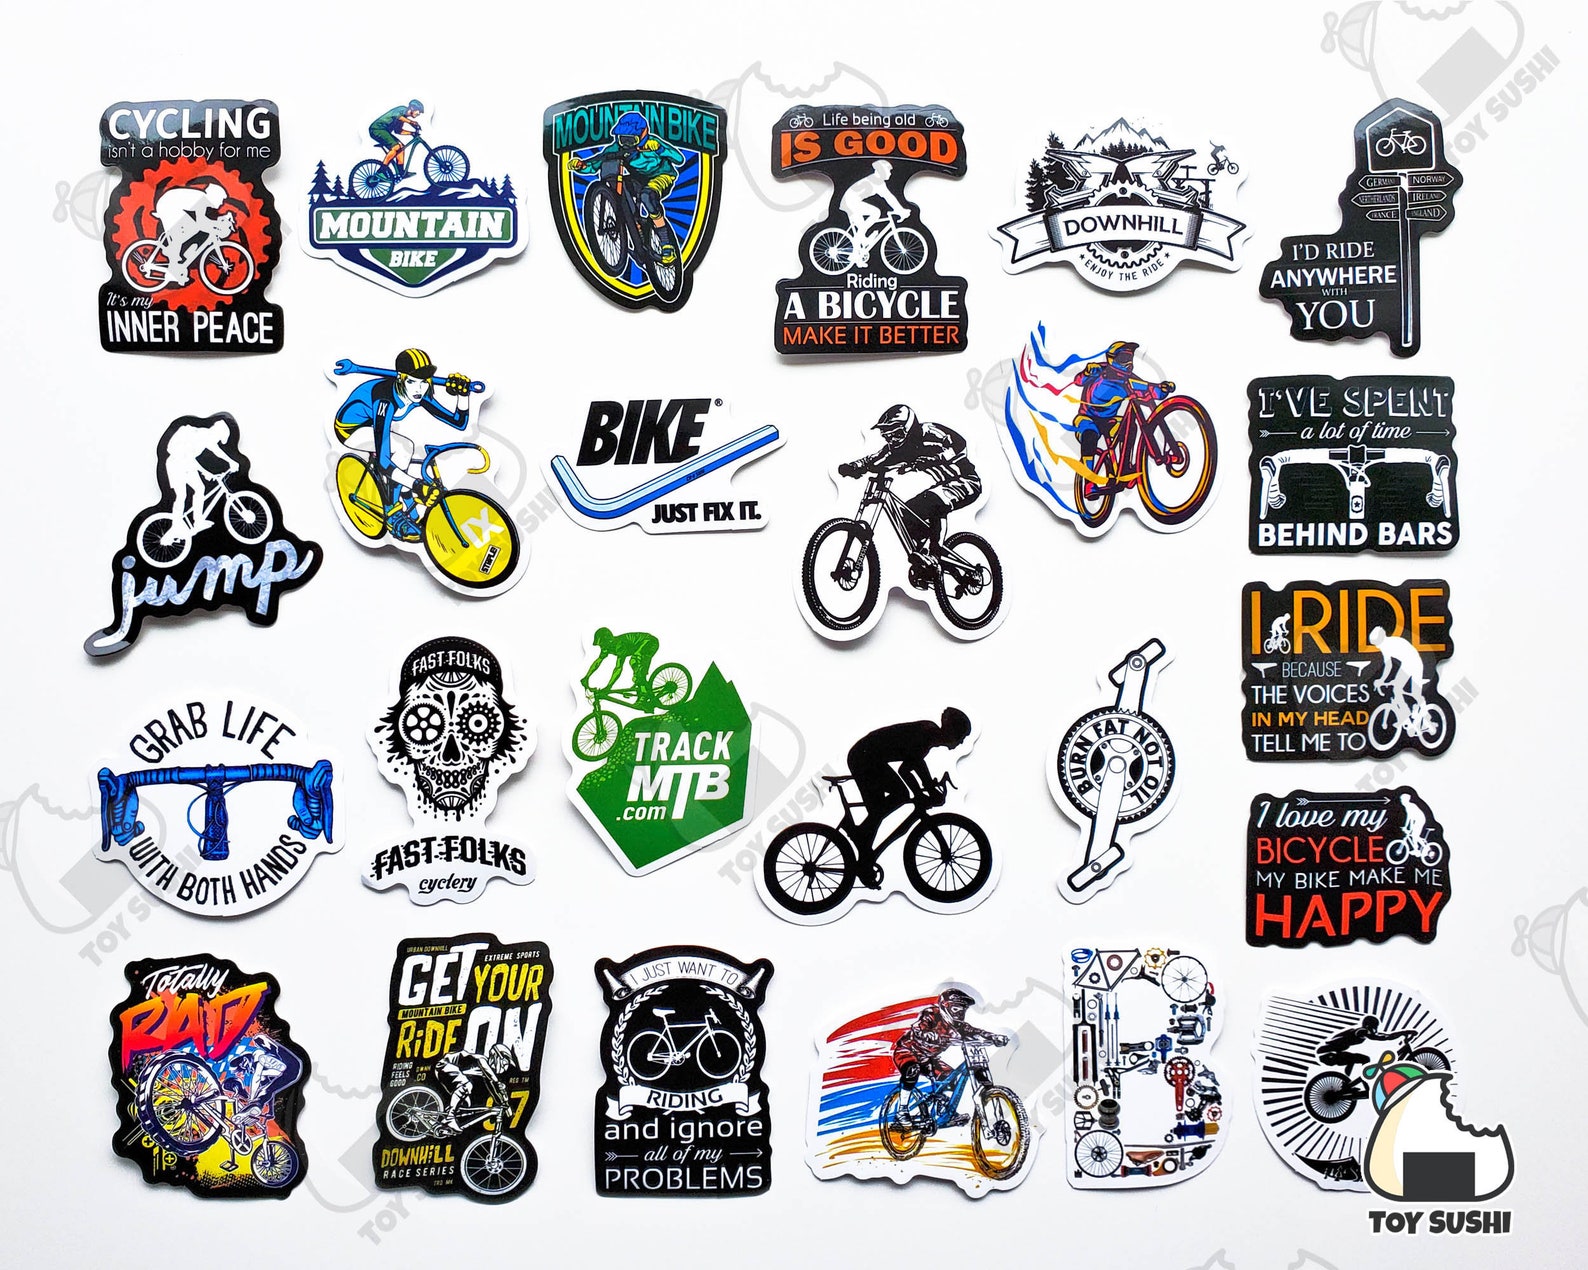
The first step toward a great stickered bike is picking stickers that suit both your aesthetic and your daily riding conditions. Consider the surface area, color palette, and level of detail so that the design does not clash with the frame’s original color or components. A few simple guidelines will help you avoid a cluttered look and keep your stickers readable over time.
- Start with a theme, such as route maps, brand logos, animals, typography, or abstract patterns.
- Balance large statement stickers with smaller accents to create visual hierarchy.
- Opt for weather-resistant vinyl when possible, especially if you ride in rain or intense sunlight.
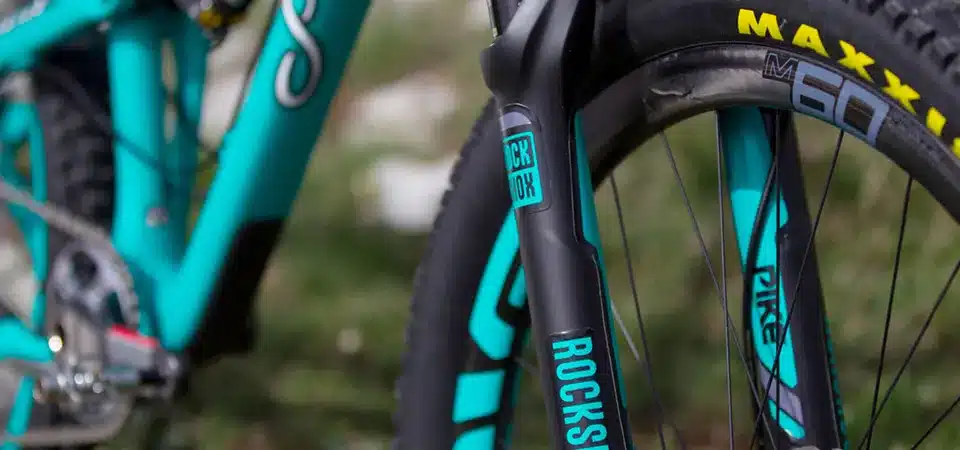
Think about placement as part of your design. Larger stickers often look best on flat panels like the top tube or rear triangle, while narrow stickers can wrap elegantly around seat stays and fork blades. Before committing, arrange the stickers on a flat surface or on paper to test spacing, overlap, and overall rhythm.
How to Apply Stickers Without Bubbles or Misalignment
Applying stickers cleanly is all about preparation, patience, and a bit of soapy water trickery. A smooth surface, precise positioning, and careful squeegee work help you avoid trapped air and crooked lines. Follow a simple process so each piece lands exactly where you want it.
- Clean the area with rubbing alcohol to remove dust, oil, and old residue.
- Mark key reference points lightly with chalk or tape to maintain alignment.
- Peel a small section of the backing, spray the surface and sticker lightly with soapy water, then position the sticker.
- Use a soft squeegee or credit card to press from the center outward, pushing out water and air.
- Let the sticker cure for a day before riding in heavy rain or washing the bike.
For intricate shapes, consider cutting the design into smaller segments so you can align each piece more easily. If you make a mistake, most vinyl stickers can be peeled off and reapplied, especially on frames with gentle curves and clean paint.
Protecting Your Artwork From Scratches and UV Fading
A stickered bike deserves some extra care to keep graphics vivid and edges securely bonded. While modern vinyl is durable, it can still chip against sharp gravel, careless parking rails, or aggressive cleaning brushes. A few small habits go a long way toward preserving your work.
Whenever possible, park away from direct sunlight or use a cover to slow fading. Clean with a soft sponge, mild soap, and gentle strokes around sticker edges instead of scraping them directly. Avoid high-pressure washers aimed straight at seams, because constant jetting can lift corners and let water creep underneath.
- Inspect stickers periodically and press down any lifting edges before they collect dirt.
- Touch up small scratches on the surrounding frame with matching paint or nail polish to protect bare metal or aluminum.
- Consider a clear coat or wrap on highly exposed panels if you want industrial-level defense without changing the color.
Removing Old Stickers and Refreshing Your Look
Over time, you might want to change themes, cover up worn designs, or simply give your stickered bike a lighter look. Removing stickers carefully reduces the risk of leaving stubborn adhesive or damaging delicate paint.
Heat is one of the most effective allies against old adhesive, so a hairdryer on a warm setting works well for most vinyl. Hold the heat a few centimeters away, then gently peel the sticker at a shallow angle to avoid scratching the frame. Residual glue can be treated with adhesive remover, cooking oil, or a paste of baking soda and water, followed by thorough rinsing and drying.
Showcasing Your Stickered Bike in the Real World and Online
Once your bike is decorated and protected, you will likely want to share it with others, whether on busy streets, in local group rides, or across social platforms. A stickered bike naturally draws attention, so think about how you present it in photos and in person.

Simple habits like choosing clean backgrounds, steady lighting, and a consistent angle help your stickers stand out in images. You can highlight details with close-ups of texture, pattern interactions, and the way light catches on metallic or glossy elements. Sharing these shots in cycling communities, local forums, or your own feed can inspire others and spark conversations about your travels, influences, and creative process.
Ultimately, a stickered bike is a personal statement that evolves with you. By choosing thoughtful designs, applying them carefully, and protecting them with smart habits, you keep your ride both safe and unmistakably yourself.
How to Apply Decals / Stickers on to your Bike
Please Subscribe and Follow Me on Get your decals made here! https://www.decal-spec.com/ GRUN BIKE REVIEW: ...
