Shirt Decals For Heat Press

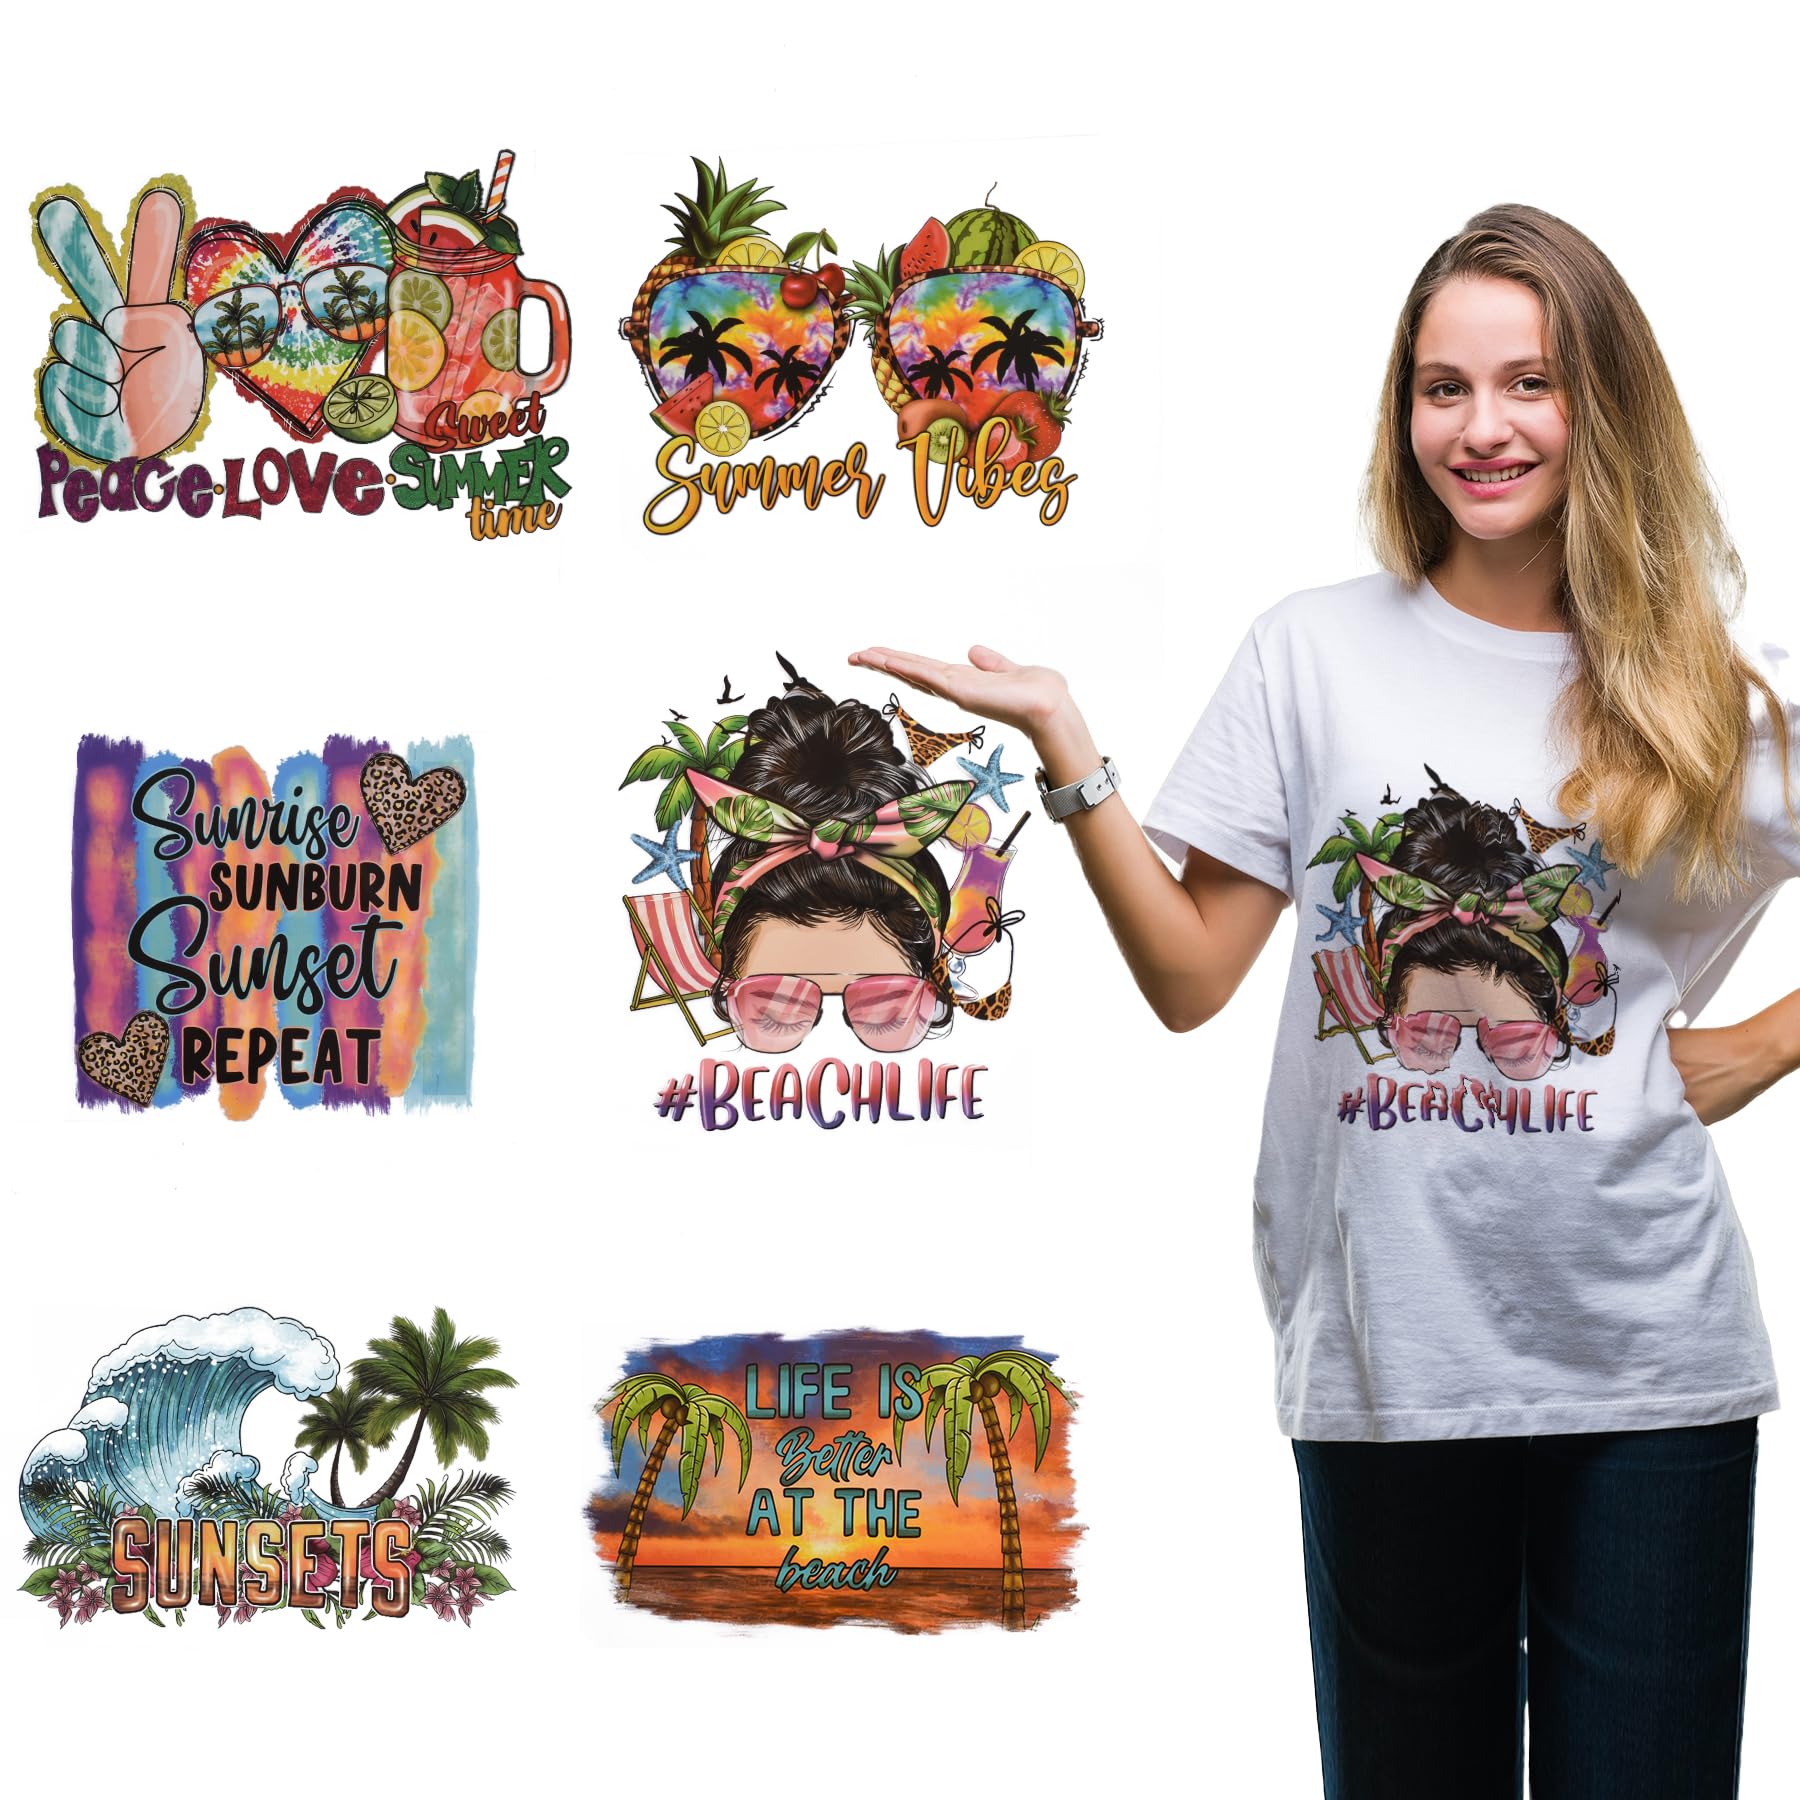
Shirt decals for heat press make it simple to add detailed, durable designs to T-shirts, hoodies, and other fabric garments.
What Are Shirt Decals for Heat Press?
Shirt decals for heat press are thin, pre-cut or printed films or foils that you place on fabric and activate with heat and pressure. Unlike simple iron-on patches, these decals often feature intricate graphics, metallic inks, glitter, or textured finishes that look printed directly on the shirt. They are popular for personalized apparel, small-batch fashion, team uniforms, and event merchandise because they give the appearance of a professional print without requiring a full screen printing setup.
Typical materials include vinyl-based heat transfer vinyl (HTV), printable shrinkable films, and foil transfers that add shine and depth. Each type behaves differently under heat, so choosing the right decal material is essential for color vibrancy, wash durability, and stretch recovery. When matched correctly with your garment and press settings, shirt decals for heat press can feel soft, flexible, and nearly indistinguishable from direct-to-garment printing.
How to Apply Shirt Decals with a Heat Press
Using a heat press is the most reliable way to get consistent, high-pressure contact across the entire decal. Start by preheating the press to the manufacturer’s recommended temperature, usually between 300°F and 340°F (150°C and 170°C) for standard vinyl. Place the shirt on the lower platen, position the decal with the carrier sheet facing up, cover with a thin protective sheet, and close the press for the advised time, often 10 to 20 seconds depending on material and fabric.
Pressure should be firm but not so strong that it squeezes out the design or distorts thin text. After pressing, let the shirt cool completely before peeling the carrier sheet, especially with glossy or printable shrinkable films. For best results, follow the specific timing, temperature, and peel directions provided with your shirt decals for heat press, and test each new decal on a scrap garment to dial in the perfect combination of heat, time, and pressure.
Design Tips for Decals That Last
Creating artwork that looks great after pressing starts with simplifying details and avoiding overly thin lines that can break or lift. Keep text legible by using thicker fonts, avoid placing decals over seams where abrasion is highest when possible, and remember that vibrant colors often show up best on light fabrics. If you are using printable shrinkable film, design with shrinkage in mind, as the image can reduce by 10 to 20 percent during pressing, so test a sample to ensure final size matches your vision.
- Use vector graphics for clean edges at any size.
- Check color contrast between the decal and the shirt so the design stands out.
- Test wash durability by laundering the garment inside out after the recommended cure time.
For foil and glitter decals, reduce flaking by pressing at the lower end of the temperature range first and gradually increasing while monitoring results. A little experimentation with different combinations of temperature, pressure, and carrier sheet handling will help you refine a repeatable process for shirt decals for heat press projects.
Common Fabrics and Their Compatibility
Cotton and cotton blends are generally the easiest fabrics for heat transfer decals, accepting adhesive well and tolerating higher temperatures. Polyester and performance fabrics require lower temperatures, shorter times, and sometimes a silicone release sheet to avoid glossy spots or scorching. When working with dark fabrics, choose opaque decals or under-base layers so the design remains vivid instead of turning the shirt color underneath.
Always check the care instructions for the specific shirt, because some performance blends have temperature limits that, if exceeded, can damage fabric fibers or cause the decal to detach prematurely. By matching the decal type to the fabric and adjusting your heat press settings accordingly, you can achieve vibrant, flexible results that survive repeated washing and daily wear.

Troubleshooting and Maintenance
Common issues with shirt decals for heat press include peeling edges, color fading, and a stiff or plasticky feel. These problems often trace back to insufficient heat, too little pressure, or premature peeling of the carrier sheet. If edges lift, try a slightly higher temperature or a few extra seconds of pressing, and make sure you are using the recommended peel method—some decals need to be peeled hot, others cold, and others require a partial peel technique.
To keep your heat press in top condition, clean the platen and silicone pads regularly, check for dust or fabric residue that can transfer onto decals, and inspect the heating elements for even coverage. Consistent test prints, documented settings, and a simple log of time, temperature, and pressure for each decal type will help you reproduce excellent results and quickly solve problems when they appear.
Conclusion
Shirt decals for heat press offer a versatile, cost-effective way to add bold graphics and professional finishes to apparel without the complexity of full production printing. With the right materials, careful attention to temperature and pressure, and a few design best practices, you can create durable, comfortable custom garments that look great from the first wear and through many laundry cycles.

Como estampar uma camiseta com prensa térmica em 15 segundos (Impressão DTF em camisetas)
Neste vídeo, vamos mostrar como começar um negócio de camisetas com uma prensa térmica. Pode parecer intimidante, mas temos ...
