Putting A Sticker On A Car
Putting a sticker on a car can be a fun way to express personality, but it needs care to avoid damage and bubbles.
Choosing the Right Sticker for Your Car
The first step in putting a sticker on a car is selecting a design that suits your style and vehicle. You want a sticker that complements the car’s color and shape without overwhelming the overall look. Consider the material, size, and message, and make sure it is appropriate for outdoor exposure. High-quality vinyl stickers are durable, weather resistant, and designed to last on car surfaces.
When you choose a sticker, think about where it will go on the car. Popular spots include the rear bumper, side panels, hood, or front grille. Smaller logos work well on the front grille or trunk, while larger designs can make a statement on the doors or entire side panels. Make sure the sticker’s dimensions fit the area and that the placement does not block important lights, sensors, or registration plates.

Preparing the Car Surface
Proper surface preparation is essential for a clean, long lasting application when putting a sticker on a car. Start by washing the area with mild soap and water to remove dirt, grease, and road grime. Dry thoroughly with a clean microfiber towel, and then wipe the surface with rubbing alcohol or a dedicated plastic cleaner to eliminate any remaining residue or wax.
A smooth, dust free surface helps the sticker adhere evenly and reduces the risk of air pockets. If the car is very dirty or has old sticker residue, use a gentle adhesive remover and a plastic scraper to clean the area. Avoid using harsh chemicals or abrasive tools that could scratch the paint. Once cleaned, let the surface dry completely before moving to the next step in the process of putting a sticker on a car.
Measuring and Positioning the Sticker
Accurate measuring and positioning makes a huge difference in how the sticker looks once applied. Use a measuring tape to find the center point of the chosen area and mark it lightly with a washable pencil or tape. Place the sticker on the car temporarily, using painter’s tape to hold the edges, so you can step back and check the alignment in different lighting conditions.

During this stage of putting a sticker on a car, pay attention to level lines and symmetry, especially on curved surfaces like doors or bumpers. You can also take a photo of the car with the sticker in place to review the look before committing. Once you are satisfied with the position, you are ready to proceed with a secure, bubble free application.
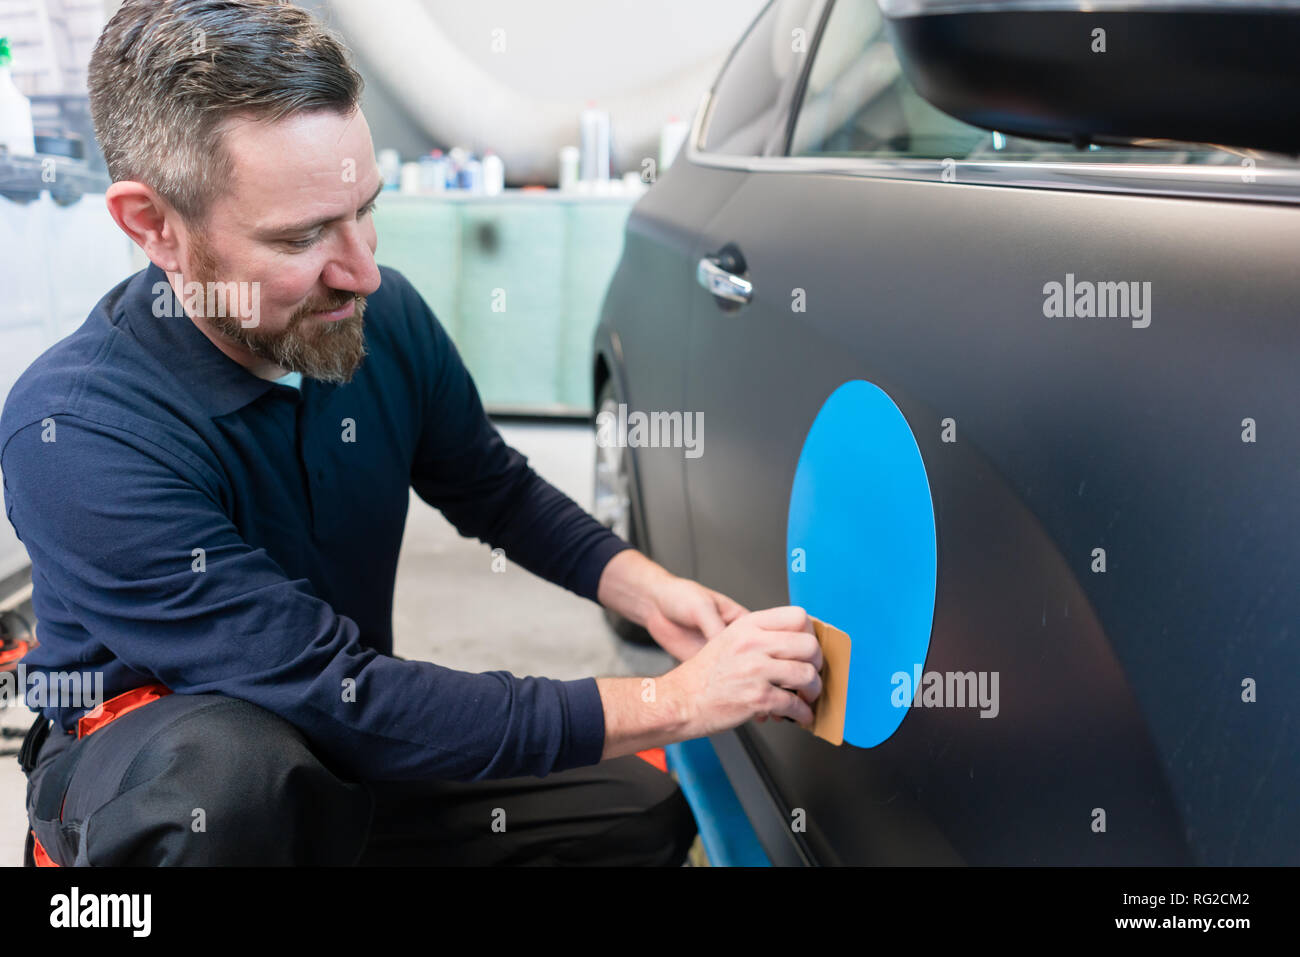
Applying the Sticker Smoothly
To apply the sticker, peel back a small section of the backing and align the exposed adhesive with your marked position. Slowly press the sticker onto the car, working from the center outward to push out air bubbles. Use a soft squeegee or a credit card wrapped in a microfiber cloth to smooth the surface gently and evenly.
Continue peeling the backing and pressing the sticker down section by section, repeating the squeegee motion until the entire sticker is attached. If bubbles appear, lift the edge carefully and re press the area, moving the air toward the edge. Take your time during this process to ensure a tight bond between the sticker and the car surface.
Trimming Edges and Final Inspection
After the sticker is fully applied, check the edges to make sure they are completely flat and sealed. If the sticker is larger than the intended area, use a sharp craft knife or razor to trim off the excess along the contour of the car body. Cut slowly and carefully to avoid scratching the paint or cutting into the sticker itself.
Do a final inspection by walking around the car and viewing the sticker from different angles and distances. Look for any remaining bubbles, lifted corners, or misalignment, and gently press those areas back into place. If the car will be exposed to heavy rain or frequent washing, consider using a recommended sealant around the edges to improve longevity.
Maintaining Your Car Sticker Over Time
Regular maintenance helps keep your sticker looking fresh and protects the paint underneath. Wash the car with a soft sponge and avoid aggressive brushes that might catch on the edges. Use non abrasive cleaning products and dry the sticker gently to prevent water spots from forming on its surface.

Over time, exposure to sunlight, road salt, and temperature changes can affect the adhesive and colors. Inspect the sticker periodically for signs of peeling or fading, and address small issues before they become larger problems. With proper care, putting a sticker on a car can remain a vibrant, eye catching detail for years.
Removing the Sticker Without Damage
When you decide to change the look of your car, removing the sticker carefully prevents damage to the paint. Use a heat gun or a hairdryer on a low setting to warm the sticker, which softens the adhesive and makes removal easier. Alternatively, a soaked cloth can help loosen stubborn adhesive without applying direct heat.
Slowly peel the sticker off at a shallow angle, and use a plastic scraper or a specialized adhesive remover for any remaining residue. Clean the area with soap and water, then polish and wax the spot to restore the original shine. By following these steps, you can remove a sticker cleanly and prepare the surface for a new design in the future.

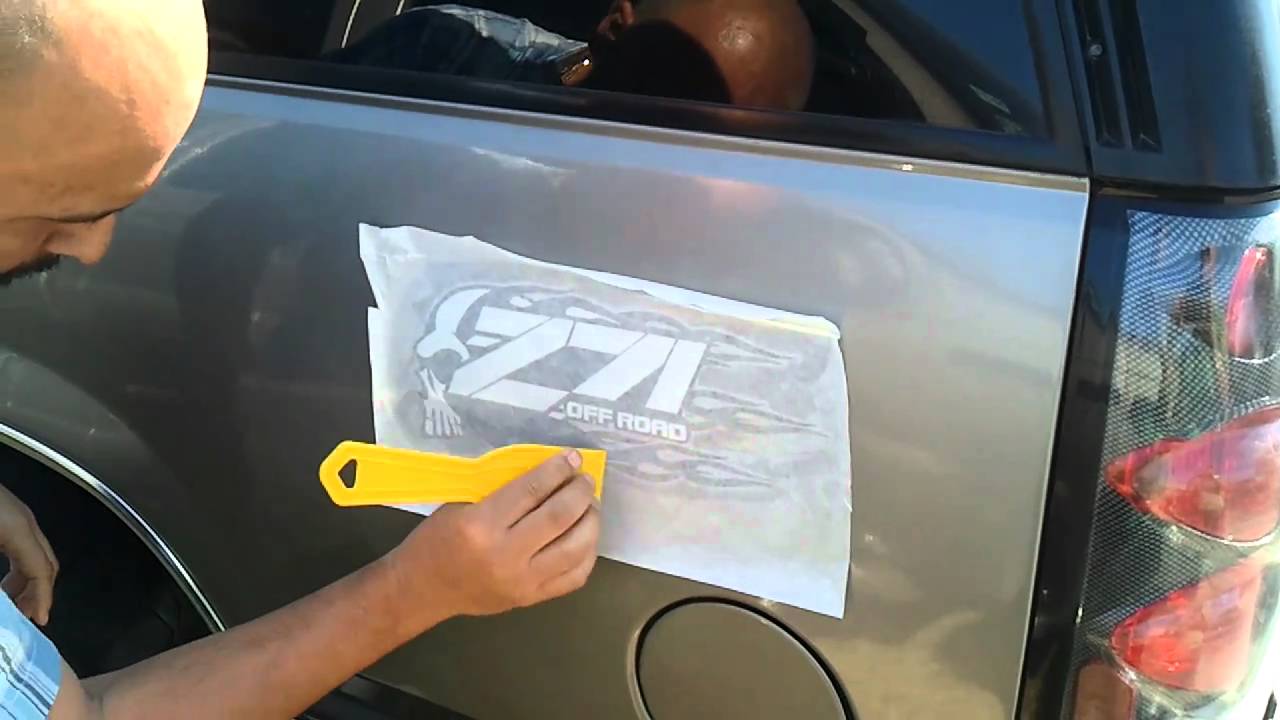
Como aplicar um decalque de carro - Etapas detalhadas - Método seco - Aplicação até a remoção
Este é um vídeo instrucional sobre como aplicar um decalque em qualquer superfície lisa usando o método seco. As superfícies ...
