Printing Decals
Printing decals is a popular way to add custom graphics to vehicles, walls, tools, and event signage without the cost of full custom cut vinyl.
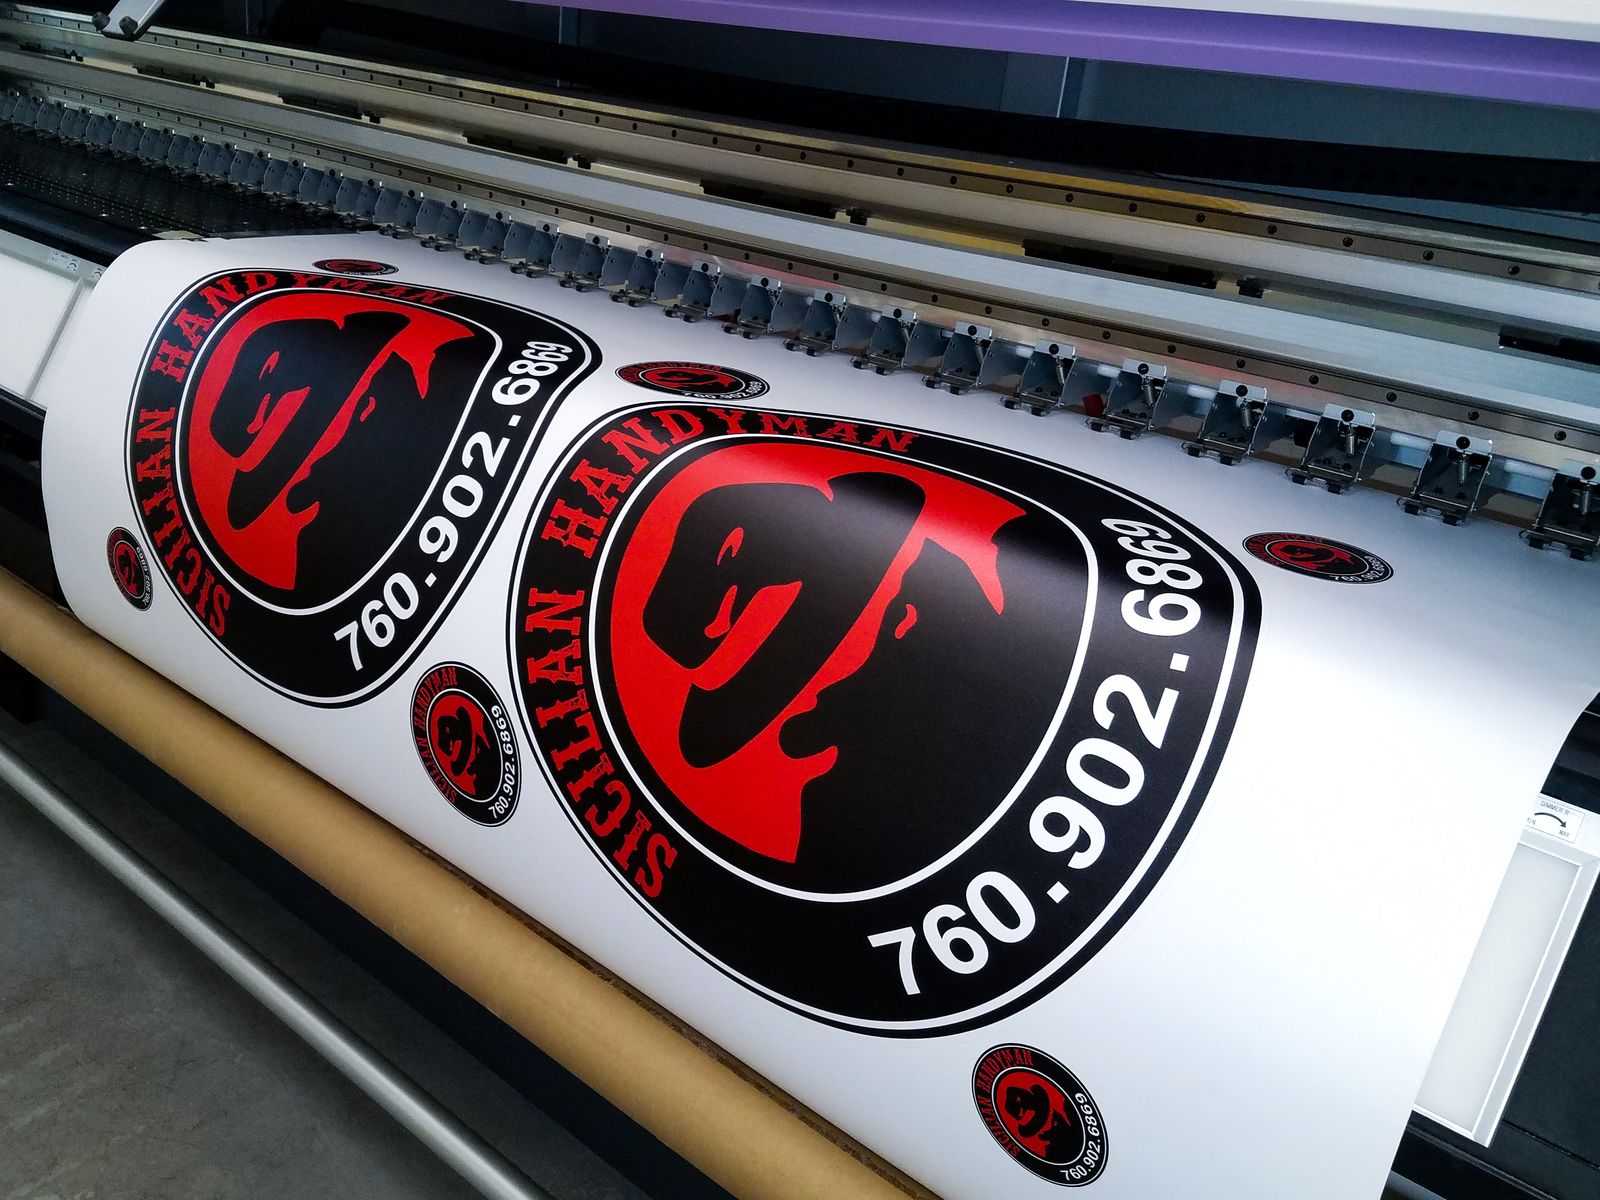
What Are Decals and How Are They Printed
Decals are essentially a printed design laminated with adhesive backing, allowing it to stick smoothly to many surfaces. Modern printing methods use large format inkjet printers that apply pigment or dye inks onto vinyl or cast films. These printed sheets are then cut to shape and finished with a protective clear layer to resist UV light, chemicals, and abrasion. Understanding this process helps you choose the right material and finish for your project.
Most professional printing shops start with a high resolution file, often vector artwork for crisp edges or high quality raster images for detailed photographs. The file is prepared with registration marks and crop information so each color aligns perfectly during printing. After printing, the design is laminated with either a matte or glossy overlaminate, which also protects the inks from fading or scratching during installation.

Choosing the Right Material for Your Decal
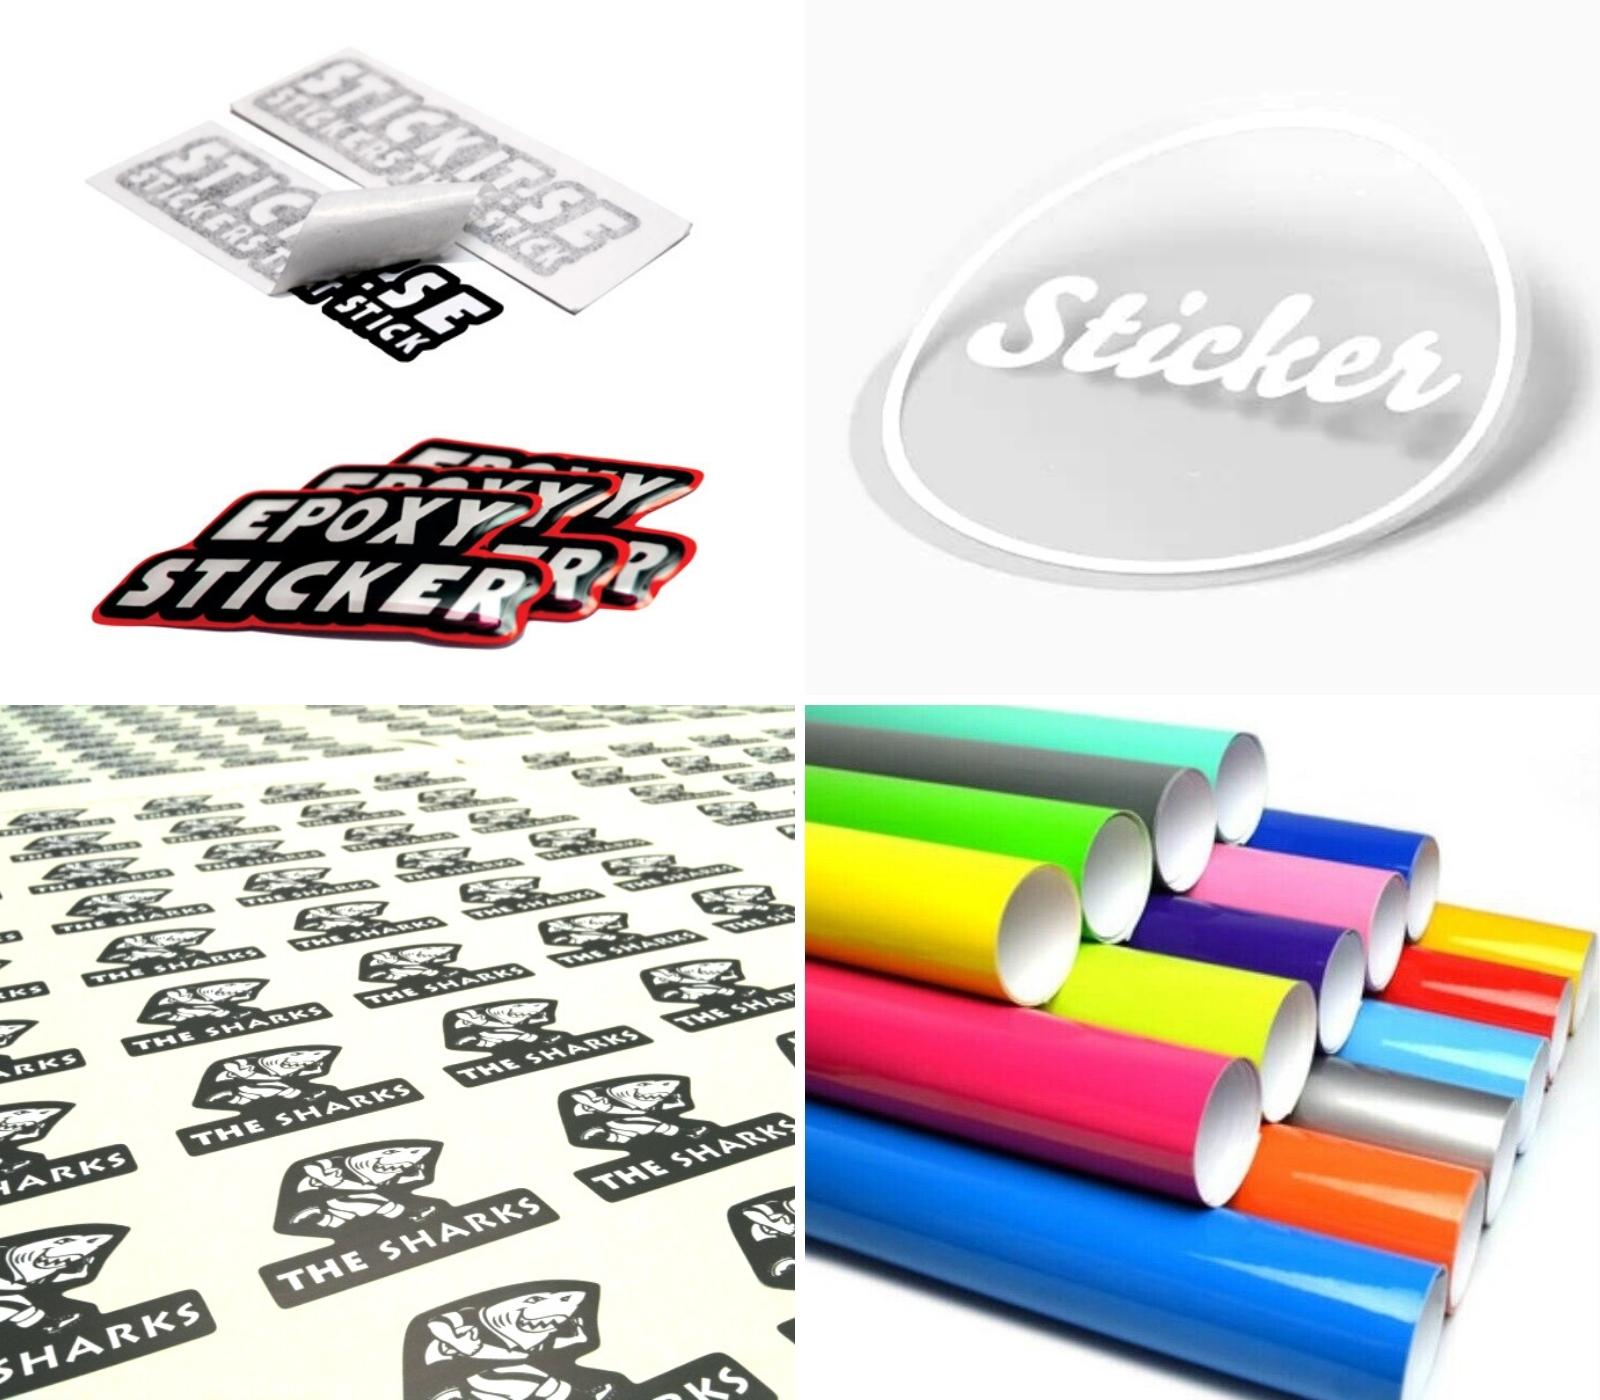
The substrate you select determines how your decal will perform outdoors, indoors, or on curved surfaces. Cast vinyl is known for its conformability, allowing it to wrap around corners and textured panels without peeling. Calendered vinyl is more economical and works well for flat applications like windows, floors, or trade show walls. Your printing provider can recommend the best option based on the expected lifespan and surface conditions.
Consider whether you need temporary or permanent adhesion, since some materials use stronger adhesives that resist removal and others allow clean repositioning. Opacity is another factor, with options ranging from clear stickers that showcase the surface beneath to white-backed films that cover dark colors. Backing paper and liner quality also matter, because they protect the adhesive until you are ready to install the decal.
Design Best Practices for Decal Printing
Preparing artwork specifically for printing decals reduces wasted time and ensures consistent colors across runs. Use vector outlines for text and logos so the edges stay sharp at any size, and limit the number of tiny details that could blur during cutting. Keep color palettes manageable by using spot colors or simplified gradients, which helps printing shops match hues accurately. Always include bleed areas and safe zones so the design does not get trimmed away during the final cutting stage.

Color proofing is an essential step, where you review a digital or printed sample to confirm that the tones and contrast look right. Remember that outdoor decals may require higher ink densities and UV resistant inks to prevent fading over months or years. Working with an experienced printer who understands file preparation can save you from reprints and installation headaches.
The Cutting and Weeding Process in Decal Production
After printing, the material moves to a cutting stage where precise blades slice through the vinyl but leave the backing sheet intact. This process, often called weeding, involves removing the excess vinyl around your design so only the parts you want to transfer remain. Complex designs with many small pieces require careful attention, because missed vinyl can change the final look and require manual adjustments.
Modern cutting tables use software to automatically plot the path for each piece, improving speed and accuracy. For detailed work, kiss cuts that slice only the top layer are sometimes used, especially when applying stickers to smooth surfaces. Skilled operators inspect each sheet to verify registration marks, alignment, and clean edges before the decal moves to lamination.

Application Techniques and Surface Preparation
Installing a decal correctly ensures it looks professional and lasts as long as intended. Begin by cleaning the surface to remove dust, oil, and residue, since any particles can prevent the adhesive from bonding evenly. Some installers use soapy water or specialized application fluids that allow the decal to slide into position before drying.
Use a squeegee or soft felt card to press the decal from the center outward, pushing out air bubbles and ensuring full contact. Patience pays off when aligning multiple layers or detailed designs, so take your time to avoid wrinkles or lifted edges. For outdoor projects, check the weather and avoid installing in windy or excessively cold conditions that could compromise adhesion.
Common Uses and Creative Ideas for Printed Decals
Businesses often use decals for branding on delivery vehicles, storefront windows, and point of sale displays that can be changed seasonally. Event organizers rely on them for stage backdrops, directional signage, and table identifiers that are lightweight and easy to transport. Crafters and hobbyists enjoy creating custom decals for laptops, skateboards, and model kits, adding a personal touch to everyday items.
You can experiment with decorative borders, die cut shapes, and layered effects to make your projects stand out. Combining printed graphics with textured surfaces or metallic finishes can give a unique depth that catches light throughout the day. Collaborating with a printing partner who offers design support and finishing options opens up even more creative possibilities.
Maintaining and Removing Decals
Proper care extends the life of your decals, especially for outdoor applications that face sunlight, rain, and temperature swings. Clean them gently with mild soap and a soft cloth, avoiding harsh abrasives that could scratch the surface. If you need to remove a decal, slow peeling at an angle usually works, and warm water or a mild adhesive remover can help with stubborn residue.
When you plan for future updates or seasonal changes, choose materials and adhesives that allow removal without damaging the underlying surface. Keeping a record of file sources and color specifications makes it easier to reproduce successful designs with consistent quality. With thoughtful design, professional printing, and careful installation, your decals can remain vibrant and impactful for years.
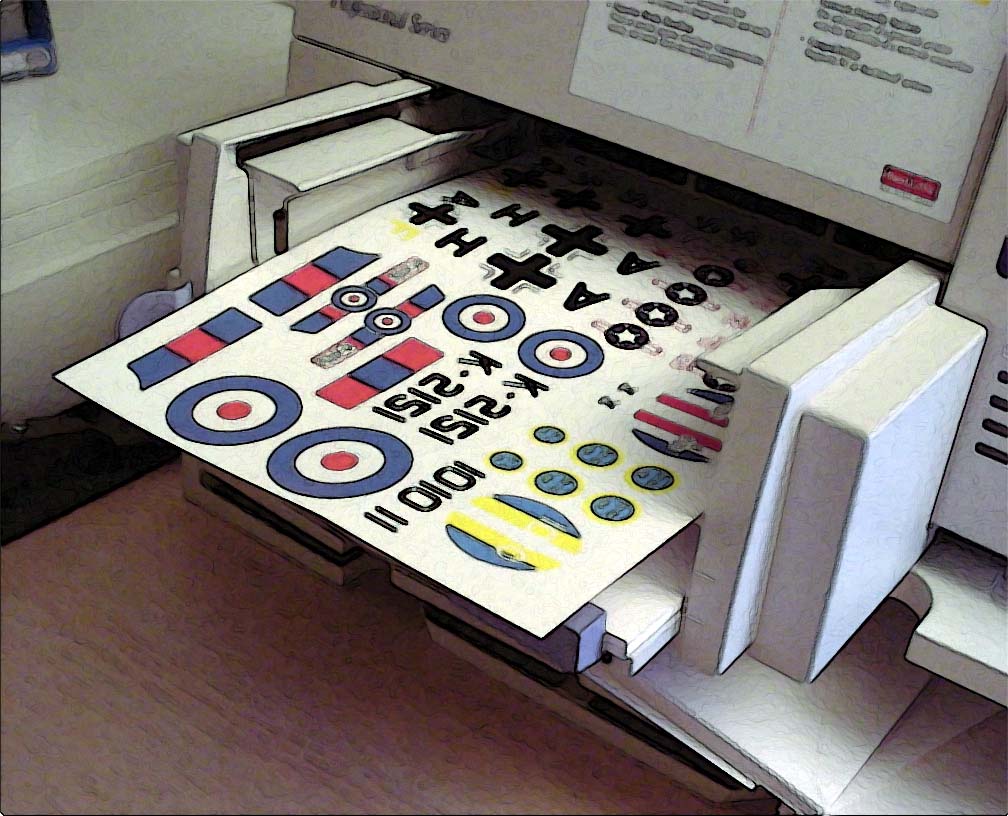
How to print waterslide decals - BOAB Models Tips & Tricks
decal #howto #scalemodels Hello and welcome to BOAB Models guide to printing waterslide decals. This guide looks at using an ...
