Picture Decals
Picture decals bring your walls, gadgets, and gifts to life with crisp photos and playful graphics, turning ordinary surfaces into personal galleries.
What Are Picture Decals and How Do They Work
At their simplest, picture decals are adhesive prints designed to stick smoothly onto many surfaces without needing special tools. Depending on the product, they can be removable, repositionable, or semi‑permanent, giving you flexibility for temporary photo walls or long‑lasting branding. A picture decal usually arrives as a flat sheet with a printed design, a backing layer, and a low‑tack adhesive that activates with pressure.
Modern printing methods, such as high‑resolution inkjet or dye‑sublimation, help the image retain vivid color and fine detail even on slightly textured walls. Because the material is lightweight and often thin, a picture decal can be applied quickly, peeled off carefully, and sometimes reapplied without significant loss of adhesion. This makes them ideal for renters, event planners, and anyone who wants a gallery‑ready look without drilling holes or hiring a professional installer.
Choosing the Right Surface for Picture Decals
Smooth, clean, and dry surfaces give picture decals the best hold and appearance, so glass, metal, painted walls, and finished wood are popular choices. Before applying, wipe away dust, oils, and residues with a gentle cleaner and let the area dry fully to prevent bubbles and lifting edges. On textured walls or fabrics, the adhesion may be weaker, so you might need light smoothing tools or a mild soapy solution to reposition the decal gently.
Consider the environment where the picture decal will live: high humidity, direct sunlight, or frequent touching can affect longevity and color vibrancy. In these settings, look for products labeled as weather‑resistant or UV‑protected, and follow the maker’s guidance on cleaning and maintenance. With the right surface and care, a well‑chosen picture decal can stay bright and intact for years.
Design Tips for Stunning Picture Decals
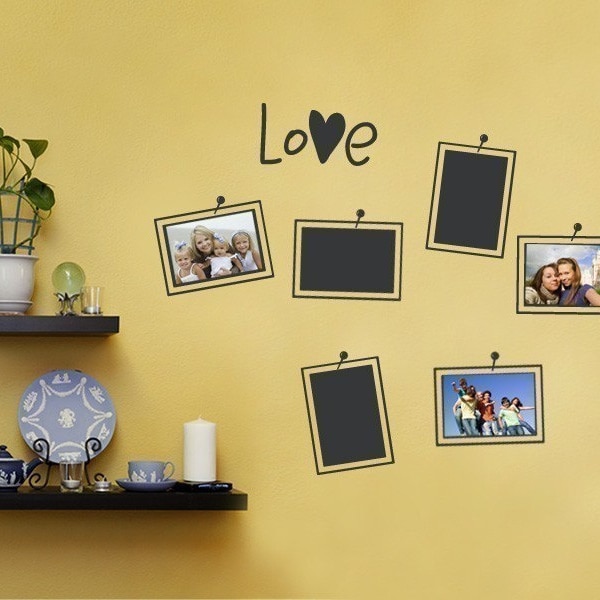
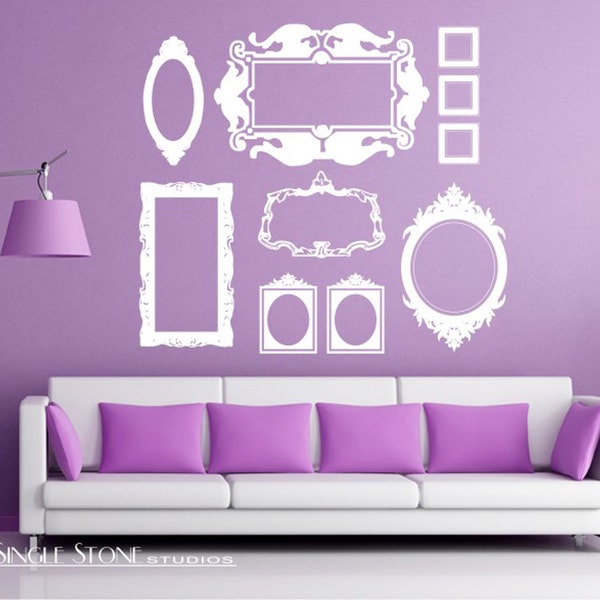
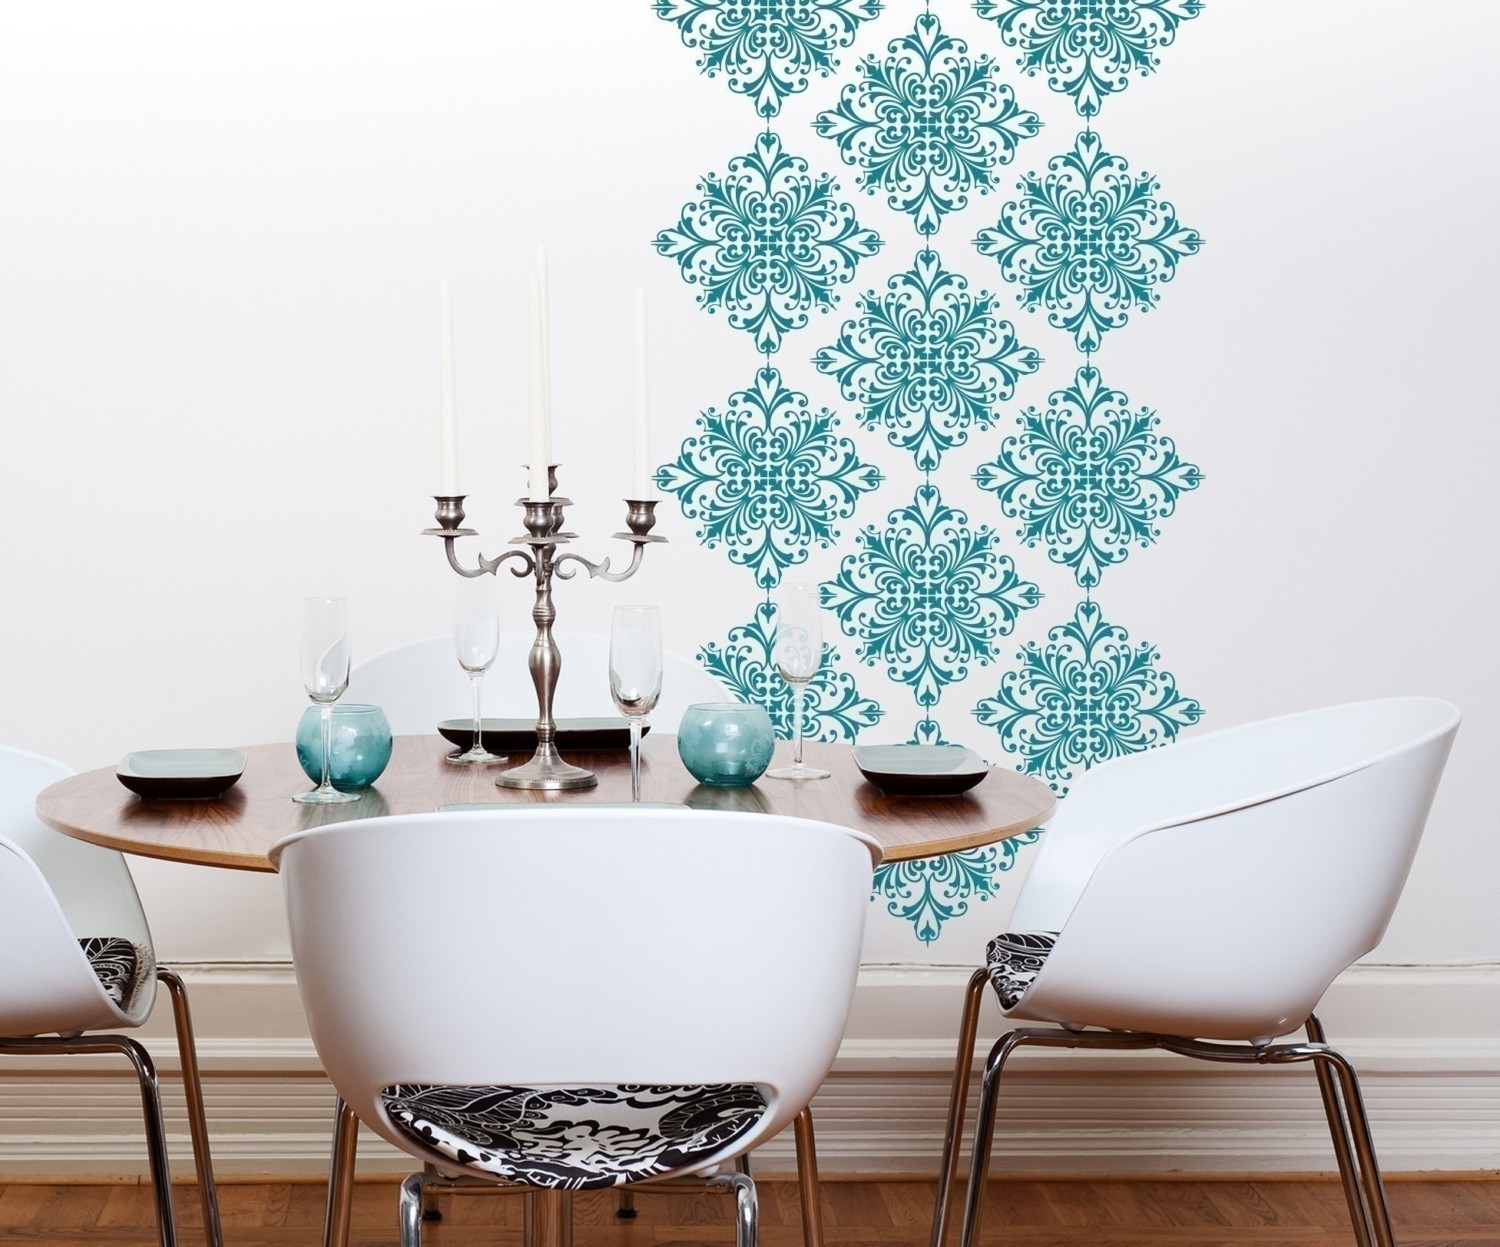
Start with a high‑quality image that suits the size of the wall or object, because upscaling a low‑resolution photo can make the final picture decal look soft or pixelated. Crop and adjust the image for contrast and color balance before sending it to print, and consider how the scene will interact with natural light in the room. If you plan a gallery arrangement, sketch a simple layout on paper first, using measurements to keep spacing consistent and avoid crooked frames.

Play with themes such as black‑and‑white memories, vibrant travel scenes, or coordinated color palettes that match your existing décor. Adding subtle elements like caption boxes, minimalist borders, or small icons can give context without overwhelming the visual impact. Remember that each added detail on a picture decal should serve the story you want the wall or object to tell.
Application and Installation Made Simple
Begin by laying out all the pieces on the floor to finalize the composition, then label each sheet for easy assembly during installation. Clean the surface thoroughly, measure key anchor points, and use a level to mark gentle guidelines that you can follow with the backing removed. Position the picture decal slowly, pressing from the center outward to push out air bubbles, and use a soft squeegee or credit card for smooth, even contact.
If the design is large or has multiple panels, work section by section and register edges with small alignment marks or temporary tape. For removable options, you can lift a corner gently and re‑position if needed, but avoid stretching the material to prevent distortion. Once everything looks straight and bubble‑free, let the adhesive set for a day or two before touching or cleaning the surface.
Caring for and Removing Picture Decals
Routine care for most picture decals involves gentle dusting with a dry microfiber cloth and occasional wiping with a damp cloth and mild soap, followed by thorough drying. Avoid abrasive tools, harsh chemicals, or pressure washers, especially on delicate surfaces, because they can scratch the print or weaken the adhesive. If sunlight causes fading over time, consider UV‑filtering films on nearby windows or rotate displayed pieces occasionally to preserve the image.
When it is time to remove a picture decal, start in a corner and peel slowly at a low angle to reduce the risk of tearing or leaving residue. Stubborn adhesive can often be lifted with a hair dryer on a low setting or a mild adhesive remover tested first on an inconspicuous spot. After removal, clean the surface to restore its original look, and store the decal flat in a protective sleeve if you plan to reuse it later.
Creative Uses and Inspiration for Picture Decals
Beyond accent walls, people use picture decals to refresh furniture, customize laptop skins, and add themed backdrops for events and small businesses. Photographers and artists may showcase their work inexpensively, while families create rotating memory walls that can change with the seasons or holidays. In commercial spaces, a well‑placed picture decal can reinforce brand identity without the permanence of painted murals.

Experiment with layering, mirrors, and lighting to amplify the depth and mood of each picture decal, or combine textures like matte and glossy finishes for visual interest. By treating these adhesive prints as flexible design elements rather than static decorations, you open up countless ways to personalize your space while keeping the installation process simple and damage‑free.
With thoughtful design, careful application, and a bit of creativity, picture decals can transform any room or object into a vivid, personalized statement that feels both modern and intimate.
HOW TO MAKE BLOXBURG DECALS THAT ARENT BLURRY! (ALL DEVICES)
yippee OPEN ME FOR SOCIALS, MERCH & MORE! ౨ৎ hey glossettes! In today's video I show you how to upload your own ...
