Personalized Helmet Decals
Personalized helmet decals turn an ordinary riding helmet into a bold signature, letting you express personality, team spirit, or brand identity with a simple sticker or custom cut.
What Are Personalized Helmet Decals and Why They Matter
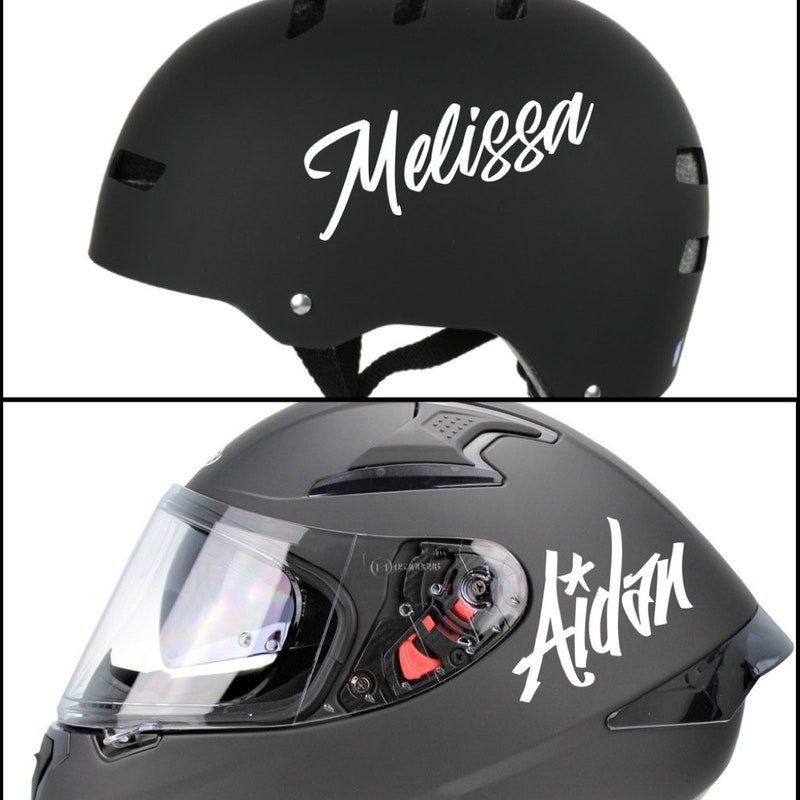
Personalized helmet decals are adhesive designs, text, logos, or graphics cut to order and applied to helmets to create a unique look. Unlike generic stickers, they can feature your name, nickname, mascot, company logo, or any artwork that reflects your style or affiliation. Because helmets often appear in photos, videos, and competitions, these decals become a visible extension of your brand or personality every time you ride.
From a safety standpoint, high-quality personalized helmet decals do not interfere with the helmet structure when applied to smooth, non-structural surfaces. They are printed on durable vinyl or polyester with strong adhesive that resists UV light, moisture, and abrasion. As long as you avoid placing decals over ventilation holes, visor mounting points, or impact-absorbing zones, they remain a safe way to customize without compromising protection.

Common Materials and Printing Techniques for Long-Lasting Decals
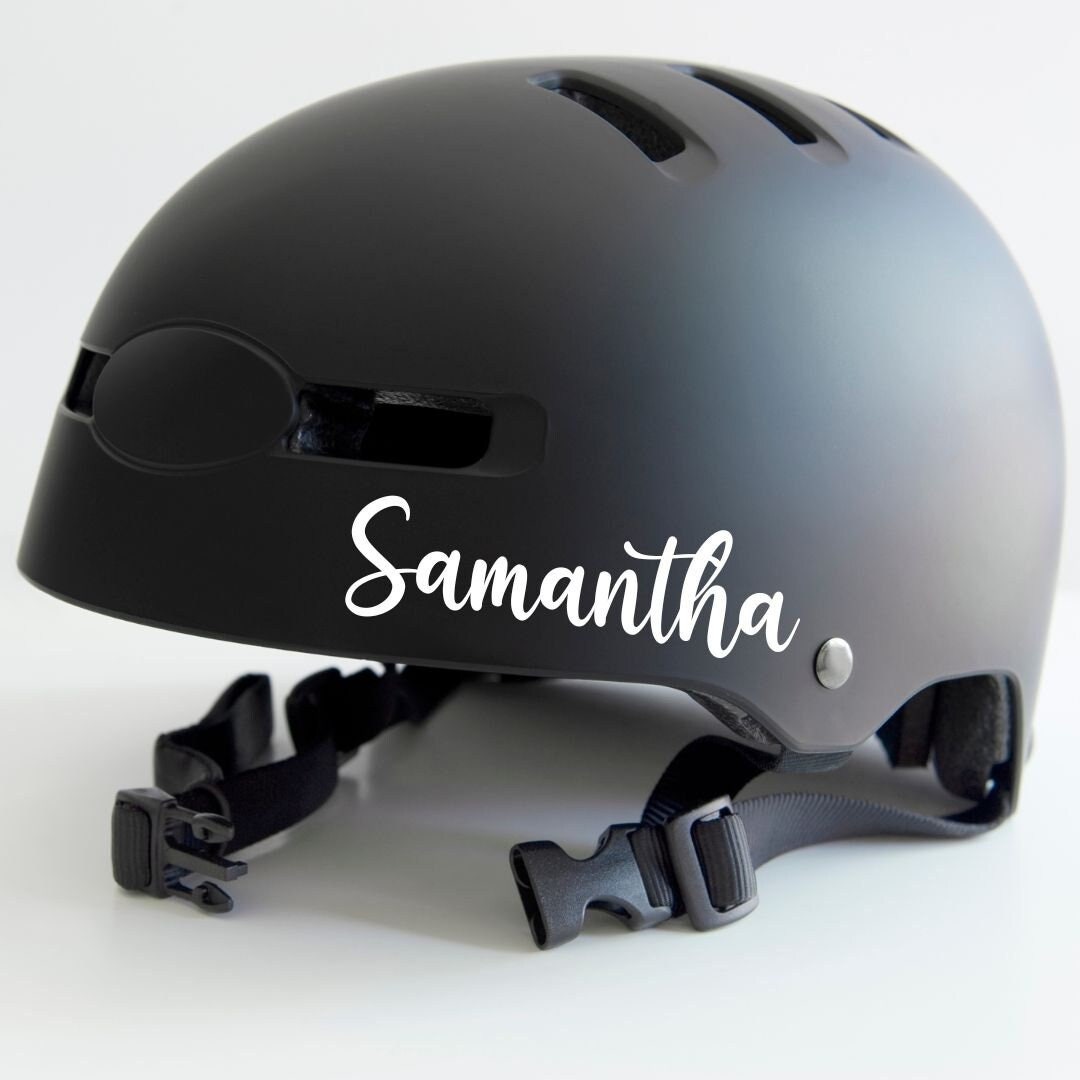
Vinyl decals are the most popular choice for helmets because they are flexible, weather resistant, and available in matte or glossy finishes. They can be printed in full color with detailed graphics and often include a protective laminate layer that prevents scratches and fading. For a more premium look, cast vinyl offers superior conformability, allowing the decal to curve smoothly over helmet ridges without peeling at the edges.
- Die-cut vinyl provides clean, precise edges by cutting out the design while leaving the backing paper intact, making installation easier on curved surfaces.
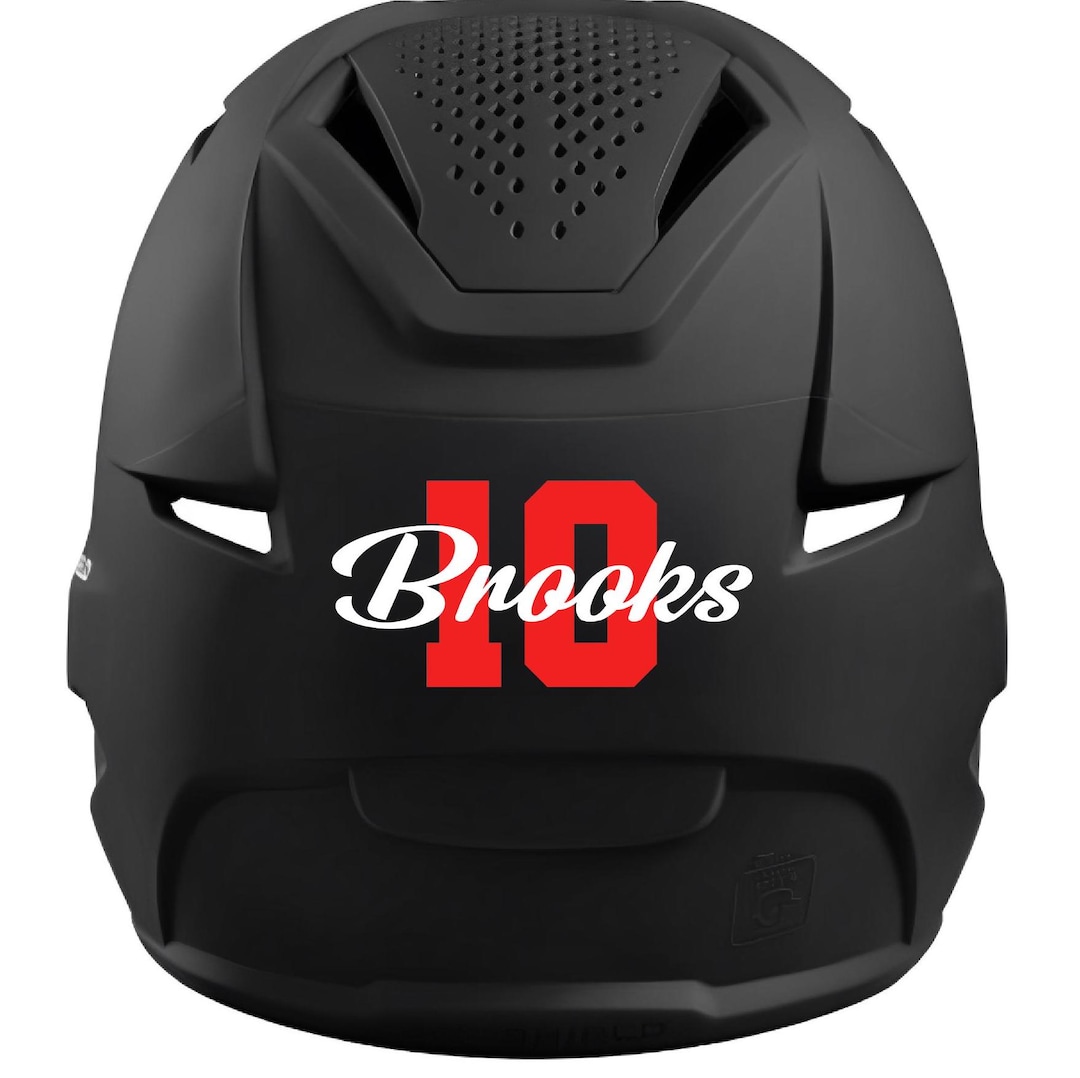
- Screen printed decals deliver vibrant colors and thick ink layers, ideal for bold, graphic-heavy designs that stand out from a distance.
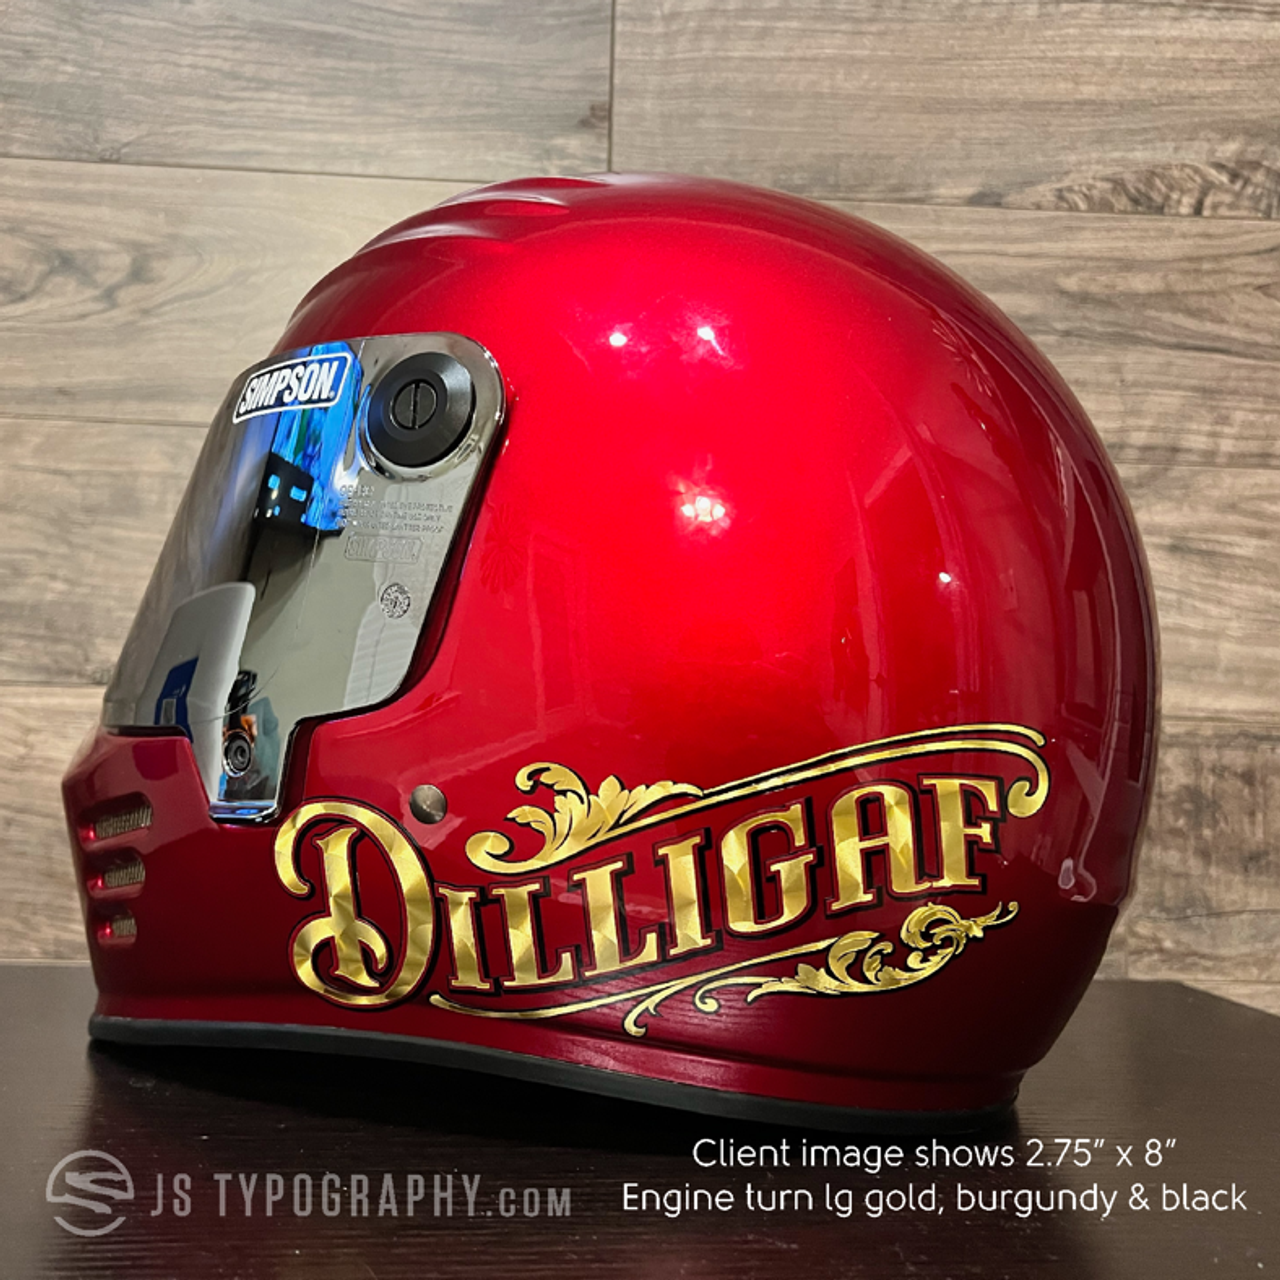
- Digital printed decals support full-color photographic artwork and fine details, perfect for intricate logos or realistic illustrations that need to stay sharp over time.
Design Ideas and Creative Ways to Personalize Your Helmet
You can start with a minimalist approach, using a small monogram, initials, or a subtle icon near the back or sides for a refined look. For a more striking effect, wrap a bold name or team slogan across the top or sides, creating a signature that is instantly recognizable even from a distance. Consider incorporating stripes, geometric shapes, or gradient backgrounds to frame your main graphic and add depth.
Another creative idea is to create a series of smaller decals that can be rearranged, allowing you to update the look seasonally or for different events. You might match helmet colors with your motorcycle or personal style, using metallic or glitter finishes for extra shine. Just remember to keep the overall design balanced so it complements the helmet shape rather than competing with it.
How to Measure, Apply, and Position Decals Perfectly
Before applying, clean the helmet surface with isopropyl alcohol to remove dust, oils, and residues that could affect adhesion. Measure and mark the center point lightly with tape, then place the decal on the helmet to check visibility and proportions before removing the backing. For larger designs, use a level or measuring tape to ensure the decal sits straight, especially if you are placing it across the curved surface.
When you are ready to apply, peel off a small section of the backing and smooth it onto the helmet from the center outward to push out air bubbles. Use a soft squeegee or credit card to press the decal firmly against the surface, working from the middle toward the edges. If the decal has a clear top layer, burnish it gently to seal the edges and prevent lifting during rides.
Maintenance Tips to Keep Your Decals Looking Fresh
To extend the life of your personalized helmet decals, rinse the helmet with lukewarm water after rides in dirty or salty conditions. Use a mild soap and a soft sponge to clean around the edges, avoiding harsh scrubbing that can lift the vinyl. Dry the helmet with a microfiber cloth instead of wiping aggressively, which can cause micro scratches on the decal surface.
Over time, exposure to sunlight, rain, and cleaning products can cause colors to fade. Store the helmet indoors when possible, and avoid using abrasive cleaners, ammonia-based solutions, or sticky tape on the decal area. If an edge begins to lift, carefully reapply it while the helmet is clean and dry, pressing firmly to restore adhesion.
Choosing the Right Provider and Ordering the Perfect Set
When you order personalized helmet decals, look for a provider that offers material samples, clear size options, and guidance on placement. Share the helmet model and photos if possible, so they can recommend sizes and finishes that will fit well and remain visible. Check reviews for color accuracy, adhesion tests, and how well the vendor handles revisions or custom artwork.
Before approving a production proof, verify spelling, logo proportions, and color codes, especially if you are matching team or brand colors. Request a small test print if you are ordering a large batch, ensuring that the cut, weeding, and adhesive performance meet your expectations. With the right materials, thoughtful design, and careful installation, your personalized helmet decals will stay vibrant ride after ride.
In the end, personalized helmet decals are more than decoration; they are a practical way to claim ownership, improve recognition, and showcase your style with every journey. By choosing durable materials, smart design, and proper care, you keep your helmet both safe and unmistakably yours.
Helmet Vinyl Decal Install.
13th Cult cutom vinyl helmet decal on the Bitwell Lanesplitter.
