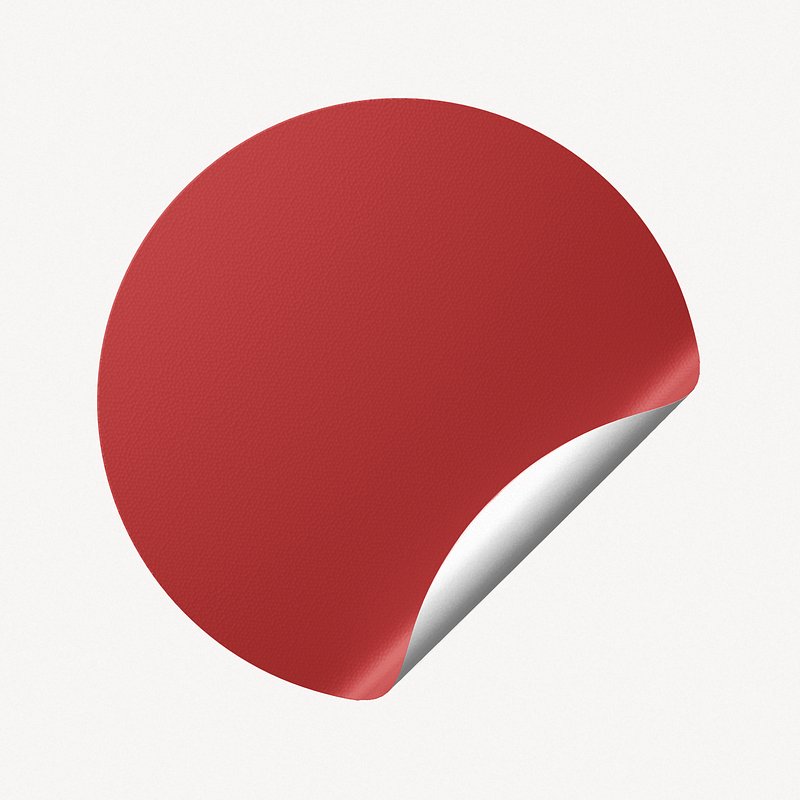
Peeling Sticker

Dealing with a peeling sticker can feel frustrating, but understanding why it happens and how to respond makes all the difference.
Why Stickers Peel in the First Place
Stickers peel for several common reasons, and identifying the cause helps you choose the right fix. Adhesive quality, surface texture, and environmental exposure all play a role in how well a sticker stays in place.
Low-quality adhesives often lose their grip quickly, especially on smooth or non-porous surfaces. When the bond weakens, the edges of a sticker begin to lift, creating the very peeling sticker problem many people face.
Environmental Factors That Weaken Adhesion
Exposure to heat, cold, humidity, and UV light can break down adhesive over time. Outdoors, a peeling sticker on a car bumper or outdoor equipment may curl at the edges due to temperature fluctuations.

Indoors, stickers placed near windows, radiators, or in bathrooms may peel because of steam or sudden temperature changes. Understanding these triggers helps you prevent future issues and keep graphics intact longer.
How to Remove a Peeling Sticker Gently
Removing a peeling sticker the right way prevents damage to the underlying surface. The goal is to lift the adhesive without scratching or leaving stubborn residue behind.
Start by carefully lifting a corner with your fingernail or a plastic scraper. Slow, gentle pressure helps separate the sticker from the surface without tearing it into smaller pieces.
Tools That Make Removal Easier
- Use a plastic credit card or membership card to slide under the edge.
- Apply a small amount of cooking oil or rubbing alcohol to dissolve stubborn adhesive.
- For delicate surfaces, warm water and mild soap can soften the bond safely.
Avoid metal tools whenever possible, as they can easily scratch paint, glass, or plastic. Patience and a light touch are key when you handle a stubborn peeling sticker.

Surface-Specific Tips for Car, Glass, and Plastic
Different materials require different approaches, and using the wrong method can cause more harm than good. Tailoring your technique to the surface ensures a clean removal and protects the finish.
On car windows, a legal-compliant solution is necessary, so choose products that are safe for automotive glass. On painted surfaces, always test any solvent on a small hidden area first to avoid damaging the paint.
Best Practices for Each Material
- Glass: Use razor blades designed for automotive glass with light, angled strokes.
- Plastic: Avoid harsh chemicals that can cause cracking or discoloration.
- Metal: Soapy water and gentle scrubbing often work well without special solvents.
Taking a few extra minutes to match the method to the surface saves you time and prevents the frustration of repeat repairs.
Preventing Future Peeling Problems
Prevention is often easier than removal, especially when you apply stickers correctly from the start. Proper cleaning and surface preparation dramatically improve adhesion and longevity.
Dust, oil, and residue create weak spots where a peeling sticker can begin to lift. Wiping the area with isopropyl alcohol and letting it dry completely gives the adhesive the best possible bond.
Simple Steps for Long-Lasting Stickers
- Clean the surface thoroughly with mild soap and water.
- Dry the area completely before applying the sticker.
- Press firmly from the center outward to remove air bubbles.
- Avoid immediate exposure to water or extreme temperatures.
For outdoor applications, choose weather-resistant materials designed to resist a peeling sticker scenario. High-quality vinyl and laminated finishes typically perform much better than standard paper stickers.
When to Repair or Replace Damaged Stickers
Sometimes a peeling sticker cannot be saved, especially when the adhesive has degraded or the printed area is damaged. Recognizing when to replace it saves you from half-hearted patches that look unprofessional.
If the sticker loses more than a small portion of its adhesion, removing it and applying a fresh one usually works best. Leaving a damaged sticker in place can trap moisture and lead to surface deterioration over time.
Signs It Is Time for a Replacement
- Large portions are lifted or curling.
- The adhesive leaves a sticky residue that does not clean off easily.
- Fading or cracking in the printed design affects appearance.
- You notice bubbling or soft spots on painted surfaces.
Replacing the sticker promptly keeps surfaces looking clean and well maintained, whether indoors or outdoors.
Choosing the Right Products to Avoid Peeling
Investing in better materials reduces the likelihood of a peeling sticker and gives you more time to enjoy your designs or labels.
High-tack adhesives, UV-resistant inks, and durable substrates cost a bit more upfront but pay off in reduced maintenance and longer display life. For commercial applications, professional-grade products are often the most economical choice in the long run.
Reading product descriptions, checking customer reviews, and testing small batches help you find the stickers that stay firmly in place. Matching the sticker type to the environment ensures reliable performance and fewer repairs.

With the right preparation, careful removal, and smart product choices, a peeling sticker becomes a minor inconvenience rather than a constant problem.
By addressing each peeling sticker scenario methodically, you protect your surfaces, preserve your designs, and maintain a clean, professional appearance every time.
Satisfying ASMR Sticker Peeling 💖 Relaxing Sounds & Tingles (No Talking)
Relax and unwind with this satisfying ASMR sticker peeling video Enjoy soft, crisp sounds designed to help you sleep, reduce ...
