Motorhome Vinyl Decals
Motorhome vinyl decals are a popular way to personalize your camper and give it instant character without a permanent commitment.
What Are Motorhome Vinyl Decals and Why They Matter
Motorhome vinyl decals are adhesive graphics designed specifically for the curves and surfaces of a camper, van, or motorhome. They are made from durable vinyl that resists weather, UV rays, and minor abrasions, so your design stays vivid even on long road trips. Unlike paint or wraps, these decals can be removed carefully, which makes them ideal for renters, seasonal travelers, or anyone who likes to refresh their look often. Because they are lightweight and flexible, they adapt well to most factory finishes and aftermarket panels without affecting the underlying paint.
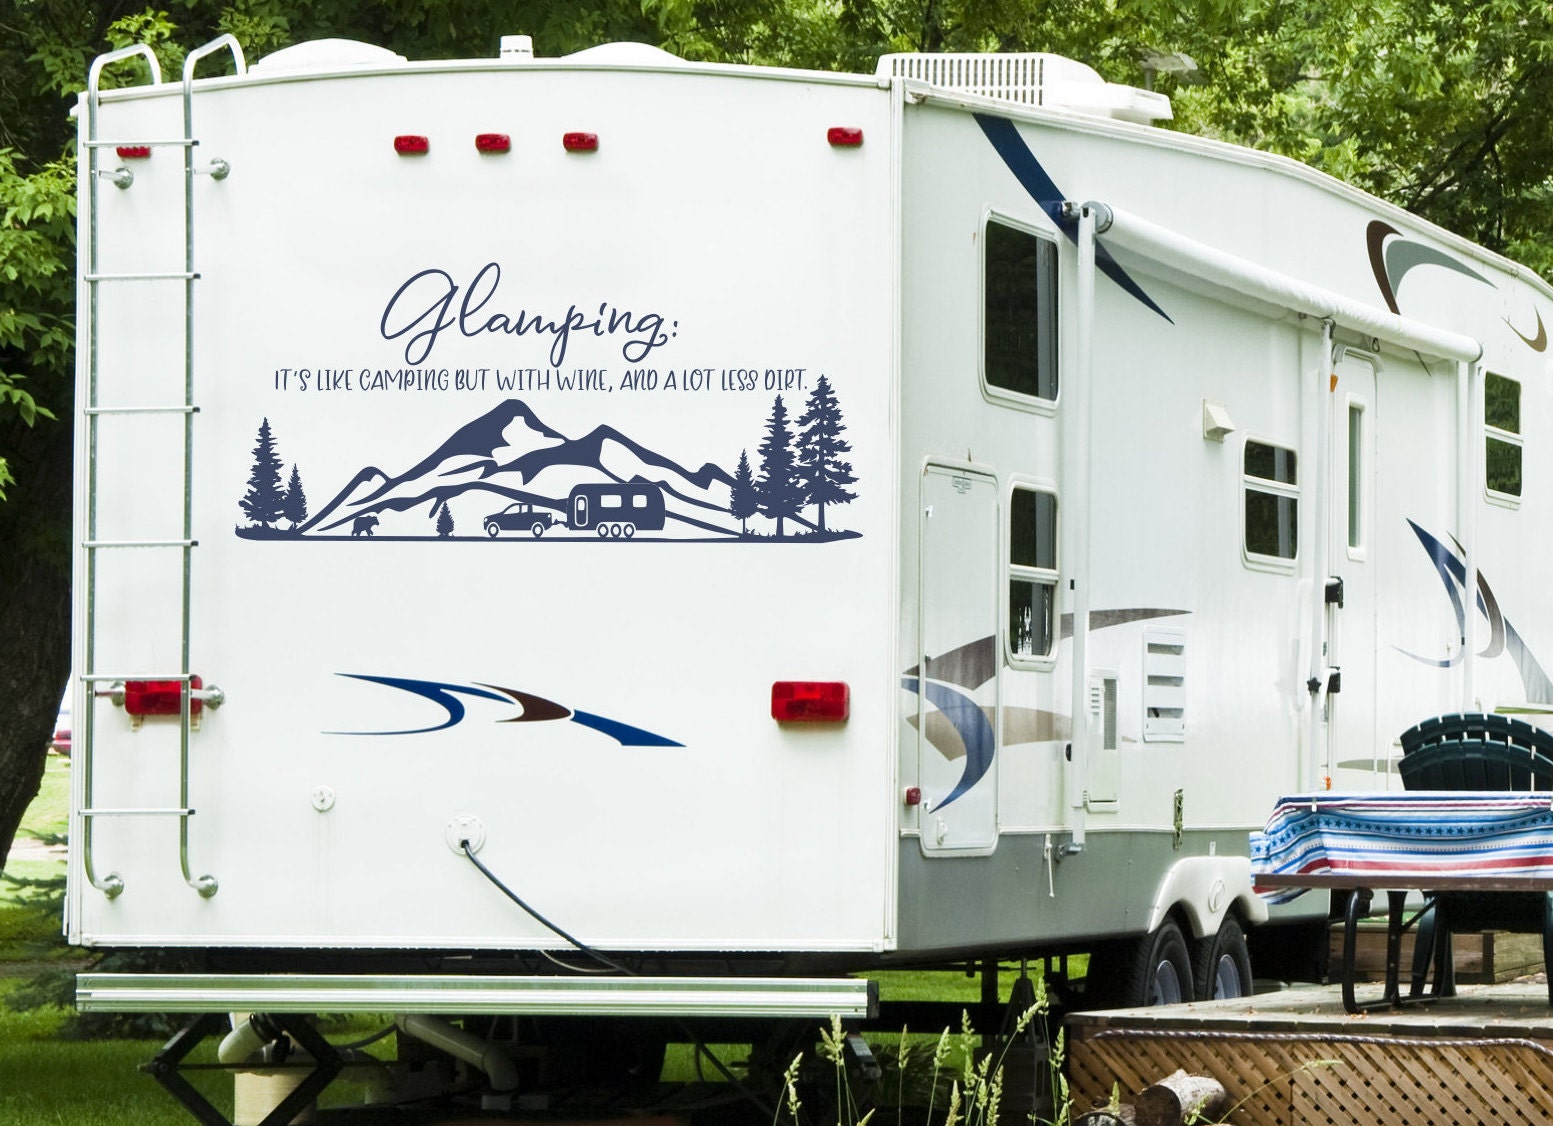
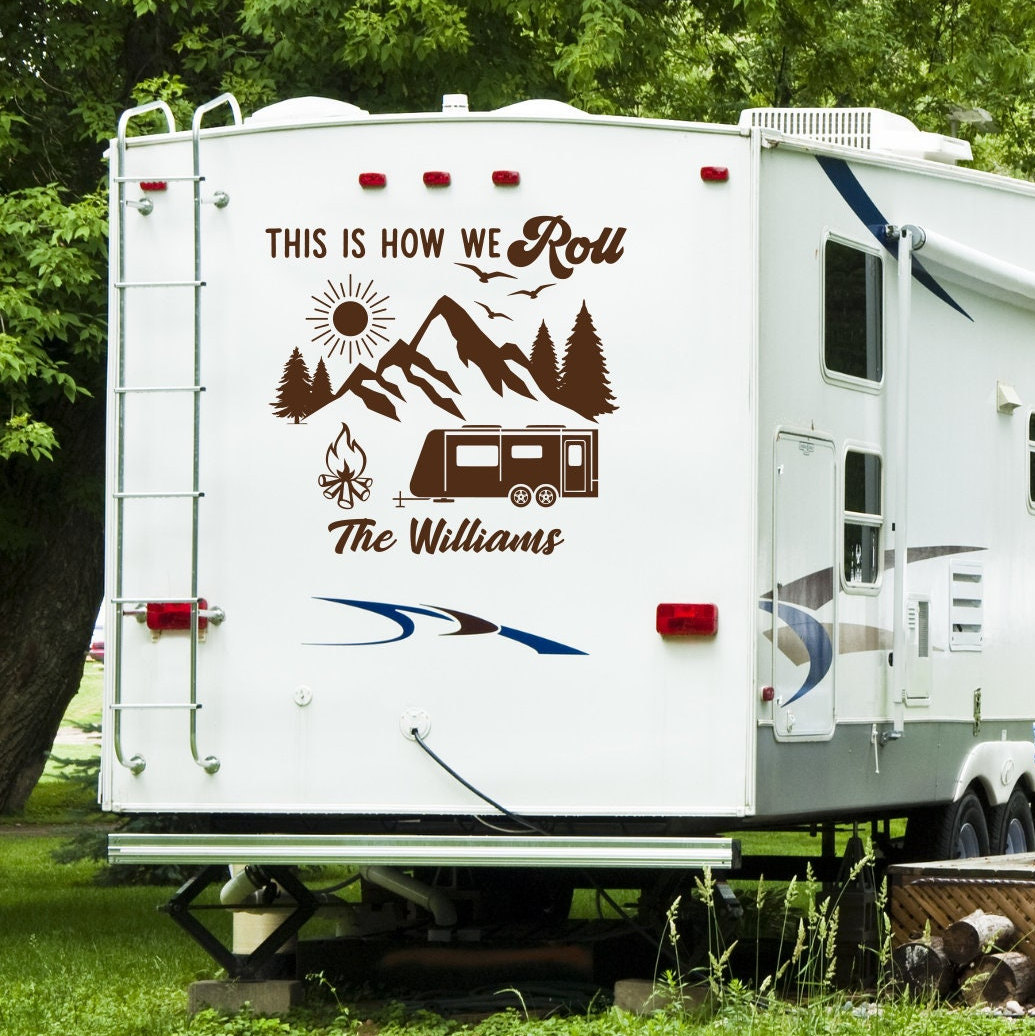
Many people choose motorhome vinyl decals to showcase hobbies, destinations, family names, or brand affiliations in a playful and mobile way. You can create a subtle emblem near the entrance, a bold strip along the sides, or a full set of themed graphics that tell your travel story. They also help with visibility on the highway, making your motorhome easier to spot and identify from a distance. For families or groups, matching decals reinforce a shared identity while each rig keeps its unique character through color choices and placement.
Types of Motorhome Vinyl Decals to Consider
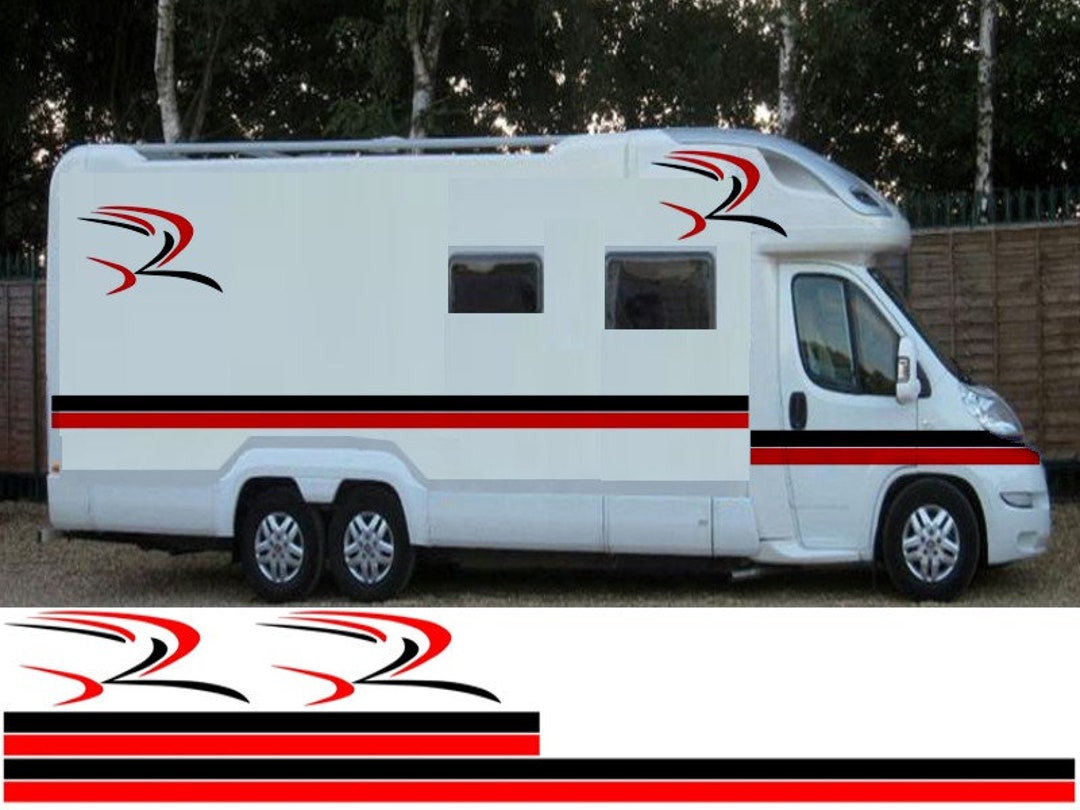
You can start simple with a single nameplate or logo near the front, or go for a coordinated set that includes stripes, shields, and corner emblems. Many brands offer matching families of decals, so you can coordinate your motorhome with a company theme, a sports team, or a destination-inspired motif. Stripes and pin stripes add a classic touch, while illustrated graphics such as mountains, waves, or animals bring a handcrafted feel. If you like a modern look, geometric patterns and minimalist icons can give your camper a sleek, contemporary appearance without overwhelming the body lines.
Some decals are designed specifically for windows, while others are formulated for the lower panels that encounter more dirt and spray. Before you choose, check whether the material is rated for cold temperatures, prolonged sun exposure, and occasional washing with soap. High-quality vinyl tends to resist cracking, fading, and peeling, which means you will spend less time replacing pieces and more time on the road. You can also mix premium decals with budget-friendly accents to create a layered look that feels intentional and curated.
How to Measure and Plan Your Decal Layout
Begin by measuring the available space on your motorhome with a tape measure, and sketch a rough layout on paper or in a digital tool. Consider the height of each panel, the location of doors, windows, and vents, and leave enough border around decals to keep the look balanced. If you plan a continuous stripe along the side, mark guide points with painter tape before committing to the adhesive backing. For complex designs, you might create a template on paper or cardboard to visualize how the shapes interact with the curves and panels.

- Decide on a focal point, such as the front panel, side doors, or rear wall, and build the rest of the layout around it.
- Check how the decals will look in daylight and at night, especially if you plan to add reflective accents or lighter colors.
- Choose a color palette that complements your motorhome’s base color and does not clash with nearby fixtures or trim.
Planning ahead reduces the risk of misaligned pieces and wasted material, and it helps you maintain a cohesive theme across the entire vehicle. You can always start with a small test decal on a low-visibility area to see how the material and color perform in real conditions.
Installation Tips for a Clean, Long-Lasting Finish
Clean the surface thoroughly with a mild soap, dry it completely, and remove any wax or residue before applying motorhome vinyl decals. Use a level or measuring tape to keep stripes and graphics straight, and work in sections to avoid bubbles and wrinkles. A soft squeegee or credit card helps press the decal down firmly while pushing out trapped air between the vinyl and the paint. If possible, apply decals in the shade or on a cooler part of the day so the adhesive sets evenly without stretching.
- Start from the center and smooth outward to minimize wrinkles on curved panels.
- Lift the backing paper slowly and reposition if needed before the adhesive bonds permanently.
- Avoid harsh cleaning tools and abrasive chemicals that can lift edges or dull the vinyl finish.
Proper installation not only improves the appearance but also extends the life of each decal by reducing the chances of peeling at the corners. Over time, you may notice slight lifting at the edges, which can be gently pressed back down and protected with a clear sealant designed for vinyl on motorhomes.
Design Ideas and Personalization Strategies
Think of your motorhome as a moving canvas, and choose themes that reflect your personality or travel style. Nature lovers might opt for pine trees, mountain silhouettes, and river motifs, while road trip fans could use maps, compass roses, and milestone markers. Minimalist owners may prefer a single elegant logo or a narrow monochrome stripe, whereas families might add playful icons, coordinates of favorite spots, or the names of hometowns.
- Coordinate your motorhome decals with your outdoor gear, such as chairs, awning, or cooler, for a unified look.
- Use contrasting borders or subtle shadows to make graphics pop against a metallic or dark-colored panel.
- Consider adding small arrows or indicators that point toward storage compartments or access points for a functional yet stylish touch.
Because vinyl is available in many finishes, from matte to glossy, you can match the decal sheen to your motorhome’s existing paint or wrap for a harmonious result. Mixing different scales, from tiny emblems to large graphic panels, creates visual interest without making the design feel cluttered.
Caring for and Removing Motorhome Vinyl Decals
To keep your motorhome vinyl decals looking sharp, rinse off road salt, bird droppings, and tree sap promptly, and use a gentle, non-abrasive cleaner with a soft cloth or sponge. Avoid pressure washers aimed directly at the edges, because high-pressure streams can gradually lift the vinyl and expose the underlying surface to moisture. Inspect the decals periodically, especially before and after a long trip, and re-press any corners that begin to lift.
When the time comes for a change, you can usually remove motorhome vinyl decals slowly and carefully without damaging the paint, especially if the surface has been protected with a clear coat. Warm water or a mild heat source can soften stubborn adhesive, but you should always test on a small area first. Residual stickiness can be cleaned with a residue remover designed for automotive use, followed by a fresh coat of wax to restore the shine and protection of your motorhome’s exterior.
How To Remove Decals From Your RV or Motorhome
How to Remove Crackled Faded Decals on RV, Motorhome or Boat. This old Motorhome is now ready For a Fresh Coat of Paint.
