Making Vinyl Stickers

Making vinyl stickers is a creative and practical craft that lets you turn bold designs into durable, weatherproof graphics for almost any surface.
Understanding Vinyl Stickers and How They Work
Vinyl stickers are made from a flexible plastic material that can be cut into detailed shapes while keeping colors vibrant outdoors. Unlike paper labels, they resist moisture, UV light, and small scratches, which is why you see them on cars, laptops, and storefronts.
The basic structure includes a printed layer, a clear protective top coat, and a pressure-sensitive adhesive backing that sticks firmly when you press it down. Because the material is strong yet peelable, it is ideal for both temporary decorations and long lasting branding.

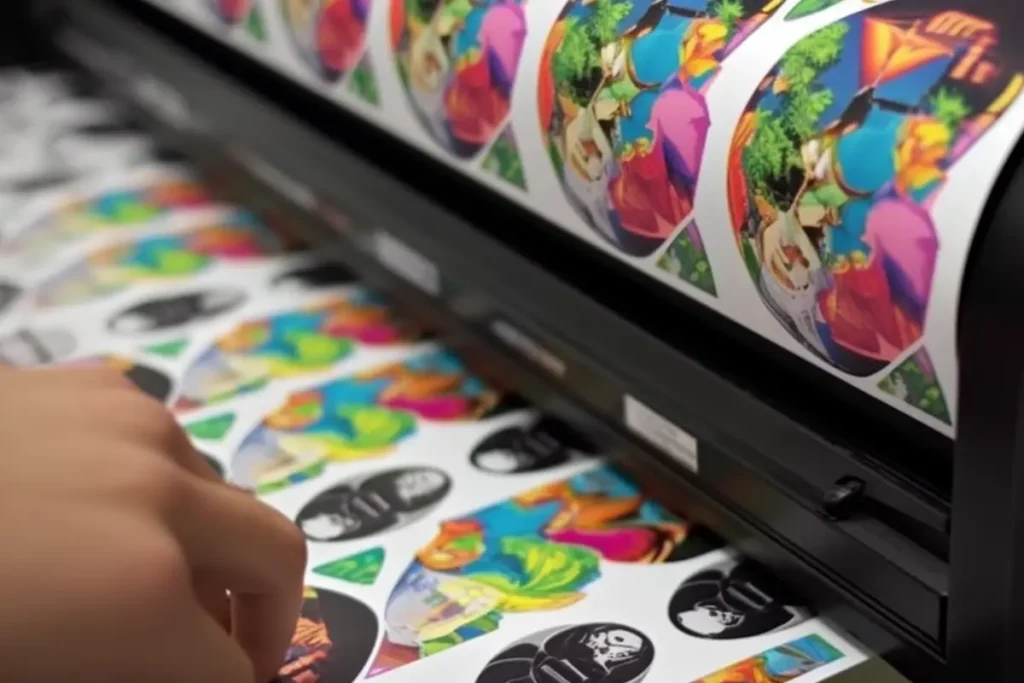
Designing Your Sticker Artwork
Start with a clear idea, whether it is a minimalist logo, a playful illustration, or a witty phrase for your laptop. Use vector based software so your lines stay smooth when you scale the design up or down for different sticker sizes.
Keep key details away from the very edge, since small miscuts can happen, and add a small bleed area around the artwork. Choose colors that contrast well with the background vinyl, and remember that a simple design often looks stronger once the sticker is on a busy surface.
File Preparation and Color Choices
Export your final artwork in a format compatible with cutting software, usually as an SVG or DXF file with clean paths and no unnecessary points. Limit gradients if you are using a basic cutter, because vinyl cutters work best with solid color areas and sharp edges.

- Use no more than three or four main colors for easy weeding and faster application.
- Avoid very thin lines or tiny text, since they can tear or lose detail during cutting.
- Test print the design at actual size to check proportions before sending it to the cutter.
Choosing the Right Vinyl Material
For indoor use, a standard matte or glossy vinyl with a permanent adhesive works well and peels off cleanly when you replace it. Outdoor projects demand a thicker, more durable vinyl that can handle rain, wind, and sunlight without curling or fading.
You can also choose between cast vinyl, which is very flexible and conforms to curved surfaces, and calendared vinyl, which is more budget friendly for flat items. If you want a textured look or extra branding, consider printable vinyl that you can inkjet print before cutting.
Adhesive and Finish Options
Removable adhesive lets you reposition the sticker a few times, which is great for beginners or for temporary promotional campaigns. A glossy finish increases vibrancy, while a matte finish reduces glare and gives a more subdued, premium appearance.

- Consider UV resistant adhesive for outdoor signs that must last several years.
- Low tack options are safer for painted surfaces or delicate materials.
Cutting and Weeding the Vinyl
Load the vinyl sheet into a cutting machine, calibrate the blade depth and force settings, then let the software guide the cut based on your design. If you do not have a cutter, you can carefully cut simple shapes with a craft knife on a cutting mat.
Weeding is the process of removing the excess vinyl around your design, leaving only the parts you want to transfer. Use a weeding tool or a hooked needle to lift small pieces, being patient with detailed areas so you do not pull up parts of your actual sticker.
Tips for Cleaner Cuts
- Test cut on a small scrap to find the perfect settings for your brand of vinyl.
- Score the backing lightly before weeding to reduce stretching.
- Keep the vinyl sheet flat on the mat to avoid jagged edges.
Applying the Sticker Smoothly
Clean the surface with rubbing alcohol to remove dust and oils, then place the sticker loosely in position. Hold one edge and slowly lower the rest while pressing from the center outward to push out air bubbles.

Use a squeegee, a credit card, or a soft cloth to firmly smooth the surface, making sure the adhesive bonds evenly. For larger projects, work in sections and double check that no corners are lifting before you move on.
Post Application Care
Wait at least twenty four hours before washing or exposing the sticker to heavy rain, especially for outdoor installations. If bubbles appear later, gently lift an edge and push the air out, then press the area back down firmly.
- Avoid harsh chemicals on the sticker for the first few days.
- Touch up small lifting edges with gentle pressure to extend the life of the sticker.
Exploring Tools and Advanced Techniques
Entry level crafters can start with manual cutters and budget machines, while professionals may use high speed cutters with built in cameras that auto align the material. Adding a lamination layer or cold shrink sleeves can give extra protection for high traffic stickers on vehicles or equipment.
Experiment with layering multiple vinyl colors, using stencils for painting, or combining vinyl with screen printing for textured effects. As you practice, you will learn which settings, adhesives, and designs work best for the specific surfaces you decorate.
Conclusion
Making vinyl stickers combines design skill with hands on technique, giving you the power to create durable, eye catching graphics for personal projects, gifts, or professional marketing.
By planning your design carefully, choosing suitable materials, cutting and weeding with patience, and applying the sticker methodically, you can build a reliable process that delivers consistent, professional results every time.
How to Easily Make Professional Vinyl Decals | Cricut Tutorial
Take your vinyl stickers to the next level, and make them look very professional, and it is so easy to do this too! Supplies used in ...
