Make Your Own Vinyl Stickers
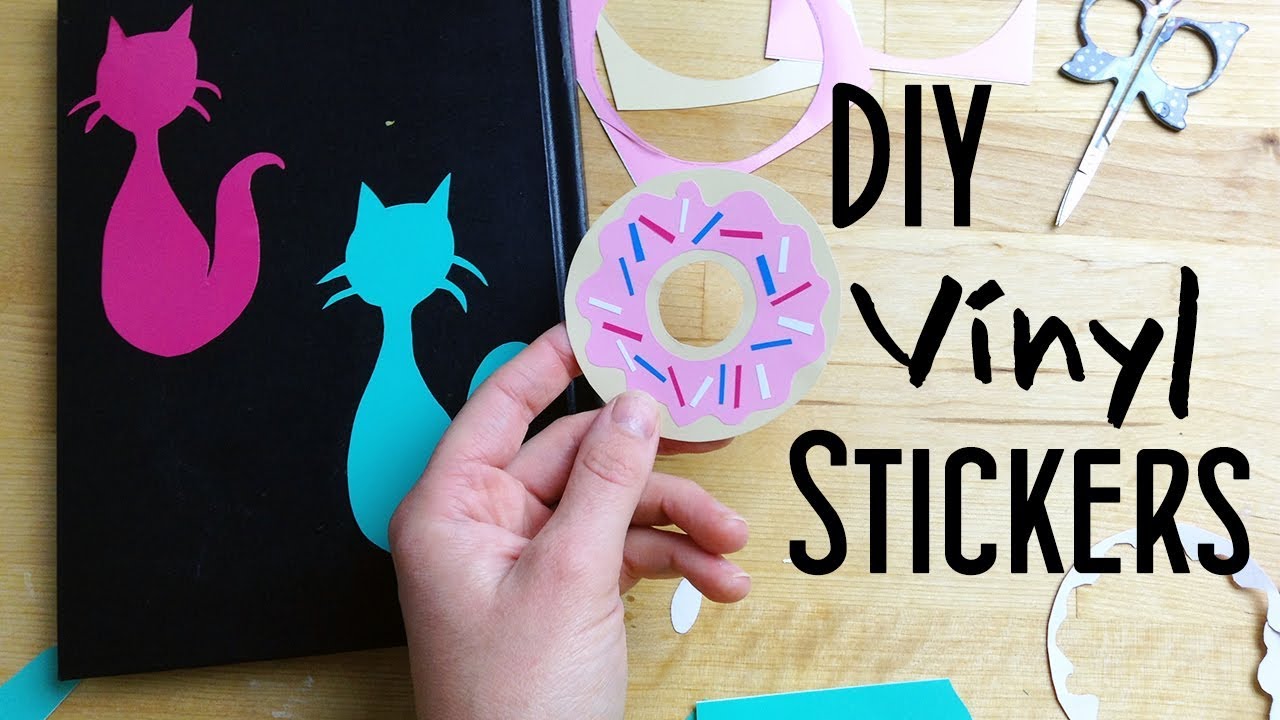
Making your own vinyl stickers is a fun and practical way to add personality to your belongings, promote a brand, or experiment with custom designs without needing a professional print shop.
Choosing the Right Materials for DIY Vinyl Stickers
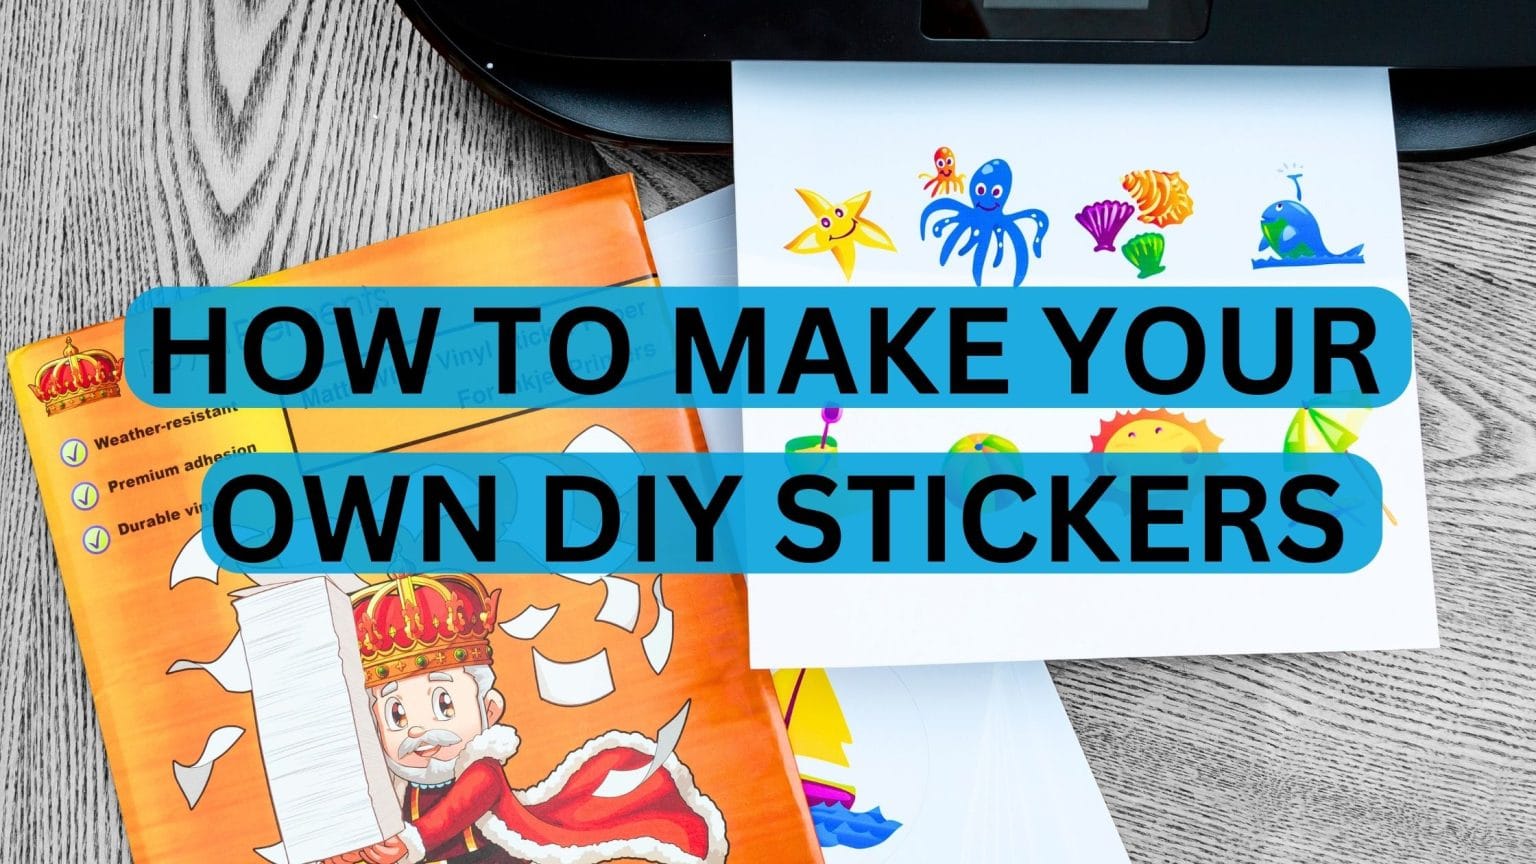
The first step to make your own vinyl stickers is selecting the right materials, because quality inputs will largely determine how your stickers look and how long they last. You will need a vinyl cutter or a reliable Cricut machine, adhesive vinyl sheets in the color and finish you want, a cutting mat, and a weeding tool to remove excess material. If you prefer a simpler approach, you can start with printable vinyl sheets that work with standard inkjet or laser printers, but keep in mind that these are best for indoor use or short-term projects.
When you decide to make your own vinyl stickers, consider the environment where the stickers will be placed. For outdoor applications, choose durable, weather-resistant vinyl with strong adhesive backing that can resist rain, sunlight, and temperature changes. For indoor items like laptops, notebooks, or water bottles, you have more flexibility with thinner materials and can experiment with glossy, matte, or even holographic finishes to suit your style.

Designing Your Custom Sticker Artwork
Design is where your creativity comes to life when you make your own vinyl stickers, so take time to sketch or use vector software to create clean, scalable artwork. Simple shapes and bold text tend to stick better, both visually and physically, especially on small items like phone cases or laptops. Use high-contrast colors between the sticker and the vinyl background, avoid overly intricate details that might break during cutting, and remember to mirror your design if your cutting process requires it.
Before you send your file to the cutter, make sure to convert text to paths or outlines, remove any hidden layers, and check that all elements are properly connected to avoid fragile pieces. When you make your own vinyl stickers for branding or gifts, create a consistent style guide with specific fonts, color codes, and spacing rules so that every batch looks cohesive and professional.
Preparing the File for Cutting
Exporting your design in the correct format is essential to make your own vinyl stickers without running into cutting errors. Save your artwork as an SVG or DXF file if you are using a Cricut, Silhouette, or similar cutting machine, because these formats preserve vector paths and allow precise cuts. Set the correct cut settings for vinyl, usually a medium speed with a higher pressure setting, and always do a small test cut to verify that the material feeds smoothly and the lines are clean.
During the test cut, check for issues like curling edges, incomplete cuts, or areas where the vinyl is being pulled out of place, and adjust the blade depth or cutting force accordingly. If you are using printable vinyl and prefer a manual approach, you can print your design, align it with a clear adhesive sheet, and carefully cut around it using a craft knife, though this method is more time-consuming and less precise.
Cutting and Weeding Your Vinyl Decals
Once your file is ready, load the vinyl sheet onto your cutting mat or printer tray, start the cutting process, and watch closely during the first few minutes to catch any alignment problems. When you make your own vinyl stickers, be patient during the weeding stage, which involves lifting and removing the excess vinyl around your design while leaving only the parts that will become the sticker.
Use a sharp weeding tool or a fine tweezers to gently lift small pieces, working under good lighting and taking breaks if your eyes get tired to avoid mistakes. For detailed areas, consider using a hook tool or the tip of your cutter, and if you are creating a sticker with multiple colors, cut and weed each layer separately before stacking them to build a more complex image.

Applying Transfer Tape and Preparing the Surface
After weeding, apply a sheet of transfer tape over your vinyl design, press firmly from the center outward to remove air bubbles, and then peel away the vinyl backing, leaving the artwork on the transfer tape. This step makes it much easier to position your stickers accurately, especially when you make your own vinyl stickers with intricate shapes or small details that might shift during application.
Clean the surface where the sticker will go by wiping it with a damp cloth and letting it dry completely, because dust, oil, or dirt can prevent the adhesive from bonding properly. If you are decorating a textured or curved surface, consider using slightly repositionable adhesive or planning for some flexibility in the placement, since rigid application may cause peeling over time.
Applying the Stickers and Ensuring Long-Lasting Results
Position your vinyl sticker on the surface, align it carefully, and press it down firmly starting from the center and moving outward, using a scraper or a soft cloth to smooth out air bubbles and ensure strong adhesion. When you make your own vinyl stickers for outdoor use, it helps to lift a small edge first and check that the entire design sticks flat before fully committing.

To improve durability, avoid washing newly applied stickers for the first few hours and keep them away from harsh chemicals or abrasive cleaning tools. If you notice edges lifting over time, a tiny amount of clear adhesive or vinyl-safe glue applied carefully with a toothpick can reinforce the bond and extend the life of your custom creations.
By following these steps and treating each project as a chance to refine your technique, you can confidently make your own vinyl stickers that look professional, last longer, and perfectly express your style or message.
Make Real Stickers - Best Way to Make Vinyl / Pro Stickers
This is the right way to make professional level stickers at home. Amazon Thermal Laminator: https://amzn.to/30GNKOw Normal ...
