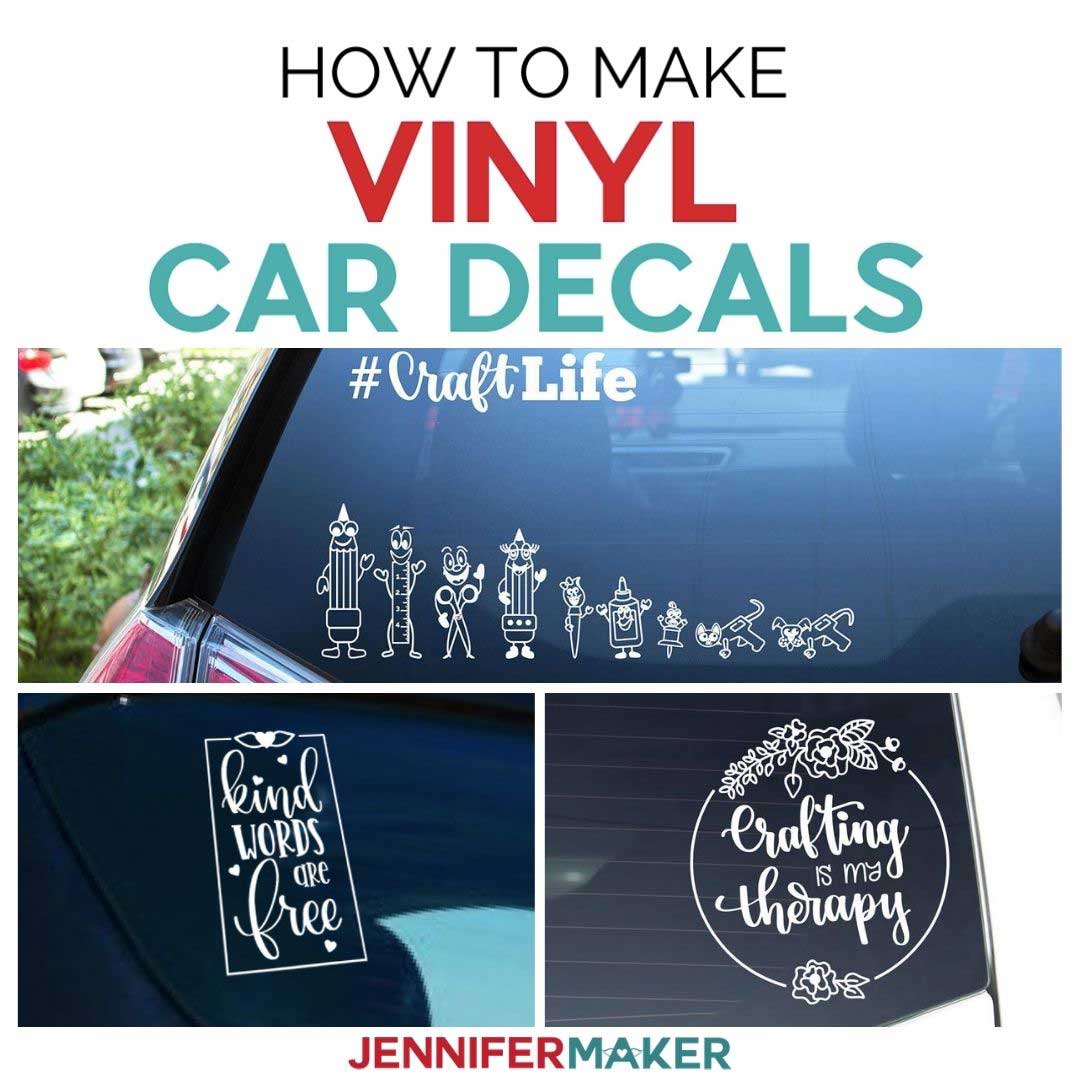
Make Your Own Vinyl Decals

Making your own vinyl decals is a fun and affordable way to personalize your gear, your ride, or your living space with bold graphics and crisp lettering.
Gather Your Tools and Materials for DIY Vinyl Decals
Before you start making your own vinyl decals, it helps to have the right supplies on hand so the process stays smooth and frustration-free. You will need a quality vinyl cutter, a roll of adhesive vinyl in the colors you want, a cutting mat, and a reliable design file ready to import. A good pair of weeding tools, a squeegee, and transfer tape will help you move the design from the mat to the surface cleanly. Keep a ruler, a craft knife, and a small scraper nearby for trimming and for smoothing out bubbles as you work.
Optional but useful extras include a light table or a bright window for tracing intricate shapes, a lint roller to keep surfaces clean, and a piece of masking tape to test your placement before committing. When you prepare your workspace with all of these tools within reach, you reduce interruptions and keep your focus on creating precise, professional looking vinyl decals from start to finish.
Design Your Decal with Clarity and Purpose
A strong design is the foundation of great looking vinyl decals, so start by sketching or using vector software to create a clean, scalable image. Keep line work clear, avoid tiny details that your blade cannot reproduce, and simplify complex photos into bold shapes that still communicate your message. Choose a size that fits your surface, and remember that negative space can be just as powerful as solid color when you design decals that stand out.
Think about contrast between the sticker and the surface it will go on, and test your design on paper first to check readability from a distance. Save your file in a format your cutting machine understands, and double check spelling and spacing before you send each layer to be cut. A well planned design makes it much easier to produce vinyl decals that look polished and intentional rather than rushed or messy.
Cut, Weed, and Prepare the Vinyl Layers
Load your vinyl into the cutter, set the blade depth and speed according to the material, and let the machine cut out the shapes you designed. When the cutting is done, peel away the excess vinyl, leaving your decal parts attached to the backing so you can weed out the unwanted pieces without losing track of placement. Use a weeding tool to gently lift small pieces, and turn the mat as needed to keep your work comfortable and your cuts accurate.
For multi color designs, keep each layer organized on its own backing or use a grid to remember where each piece belongs before you apply transfer tape. Once all the excess is removed, smooth the vinyl with your fingers and run a soft squeegee over the surface to ensure strong adhesion to the backing. This careful preparation step is what helps your finished decals stay crisp and prevents peeling when they are on walls, cars, or laptops.
Apply Transfer Tape and Position Your Decal
Cut a piece of transfer tape slightly larger than your design, smooth it over the weeded vinyl, and use a squeegee to remove any air bubbles before you attempt to lift the backing. Test the edge of the transfer tape to confirm that every part of the decal has stuck, then carefully peel the vinyl backing away while keeping the transfer tape flat against the design. With the decal now held on the tape, position it against a clean, dust free surface and adjust the alignment before any adhesive touches the final spot.
When you are happy with the placement, lower the decal down slowly, pressing from the center outward to keep it flat. Use a credit card or a soft cloth to press the decal firmly onto the surface, working out any remaining air pockets that could cause lifting later. If you are applying the decal to a textured surface or a curved object, take your time and work in small sections so the vinyl conforms without stretching or tearing.

Finish, Seal, and Care for Your Handcrafted Vinyl Decals
After the decal is fully pressed into place, gently remove the transfer tape at a sharp angle, leaving the vinyl layer securely behind. For extra durability on items that see a lot of movement or weather, consider a light coat of appropriate sealant designed for vinyl, avoiding anything that will cloud colors or change texture. Avoid harsh cleaners, abrasive scrubbing, and very hot water, because these can shorten the life of your homemade decals and fade fine details over time.
With proper care, your DIY vinyl decals can stay vibrant for years, and you can refine each new project by learning from past cuts, weeding sessions, and placement tricks. As you repeat the process, you will find shortcuts, better tools, and more creative layouts, turning a simple craft into a signature style that you can reproduce whenever you want to add personality to your world.
How to Easily Make Professional Vinyl Decals | Cricut Tutorial
Take your vinyl stickers to the next level, and make them look very professional, and it is so easy to do this too! Supplies used in ...
