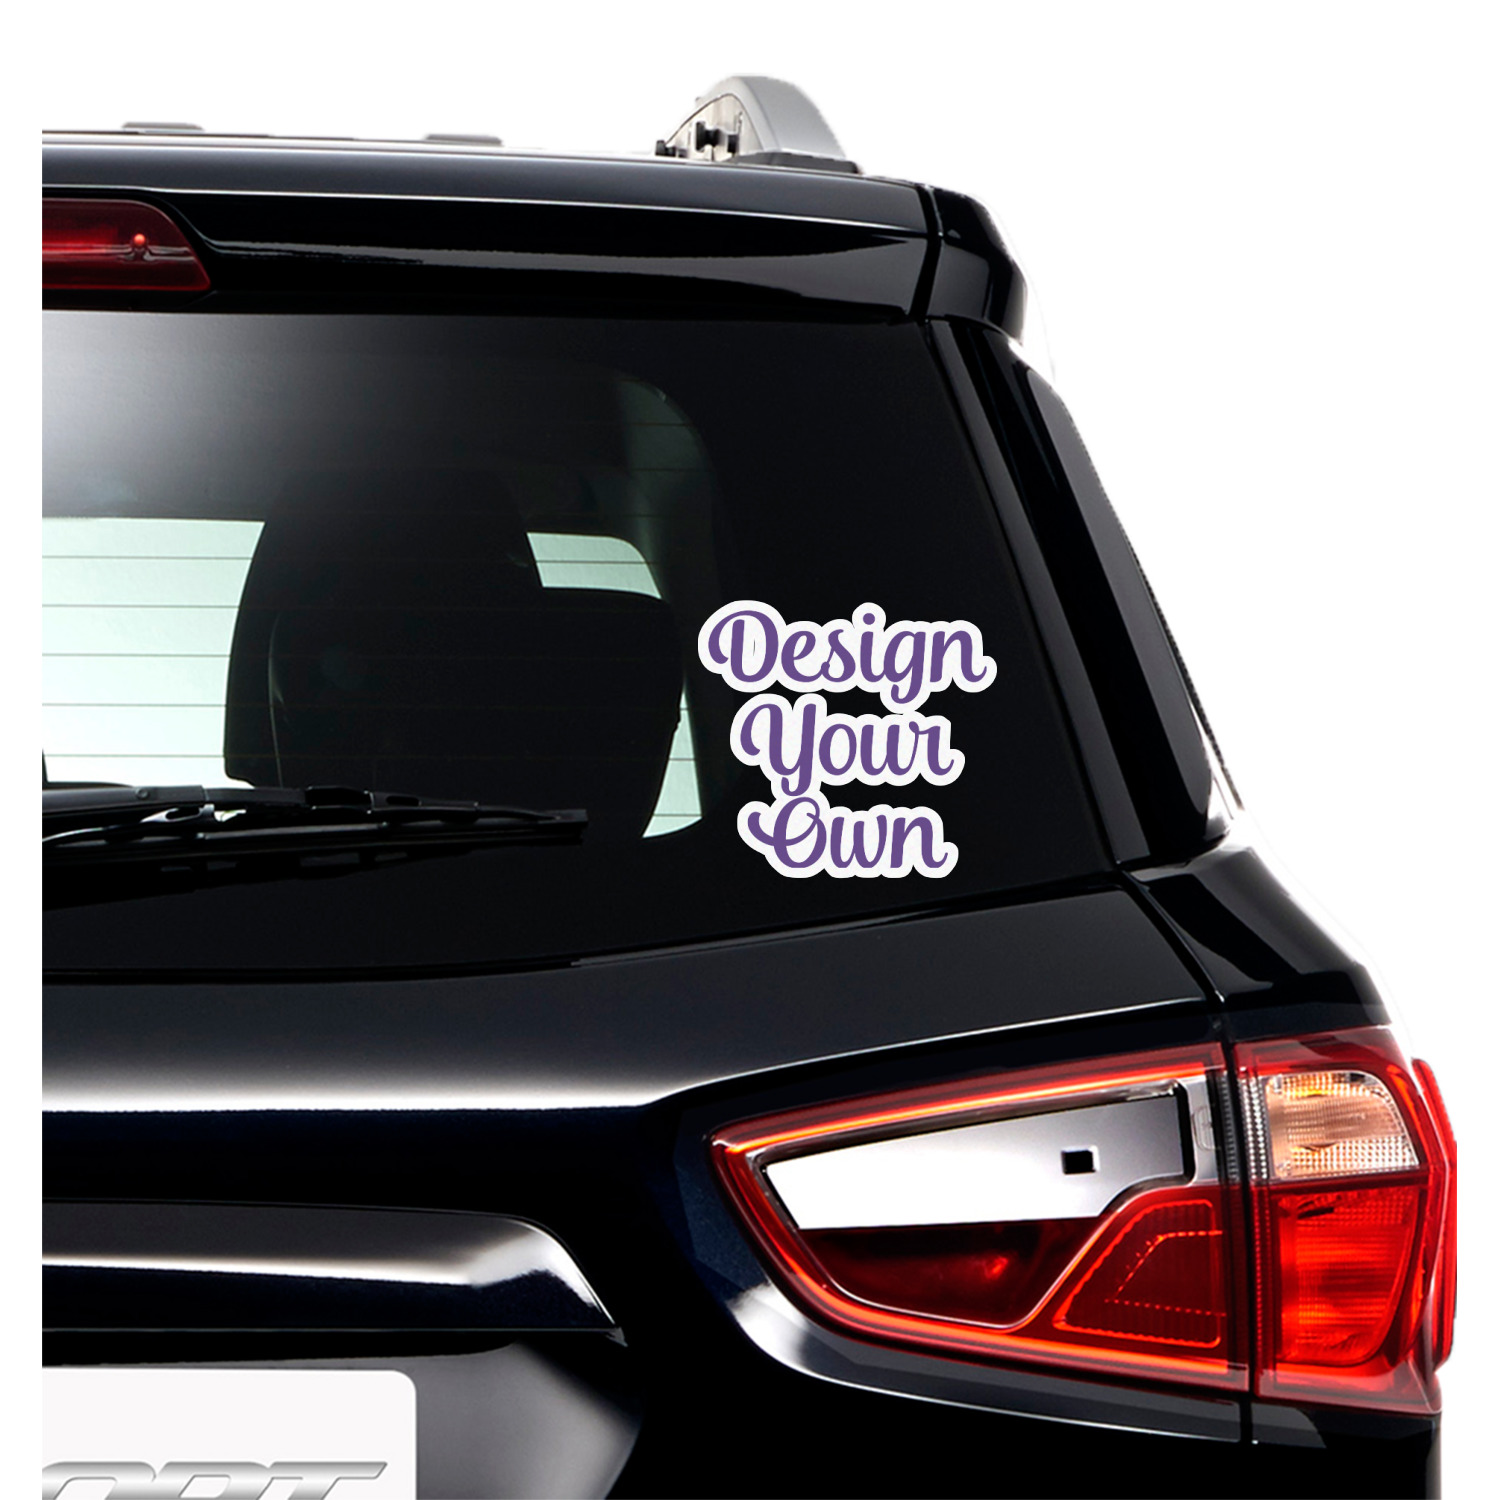
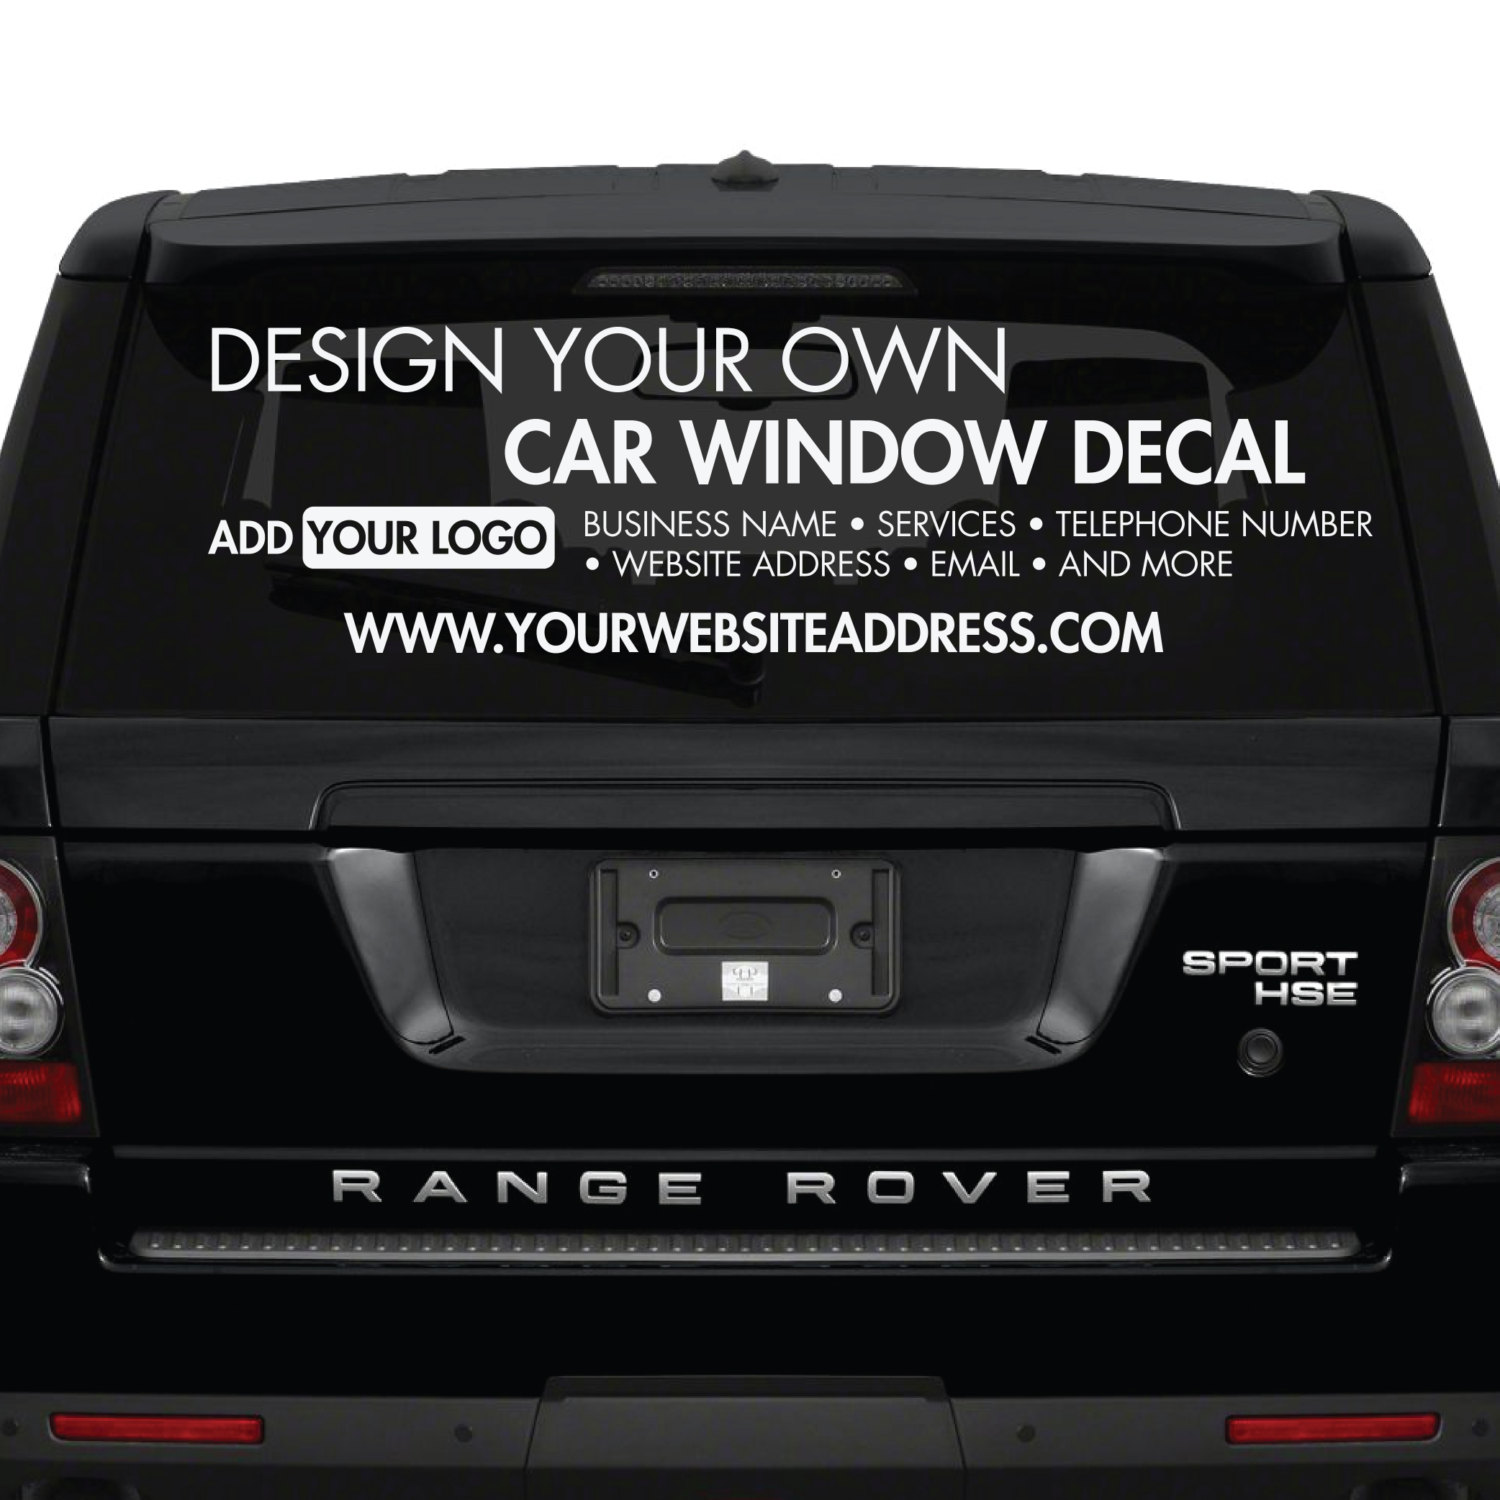
Make Your Own Vehicle Decals

Making your own vehicle decals is a fun and affordable way to give your car, van, or bike a bold, custom look without the cost of professional printing.
Choose Your Design and Prepare the File
The first step to make your own vehicle decals is deciding what you want to display on your car, from a simple monogram to a full wrap graphic. You can sketch by hand, use free vector software like Inkscape, or work in Adobe Illustrator to create clean, scalable artwork that stays sharp when printed. Keep line thickness in mind for cut vinyl so that fine details do not break during application, and make sure the negative space reads clearly as part of the design.
Before you make your own vehicle decals, export the file in a vector format such as SVG or EPS and confirm the final dimensions fit the surface area you plan to cover. Measure the spot on the hood, door, or rear window where the decal will sit, and adjust width, height, and curves so the proportions look balanced in real life. If you plan a multi-color design, group each color layer separately so you can print or cut them accurately later.
Select Materials and Decide Cut or Print
Choosing the right material is essential when you make your own vehicle decals, especially if the decal will face sun, rain, and road debris. For outdoor durability, cast vinyl with a strong adhesive works best, while budget-friendly calendared vinyl is suitable for short-term projects. If you want a painted-on look without actual paint, consider printable vinyl or magnetic sheets that can be removed easily.
- Cast vinyl for long-term wear and smooth curves.
- Calendared vinyl for tighter budgets and shorter projects.
- Printable vinyl if you plan to apply color layers with a printer instead of a cutter.
Decide whether you will cut the material with a vinyl cutter or print the design on a large-format printer and cut it by hand. A cutter gives clean edges and precise alignment, while printing your own decal on durable sticker paper is a simpler option for beginners. Either way, remember to mirror the image if the decal has text so it reads correctly from the driver’s side view.
Cut or Print Your Decal
To make your own vehicle decals with a vinyl cutter, load the sheet into the machine, set the blade depth and pressure according to the material, and let the software trace the outlines cleanly. Weed out the excess vinyl around letters and shapes, leaving only the parts you want to transfer onto the car. If you do not have a cutter, you can print the design on adhesive vinyl and carefully cut each piece with a craft knife, taking your time to keep edges smooth.
When you print your own vehicle decals, choose a waterproof, UV-resistant ink and heavy sticker paper to prevent fading and peeling. Print in high resolution, let the ink dry fully, then cut out the shapes with a little margin around the edges. For multi-layer designs, print each color separately and align them carefully using registration marks before applying any layer to the vehicle surface.
Surface Prep and Application
Before you place the decal, clean the area thoroughly with soap and water, then wipe it down with rubbing alcohol to remove oils and dust that could interfere with adhesion. Even a slightly dirty surface can cause bubbles or peeling, so take a few extra minutes to ensure the panel is completely dry and smooth. If the decal covers a large area, consider working in sections so you can reposition it easily before the adhesive sets.
Peel the backing paper slowly and use a squeegee or soft card to press the decal down from the center outward, pushing out any trapped air. Trim any excess material around the edges with a sharp hobby knife for a clean finish, and heat shrink small details gently with a hairdryer to help the vinyl conform to curves. For larger wraps, apply one panel at a time and overlap edges slightly if you plan to seal them with topcoat later.

Protect and Maintain Your Custom Decals
To make your own vehicle decals last, consider applying a clear automotive wax or a thin layer of paint protection film over the edges, especially on high-wear areas like the hood or bumpers. Avoid aggressive car wash brushes for the first few days and hand rinse the vehicle gently until the adhesive has fully cured. With proper care, a well-applied decal can stay vibrant for several seasons.
When you want to remove the decal, use a heat gun or hairdryer to soften the adhesive, then peel slowly at a low angle to reduce tearing. Residual glue can be cleaned with a mixture of warm water and mild soap, or a dedicated adhesive remover for stubborn spots. Regular maintenance not only keeps the design looking sharp but also protects the underlying paint from stone chips and weathering.
Experiment and Iterate for Best Results
Making your own vehicle decals is a process of trial and improvement, so do not be discouraged if the first attempt does not go perfectly. Test different vinyl types, printer settings, and application techniques on scrap material before committing to the final design. Keep notes on what works for your tools and conditions, and adjust alignment, weeding, or sealing methods as you gain experience.

Over time, you will develop a routine that speeds up production and improves precision, turning each decal project into a true reflection of your style. Whether you keep it simple with a single logo or build a full graphic wrap, the satisfaction of seeing your custom art on the road makes the effort worthwhile.
By planning your design, choosing durable materials, and applying the decal carefully, you can transform your vehicle with professional-looking graphics you created yourself.
Create and Sell Car Decals with Your Cricut | DIY Business Ideas
Want to make money from home with your Cricut machine? In this step-by-step Cricut tutorial, I'll show you how to make and sell ...
