Make Your Own Decals For Cars

Making your own decals for cars is a creative and cost-effective way to personalize your vehicle without the expense of professional vinyl work.
Planning Your Custom Car Decal Design
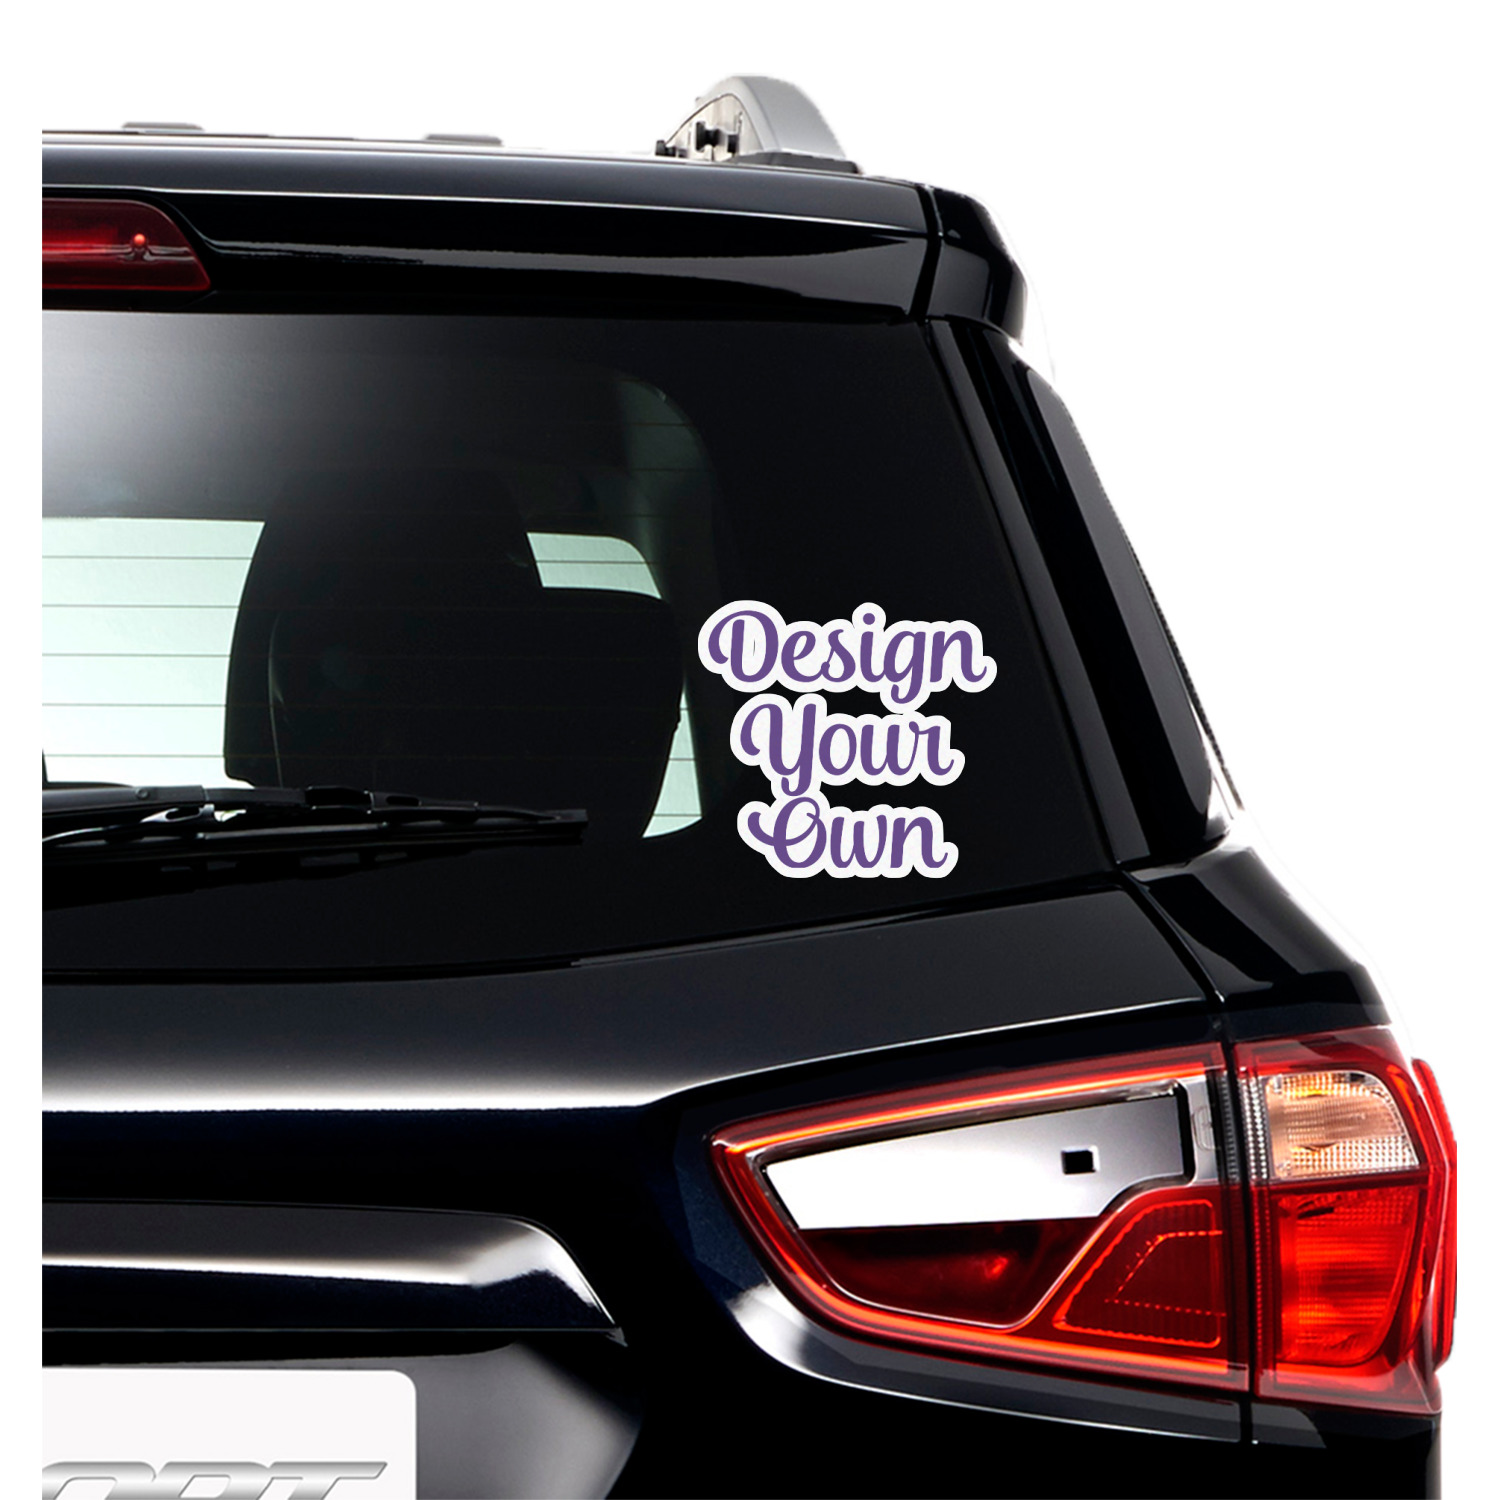
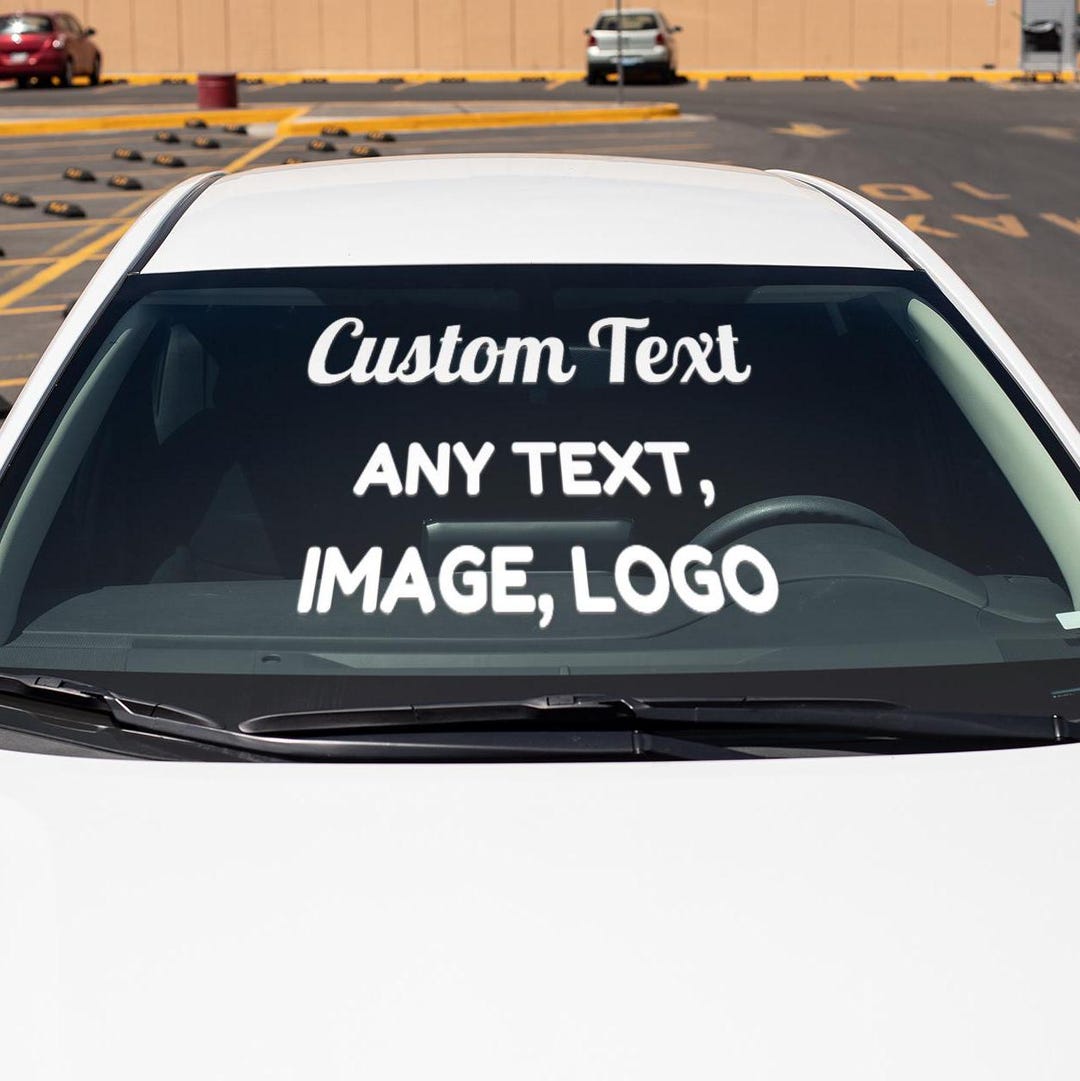
The first step in making your own decals for cars is to spend time on the design phase. This is where your personal style truly comes to the forefront, allowing you to create something that is uniquely yours. You can choose anything from a simple geometric pattern, a bold statement word, a representation of your favorite hobby, or a subtle emblem that reflects your personality. Before you even touch a cutting machine or pick up a brush, it is essential to have a clear idea of what you want to communicate with this mobile artwork.
When sketching your idea, consider the size and placement on your vehicle, as this will heavily influence the final look. A large decal spanning the rear window offers a completely different visual impact compared to a small logo on the front quarter panel. It is also wise to look for inspiration online, but ensure that you either create a completely original design or have the rights to use any images you find. Creating a digital mockup on your computer or phone can help you visualize the final product and make adjustments to colors and proportions before committing to the physical material.
Gathering Supplies and Materials for DIY Decals
To successfully make your own decals for cars, you will need to gather the right supplies, which will vary slightly depending on the method you choose. For the vinyl cutting method, you will need a vinyl cutter, such as a Cricut or Silhouette machine, along with high-quality automotive-grade vinyl that is weather-resistant and durable. You will also need transfer tape, which is a special adhesive sheet used to lift the cut vinyl from its backing and apply it smoothly to the car surface. A squeegee is essential for removing any air bubbles and ensuring a firm bond.
If you are opting for the stencil and paint method, your supply list will be different. You will need a sturdy stencil material like thick plastic acetate or adhesive vinyl, a precision knife or a laser cutter if you have access to one, painter's tape, and high-quality automotive paint or spray paint designed to withstand the elements. In this scenario, the key is to ensure that the paint you choose will bond well to your car's surface and resist fading or chipping over time. Regardless of the method, having a clean, well-lit workspace and some basic cleaning supplies like soap and water is crucial for achieving a professional-looking result.
Cutting and Weeding Your Decal Design
If you are using a cutting machine, this stage is where the magic begins to happen. After sending your design to the cutter, you will need to carefully load the vinyl and let the machine do the work. The precision of the cut will determine the ease of the next step, so take your time to ensure the blade depth is set correctly for the material. Once the cutting is complete, you will move to the "weeding" process, which involves using a weeding tool to carefully remove the excess vinyl surrounding your design, leaving only the parts you want to transfer onto your car.
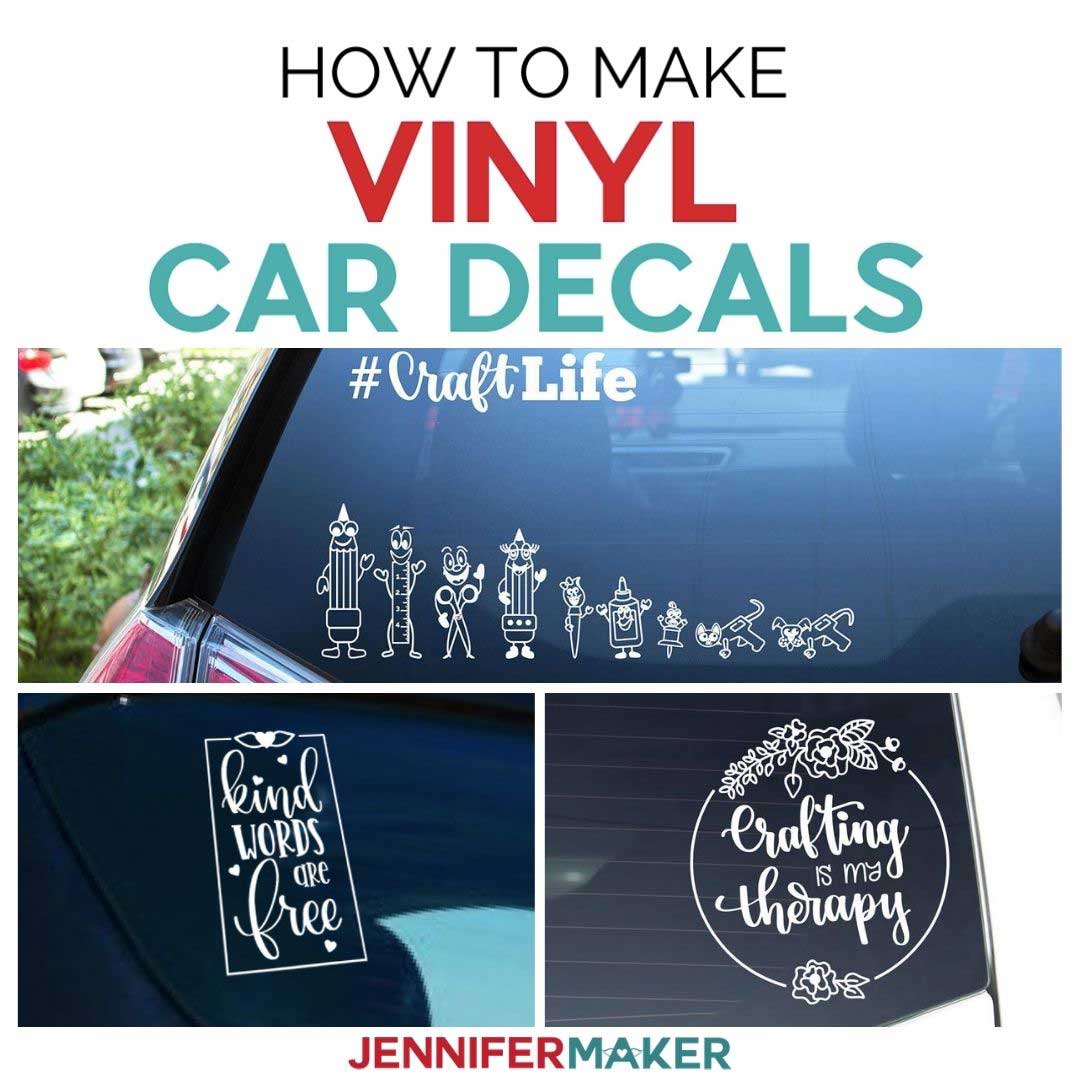
This step requires patience and a keen eye, as you must be careful not to pull up parts of your actual design. For intricate designs with many small pieces, it can be helpful to use a pair of tweezers. If you are creating a multi-layer decal, you will cut each color separately and weed them one at a time, stacking them as you go to build the final image. Remember, the vinyl pieces you have weeded away will not be part of the final decal, so double-check that you are removing the correct areas before applying the transfer tape.
Applying the Decal to Your Vehicle
The application process is critical to ensuring your homemade decals for cars look professional and last for years. Start by thoroughly cleaning the area where you will place the decal with soap and water, and then use rubbing alcohol to remove any traces of grease or wax. This step is non-negotiable if you want the decal to adhere properly. Carefully lift the weeded vinyl from the backing using the transfer tape, ensuring it sticks completely to the tape and does not fold onto itself.
Position the decal on the car, but do not remove the backing paper yet. Use a squeegee or a credit card to gently press the decal down from the center outward, pushing out any air bubbles. Once the decal is smooth, slowly peel away the transfer tape. If the vinyl starts to lift off with the tape, use a sharp tool to gently press the edge of the vinyl down as you remove the tape. After the transfer tape is gone, inspect the decal closely and use the squeegee again to firmly press the edges onto the paint, sealing them against the elements.
Maintaining and Caring for Your Homemade Decals
After all your hard work learning how to make your own decals for cars, proper maintenance is key to preserving their appearance. In the first few days after application, it is best to avoid washing the car or exposing the decal to heavy rain. This allows the adhesive to fully cure and bond securely with the paint. When you do wash the vehicle, use a gentle car soap and a soft sponge, avoiding harsh chemicals or abrasive tools that can lift the edges.
To maximize the lifespan of your custom creation, avoid using a automatic car wash with brushes, as the physical agitation can quickly peel the vinyl away. Hand washing is always the recommended method. Over time, you might notice the decal lifting at the corners; if this happens, simply use a heat gun or a hairdryer on a low setting to warm up the vinyl slightly, then press the edge back down firmly with a squeegee. With proper care, a well-applied vinyl decal can last for several years without fading or peeling.
Exploring Alternatives and Creative Methods
While vinyl cutting is the most popular method, there are other interesting ways to make your own decals for cars if you are looking for a different aesthetic or a one-off project. One alternative is the stencil and paint technique, which is excellent for creating a rustic, hand-painted look that cannot be replicated by a machine. This involves cutting a design out of a durable material and then using pouncing to apply paint through the stencil onto the car surface.

For those who prefer a more temporary solution, water-slide decals are a fantastic option. These decals are printed on special paper and adhered to the car using water and a soft brush, making them easy to remove without damaging the paint. This method is perfect for trying out a design before committing to a permanent vinyl version. Ultimately, the method you choose depends on your budget, your tools, and how permanent you want the customization to be, but all paths lead to a more personalized and distinctive vehicle.
In conclusion, making your own decals for cars is a rewarding hobby that combines design, craftsmanship, and a love for automotive expression. Whether you use a high-tech cutter or a simple paintbrush, the satisfaction of driving a car that literally carries your unique art is immeasurable. By following these steps and caring for your work, you can turn your vehicle into a rolling canvas that turns heads and reflects your individuality every time you hit the road.
How to make custom decals for less than $50.
I've designed many decals for my scale models and printed them on ink jet printers. I recently saw ink jet printers advertised for ...
