Make Your Own Decals

Making your own decals is easier than you think, and it lets you personalize anything from skateboards to car bumpers with your favorite designs. With a few basic tools, some patience, and a clear plan, you can produce durable, eye-catching graphics that look professional without the professional price tag. This guide walks you through the whole process, from choosing your image to applying the final decal so it stays vibrant and intact.
Plan Your Design and Gather Inspiration
Before you cut or print anything, decide what kind of decal you want and sketch a rough idea on paper. Think about size, colors, and where you will place the decal, because these choices affect material and technique later. Collect inspiration from posters, other decals, digital art, or your own drawings, and save reference images that capture the look you want.
When you settle on a concept, simplify complex images so the decal remains bold and easy to apply. Thick lines, solid color areas, and clear shapes stick better and cut more cleanly than tiny details or very thin sections. If you are not confident drawing freehand, you can trace or vectorize your idea in a digital program so the final artwork is clean and ready for production.
Choose Your Materials and Method
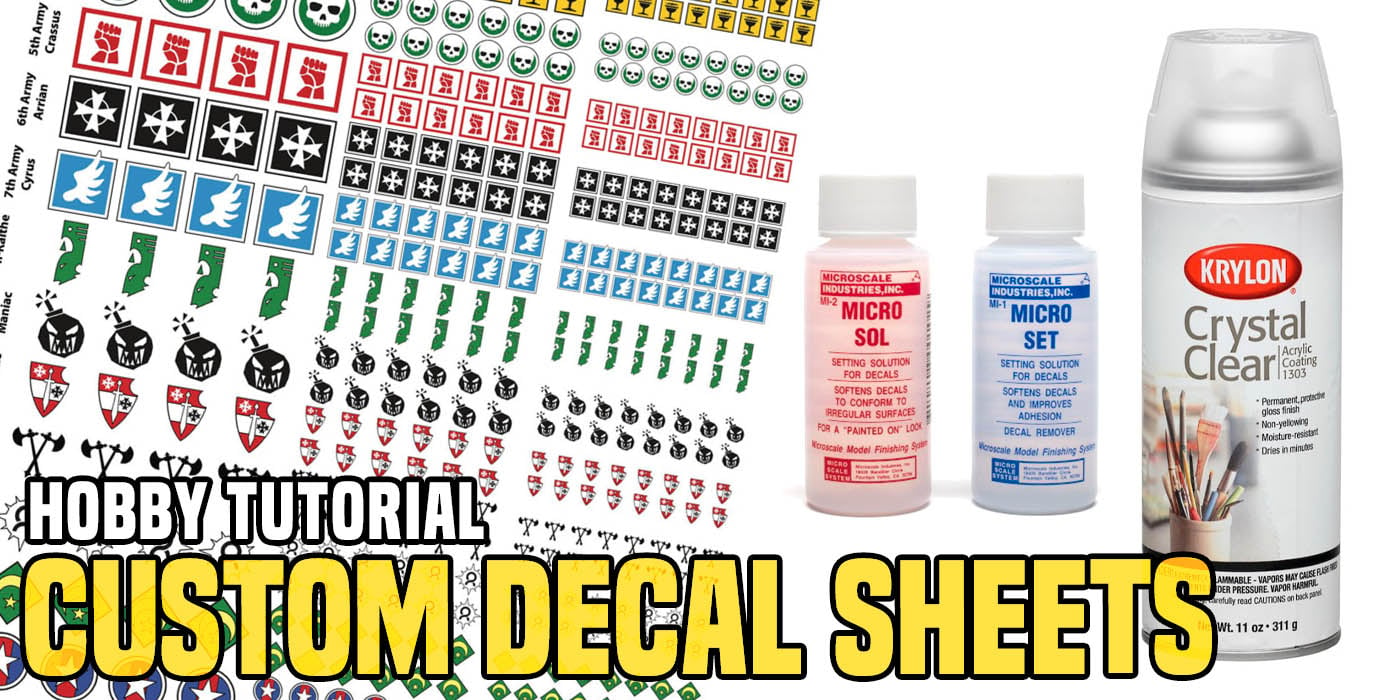
How you make your own decals depends on the materials you have access to and how long you want the result to last. For temporary, indoor decals, plain paper and glue can work in a pinch, but for something that endures weather and handling, you will want sturdier options like vinyl sticker sheets, printable decal paper, or magnetic sheets.
- Vinyl sticker sheets are cut with scissors or a craft knife and applied with transfer tape, giving a smooth, weather resistant finish.
- Printable decal paper lets you print your design at home, then seal it with a clear coat before cutting, which is great for detailed color graphics.
- Thin magnetic sheets are useful for removable decals on metal surfaces such as cars, refrigerators, or toolboxes.
For very precise shapes, especially if you plan to make many of the same decal, consider a digital cutting machine or a professional cutting service. These tools handle intricate curves and small pieces more reliably than hand cutting, and they reduce waste so your materials last longer. Even without a machine, careful cutting with a sharp hobby knife and a metal ruler can yield clean results if you work slowly and keep the blade perpendicular to the sheet.
Print or Draw Your Artwork
Once you know your material, prepare your artwork at the final size, because resizing after printing can blur lines and distort colors. If you are using printable decal paper, load it according to the manufacturer’s instructions, usually printed on the glossy or matte side depending on the brand. Print one test sheet on plain paper first to check scale and alignment, so you do not waste expensive decal paper.
For hand drawn designs, trace your pattern onto the sticker sheet or a piece of vinyl using light pencil or a washable marker. Keep the lines confident and smooth, and avoid pressing so hard that you dent or compress the material. If you prefer digital design, simple vector programs or even free online tools can convert your sketch into clean paths that are much easier to cut accurately.
Cut Out the Decal Shape
Cutting is where patience pays off, so take your time and use a sharp blade to avoid tearing or jagged edges. Place the sheet on a self-healing cutting mat or a sturdy cardboard surface, and hold it firmly so it does not shift while you cut. Follow the outlines of your design with smooth, controlled strokes, and resist the urge to press down extremely hard, which can cause the knife to slip and damage underlying layers.
For intricate parts, rotate the material instead of twisting the blade, keeping the cutting angle consistent. Test the cut on a scrap piece first to find the right pressure and speed for your tool. When the decal is fully cut, leave any small connecting bridges intact until you apply transfer tape, because these bridges keep delicate pieces in place during handling.Apply Transfer Tape and Remove the Backing
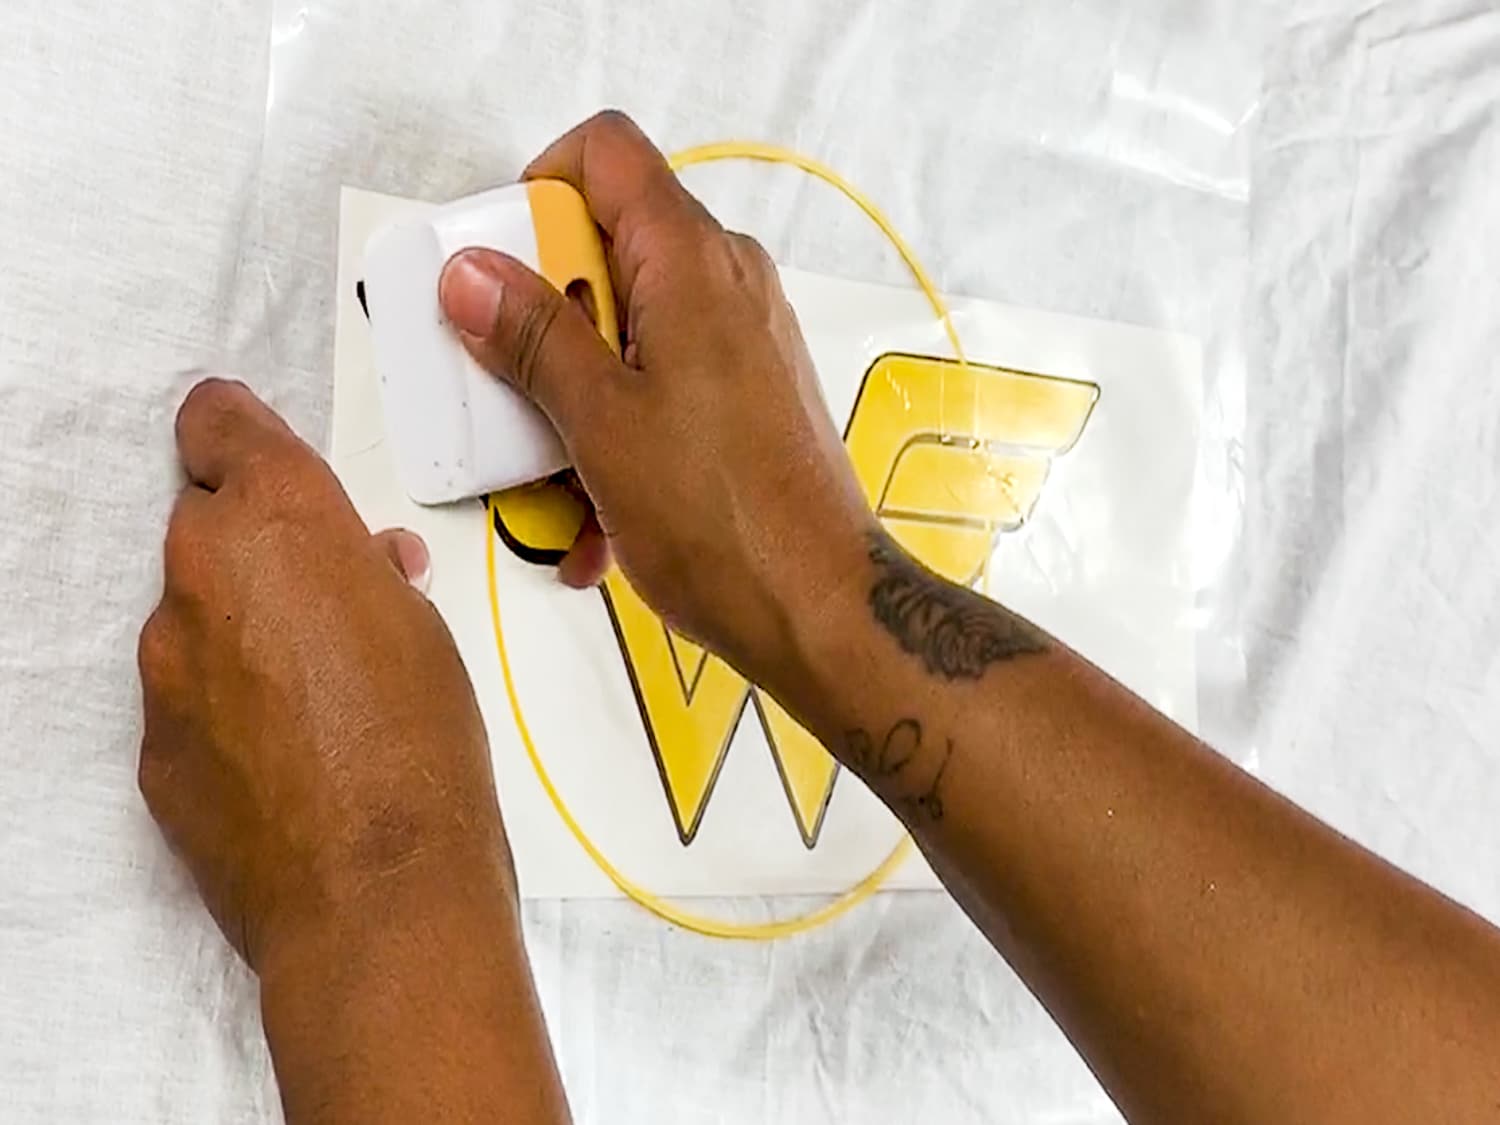
Transfer tape is a low tack adhesive film that holds all the cut pieces together while you position the decal, and it usually gives a smoother, bubble free result than applying the decal directly. Lay the tape over the cut design, press it down with a soft cloth or a squeegee, and then peel back the original sticker backing slowly, leaving the artwork on the transfer layer.

If tiny pieces lift off, press them back down while the backing is still partly attached, or use a pin or tweezers to gently guide them onto the transfer tape. Keep the exposed adhesive surface clean and free from dust, because particles under the decal will show once it is on display. At this stage your decal is ready to be placed exactly where you want it, without losing registration or getting pieces misaligned.
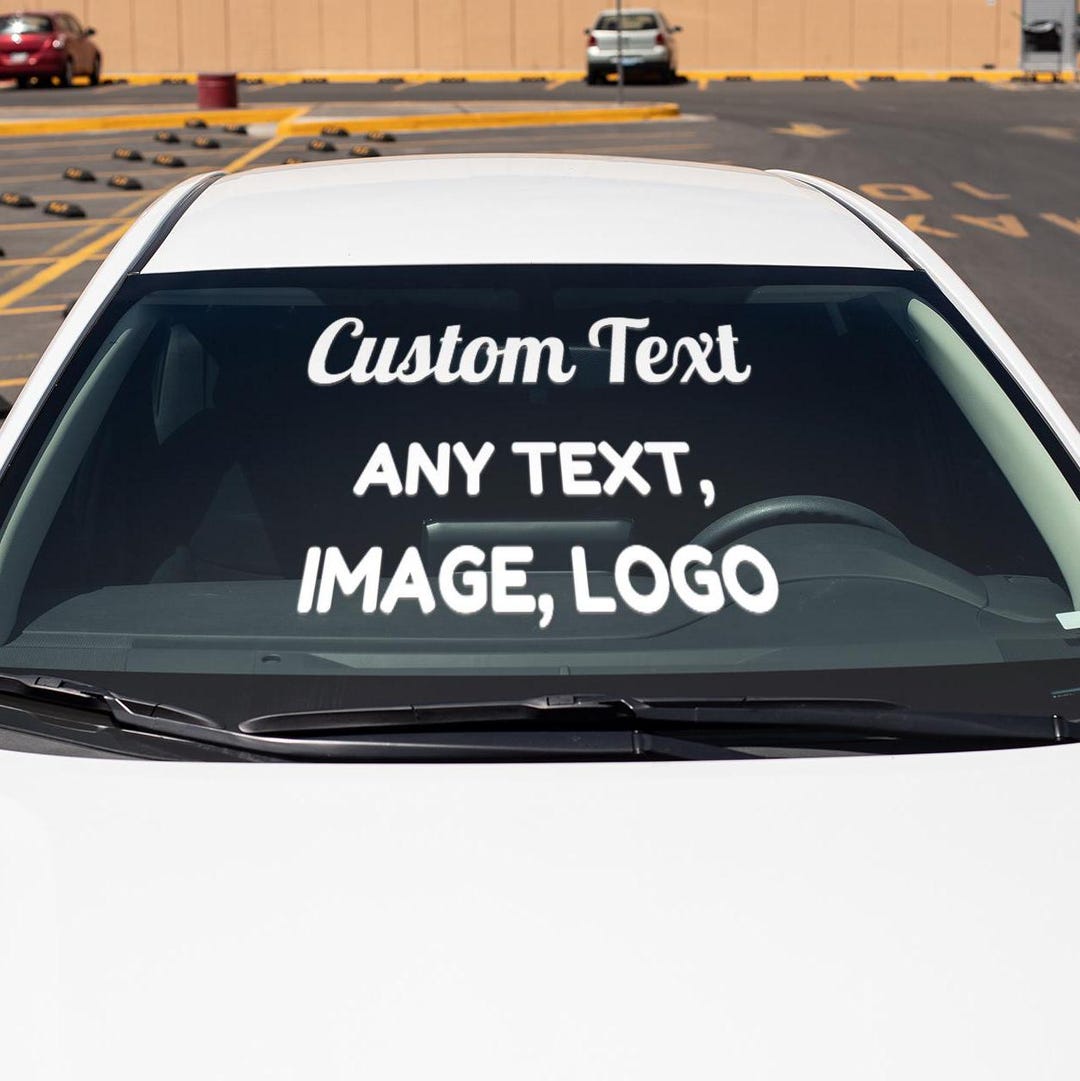
Position, Apply, and Seal for Longevity
Positioning is easiest when you use a center line or a light grid on your surface, so mark a few reference points lightly with pencil before setting the decal down. Carefully align one edge, press from the center outward to push out air, and work slowly to avoid trapping bubbles under the edges. If you make a mistake, you can usually lift and reposition the decal while the adhesive is still forgiving, especially on smooth surfaces.
After the decal is fully pressed into place, remove the transfer tape at a sharp angle, pulling slowly and parallel to the surface to keep edges from lifting. For extra durability, apply a clear top coat, such as a matte or glossy sealer, especially if the decal will be exposed to rain, sunlight, or frequent contact. With proper cutting, careful application, and a protective finish, your homemade decal can look bright and last for years on vehicles, walls, gear, or gifts.
How To Make Custom Decals For Model Projects
In this video I show you how to make custom decals for model projects. From signs to graffiti, from rolling stock to structures, ...
