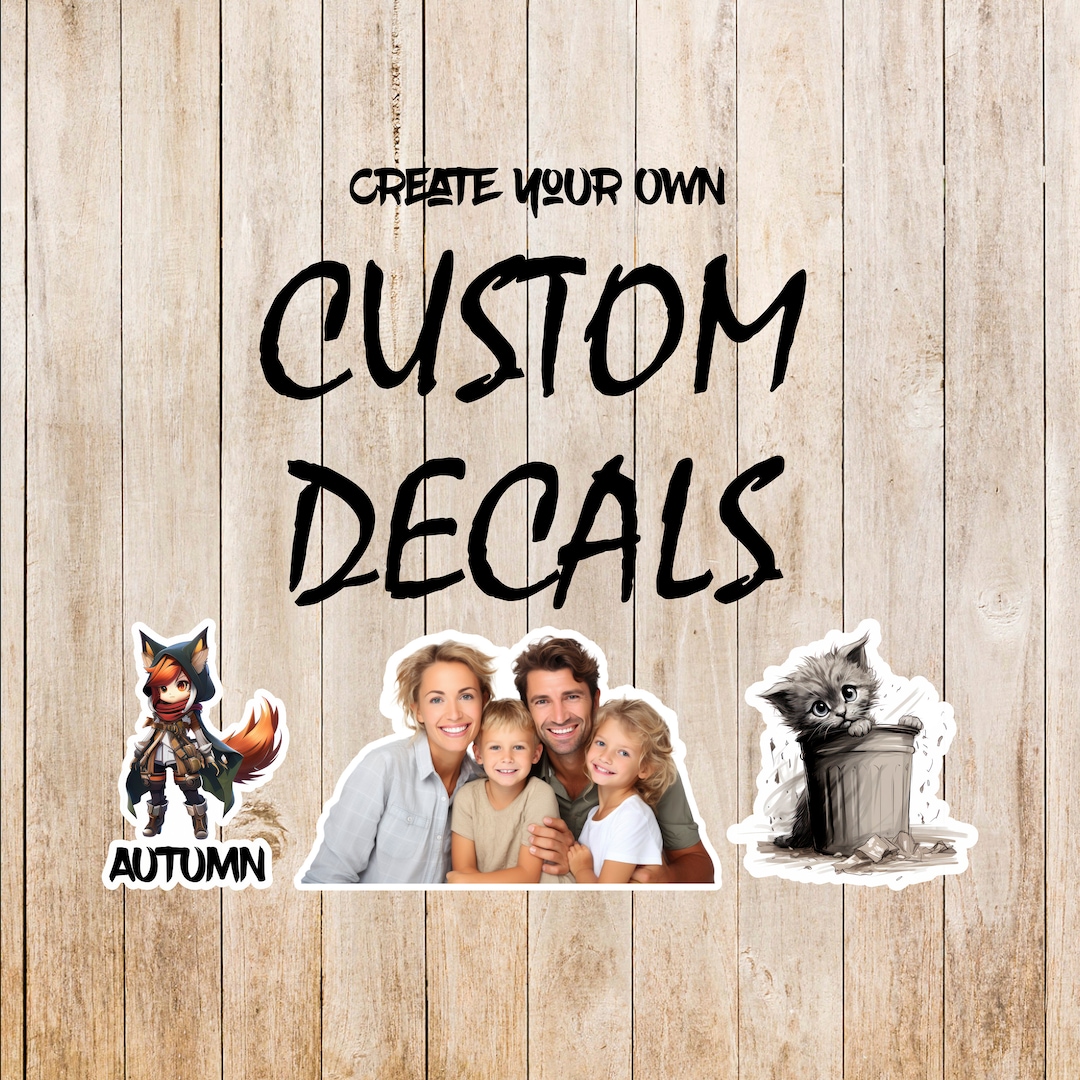
Make Your Own Decal
Making your own decal is easier than you think, and it is a fun way to personalize your gear, your space, or your gifts.
Choose Your Decal Type and Purpose
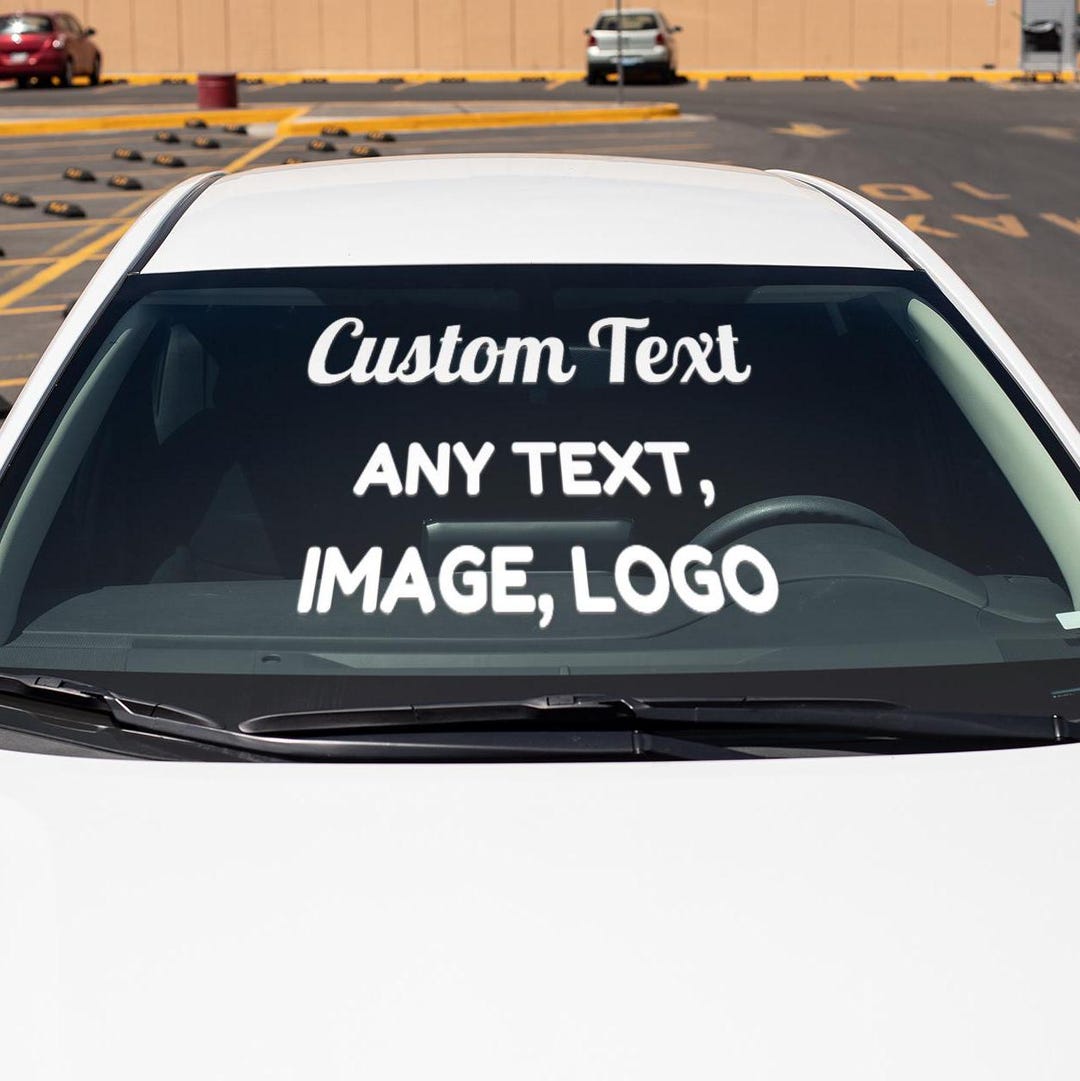
Before you start, decide what kind of decal you want, because the method changes with the material and where you will place it. You can make a vinyl sticker decal for outdoor use, a removable wall decal for delicate paint, or a printable decal for paper or thin plastic that you seal later. Think about whether the design will go on a car, a laptop, a window, or a wall, since each surface demands different adhesion and durability.
For beginners, a simple printable decal is often the easiest way to learn how to make your own decal at home, while advanced makers may jump straight to cutting a precision vinyl decal with a cutter. Consider the colors, size, and level of detail, because intricate designs might require a higher quality printer or a finer blade. Once you know the purpose, you can choose tools and materials that match, avoiding waste and frustration later.
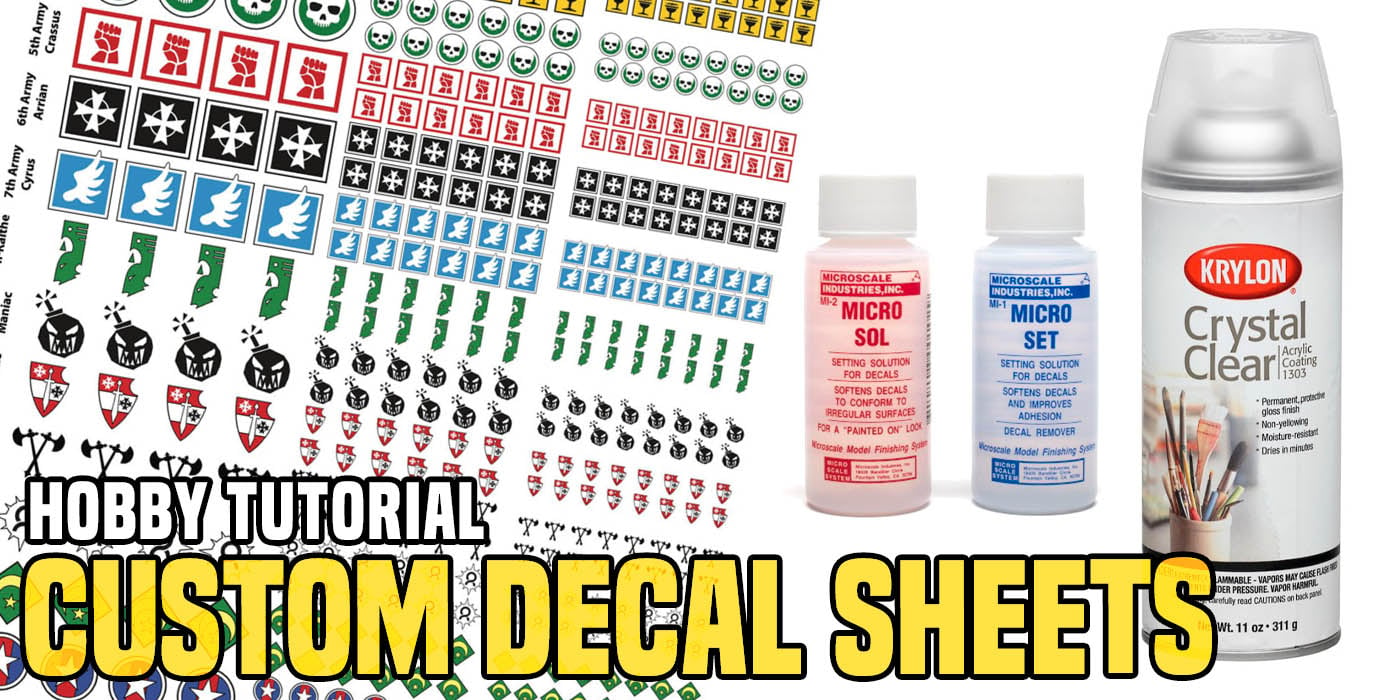
Gather Tools, Materials, and Workspace
Collect everything you need so you can focus on creativity instead of interruptions. Typical supplies include a design file, a printer and quality paper or vinyl sheets, a cutting machine or craft knife, transfer tape, a squeegee or credit card, scissors, and a cleaning spray for the surface. If you are learning how to make your own decal for the first time, start with basic tools and upgrade as you gain confidence.
Set up a clean, well-lit workspace with a flat surface, protective covering for spills, and good ventilation if you use sprays or solvents. Arrange your tools within reach, test your printer alignment on a scrap sheet, and make sure your transfer tape is compatible with your chosen material. A little preparation goes a long way toward a smooth, bubble-free finish.
Design and Print Your Decal
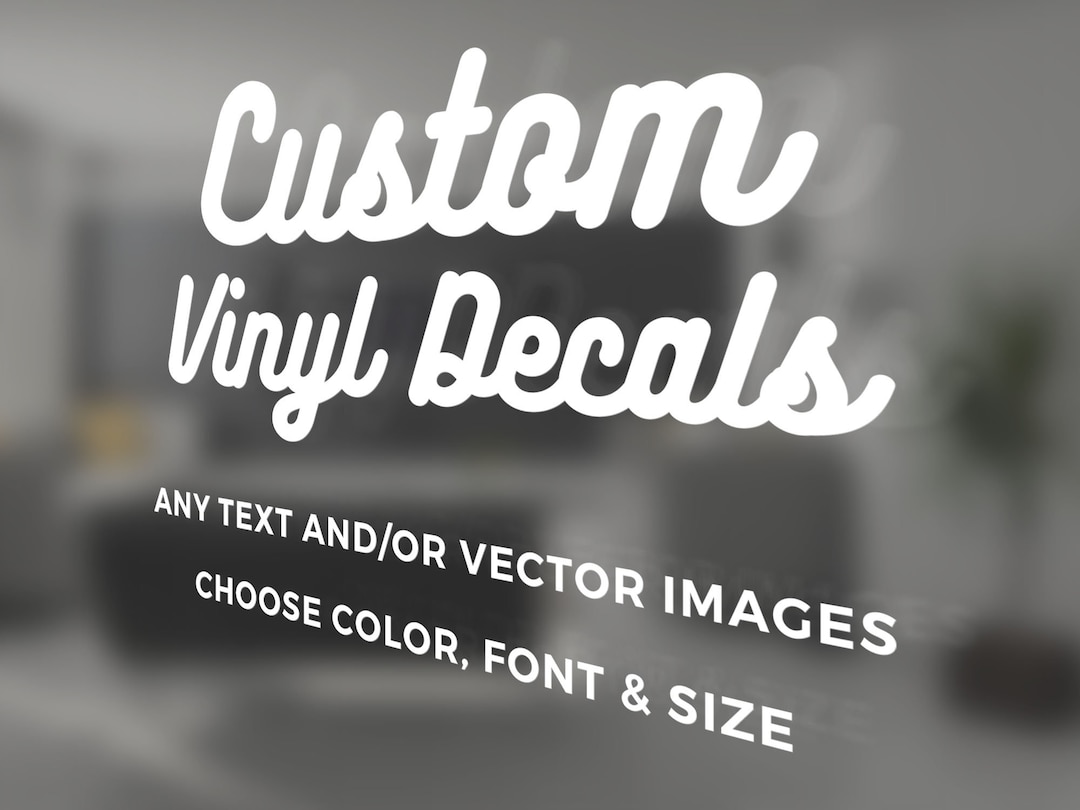
A great decal starts with a thoughtful design, so choose a simple shape, clear text, or bold illustration that will look good at small sizes. Use vector graphics when possible, because clean lines make it easier to cut out details and avoid jagged edges when you make your own decal. If you are adapting a photograph, adjust contrast and brightness so the image separates well from the background during cutting or printing.
Print your design on the right media, such as waterproof paper for temporary decals or printable vinyl for more durable ones. Check that colors are vivid and that the design fits the intended surface, leaving a small border if you need a grip for trimming. When you print a decal on paper, you can seal it with a clear matte or glossy spray to improve durability, which is a budget-friendly way to experiment before investing in professional materials.
Cut, Weed, and Prepare the Decal
Cutting is where precision matters, whether you use a cutting machine or a craft knife. If you are learning how to make your own decal by hand, place the printed sheet on a cutting mat and carefully trace the outlines, leaving a small margin around complex shapes. With a cutting machine, import your design, set the correct pressure and speed for your material, and run a test cut to avoid wasting vinyl.
Weeding means removing the excess material around your design, keeping only the parts that will become the decal. Use a weeding tool or tweezers to lift tiny pieces, and work in a well-lit area to avoid missing spots. Before applying transfer tape, clean the decal surface with a lint cloth, because dust and oils can prevent a strong bond and cause peeling later.
Apply Transfer Tape and Position on Surface
Transfer tape is essential for keeping all the pieces aligned when you move the decal to its final home. Lay the tape smoothly over the decal, press from the center outward to remove air, and then peel back the paper backing at a sharp angle. If you are figuring out how to make your own decal that lasts, choose a high-quality transfer tape that matches the size and weight of your design to prevent tearing.
Position the decal carefully, because this is your last chance to correct alignment before it sticks. Use a level for straight edges, step back to check proportions, and gently lower the decal while holding one edge steady. Once it is where you want it, press the center firmly to anchor it, preparing for the final smoothing step.
Smooth, Seal, and Cure for Long-Lasting Results
Use a squeegee or a soft credit card to press the decal from the center outward, pushing out air bubbles and ensuring full contact with the surface. Work slowly and gently to avoid lifting edges, and re-press any areas that look loose. For paper decals or extra protection, apply a sealing coat of clear varnish or mod podge after the transfer tape is removed, especially if the decal will face weather or frequent touch.
Curing time affects durability, so let the adhesive set according to the manufacturer’s guidance, which can range from a few hours to several days. Avoid washing, scrubbing, or exposing the decal to extreme heat until it has fully cured. With practice, you will learn how much pressure, which sealant, and how much curing time your specific setup needs to make your own decal that looks professional and stays intact.
Troubleshoot Common Issues and Expand Your Skills
Even experienced makers encounter wrinkles, peeling edges, or faded colors, so view problems as part of the learning process. If bubbles appear, gently lift a corner and re-smooth with firm pressure, and if edges lift, add a small amount of sealant and press them back in place. When you explore different media, such as heat-transfer vinyl or printable PVC, you can expand from simple wall decals to weather-resistant outdoor signs and custom merchandise.
Experiment with layering colors, adding subtle gradients, or combining hand-drawn elements with digital cuts to create a signature style. Keep notes on what works, from printer settings to transfer techniques, so each time you make your own decal it turns out faster and more polished. Over time, you will build a reliable workflow that turns a simple idea into a high-quality decal you can be proud to share.
By following these steps, you can confidently design, cut, and apply your own decals, transforming ordinary items into personalized expressions with patience and practice.
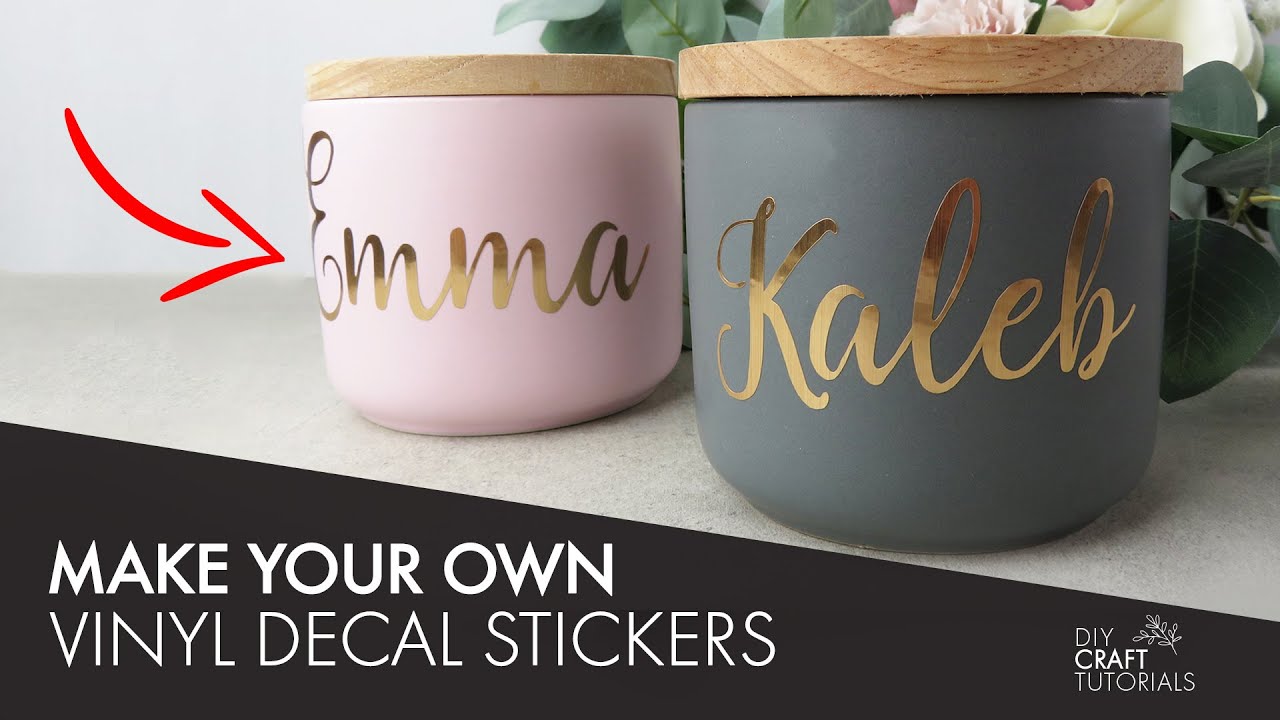
Create Your Own CUSTOM Decals and Apply Them PERFECTLY | Applying Transfer Sheets
Creating you own custom decals can be difficult...but does not HAVE TO BE! With this guide on how to create custom decals ...
