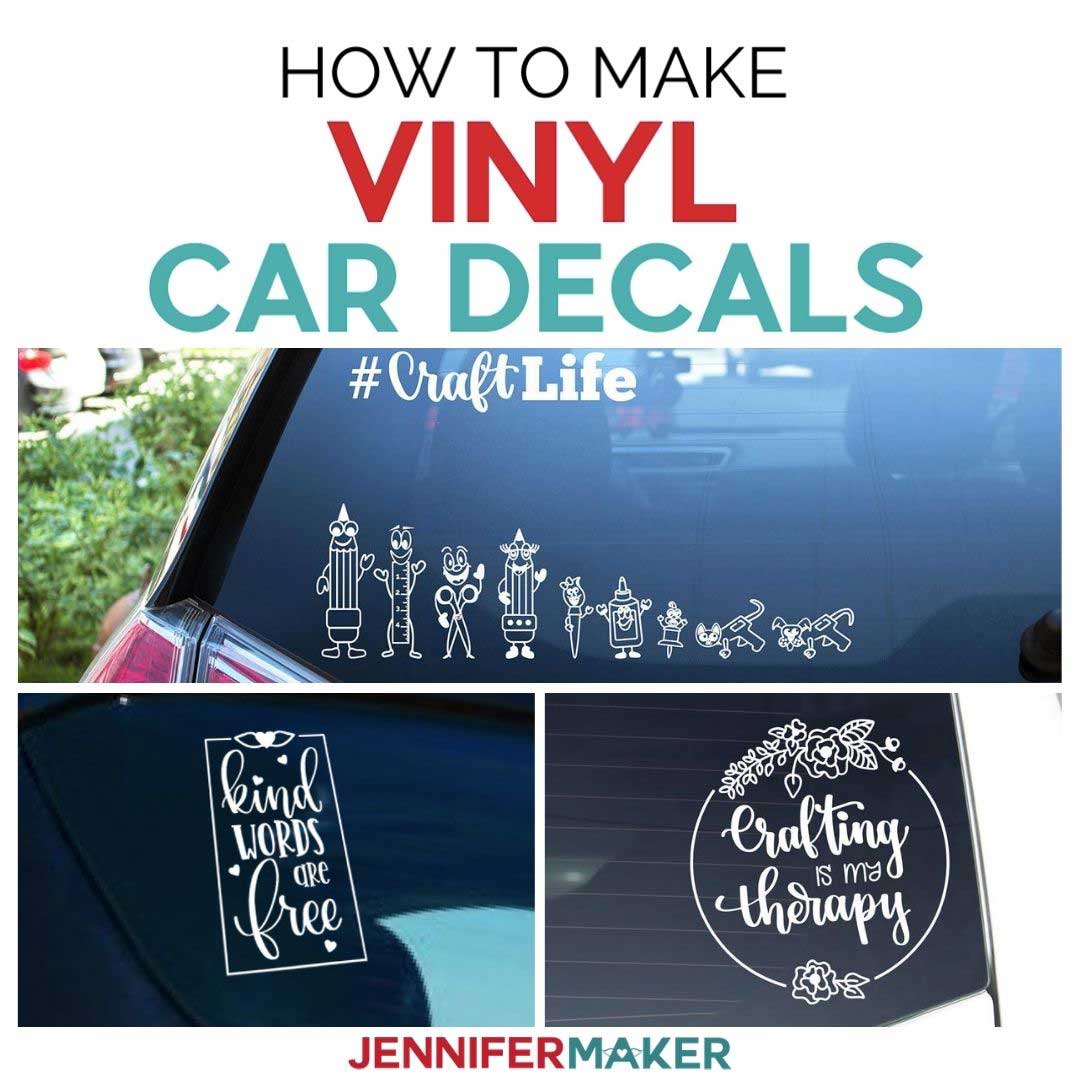
Make Your Own Car Sticker
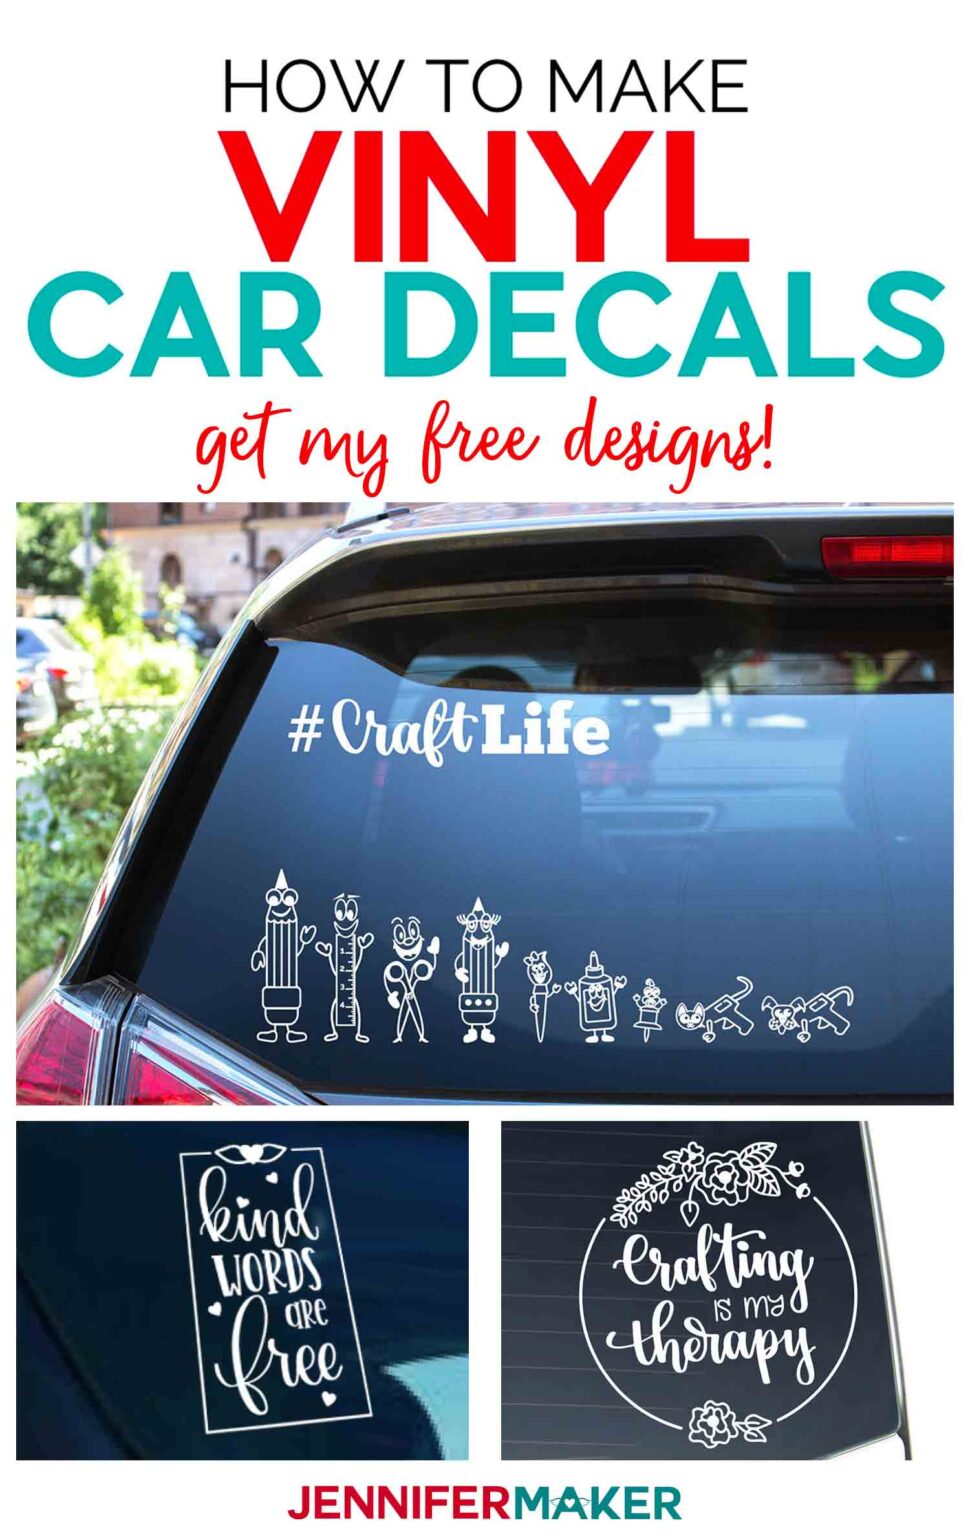
Creating your own car sticker is a fun and rewarding way to turn your vehicle into a rolling canvas that reflects your personality, brand, or cause.
Why Make Your Own Car Sticker
When you choose to make your own car sticker, you step beyond what mass-produced designs offer. Ready-made stickers often lack the specific message, colors, or humor that you truly want to share with the world. By creating it yourself, you gain complete control over every detail, from the concept and wording to the final shape and size. This process ensures that your vehicle wrap or bumper sticker feels authentic and uniquely yours, making a statement that is impossible to ignore.
Beyond personal expression, custom stickers serve as powerful mobile advertisements for businesses, artists, and activists. A well-designed sticker can turn your car into an effective marketing tool, promoting a brand, event, or message every time you drive around town. Whether you are promoting a local shop, a band, or a social movement, a high-quality custom sticker provides incredible visibility at a fraction of the cost of traditional advertising. The ability to design something that speaks directly to your target audience is the core advantage of this creative project.
Planning Your Sticker Design
The first step to make your own car sticker is to brainstorm and solidify your design concept. Think about the primary purpose of the sticker: is it for branding, personal expression, wayfinding, or humor? Jot down keywords, sketch rough ideas, and consider the message you want to convey at a glance. A clear concept will guide every subsequent decision, ensuring the final product communicates effectively. Remember, simplicity often works best for vehicle stickers, as they need to be readable and impactful even from a distance.
Consider the placement on your vehicle when planning your design. Will it be a large full-bumper wrap, a smaller logo on the back window, or a series of labels along the sides? The size and location will influence the level of detail you can include. For instance, a detailed illustration might look great on a door but could become a blur if scaled down to a tiny bumper sticker. Planning for the specific surface and viewing distance helps you create a sticker that is visually coherent and effective.
- Define the core message or visual identity you want to project.
- Sketch multiple rough drafts to explore different layouts and compositions.
- Consider the scale and how the design will look on a curved car surface.
Choosing Materials and Tools
Selecting the right materials is crucial to make your own car sticker that lasts. For outdoor use, you need durable materials that can withstand UV rays, rain, and wind. Vinyl is the industry standard for vehicle graphics due to its flexibility, adhesive strength, and weather resistance. You can choose between cast vinyl, which conforms beautifully to curves, and calendered vinyl, which is more rigid but cost-effective for flat surfaces.

In addition to the vinyl, you will need transfer tape to lift the cut design off its backing and apply it smoothly to the car surface. A good-quality squeegee is essential for removing air bubbles and ensuring a firm bond. If you are working with intricate designs or detailed lettering, a cutting machine like a Cricut or Silhouette can be incredibly helpful. However, if you are creating a simple design, a pair of high-quality scissors and an exacto knife might be all you need to trim the sticker to perfection.
- Weather-resistant vinyl for durability.
- Application tape for smooth placement.
- Squeegee for bubble removal.
Designing and Cutting the Sticker
With your materials ready, it is time to bring your vision to life using design software. Programs like Adobe Illustrator, Inkscape (a free alternative), or even specialized Cricut Design Space allow you to create vector graphics that scale perfectly without losing quality. When designing, stick to bold lines and solid colors, as intricate gradients or tiny details might not cut cleanly or be visible from a distance. If you are not confident in your design skills, there are countless free templates available online that you can customize with your text and colors.
Once your digital design is finalized, you can either send it to a professional printing and cutting service or do it yourself using a cutting machine. Professional services are ideal for complex shapes and large quantities, as they handle the printing and cutting with industrial equipment. For a DIY approach, print your design onto the vinyl sheet and use a cutting machine to precisely slice out the shapes. Remember to mirror your text if you are cutting out letters, so they appear correctly when applied to your car.

Applying the Sticker to Your Car
Applying your sticker correctly is just as important as making it, as this determines the final look and longevity. Begin by thoroughly cleaning the area where the sticker will go, removing any dirt, dust, or wax. A clean surface ensures the adhesive sticks properly and prevents the sticker from peeling prematurely. It is often helpful to use a mild soap solution and dry the area completely with a microfiber cloth before proceeding.
When you are ready to apply, carefully peel the backing off the sticker and align it on the car surface. Use the transfer tape to lift the entire design, placing it gently onto the car. Starting from the center and working your way outward, use a squeegee to press the sticker down firmly, pushing out any trapped air bubbles. If bubbles appear, gently lift the edge of the sticker and smooth them out until the surface is flat. Take your time with this step to ensure a professional, bubble-free finish.
Maintenance and Longevity
To keep your custom sticker looking sharp, proper maintenance is essential. While vinyl stickers are generally low-maintenance, you should avoid using harsh chemical cleaners or abrasive sponges on the area. Instead, wash your car with mild soap and water, and gently wipe the sticker with a soft cloth. This routine helps preserve the vibrant colors and strong adhesion for years to come.

Over time, even high-quality stickers may show signs of wear, especially under intense sun exposure. You can extend the life of your creation by parking in shaded areas or applying a clear protective film over the sticker if possible. By following these simple care tips, you can ensure that your personalized car sticker continues to turn heads and convey your message for a long time.
Conclusion
Making your own car sticker empowers you to transform your vehicle into a unique expression of identity, turning every drive into a statement. With careful planning, quality materials, and a bit of creativity, you can produce a durable and eye-catching design that stands up to the elements. The satisfaction of seeing your personal artwork affixed to your car is a reward that lasts far beyond the project itself.
How To Make DIY Bumper Stickers
Learn how to make your own bumper stickers with Royal Elements printable vinyl sticker paper, laminating sheets, a pair of ...
