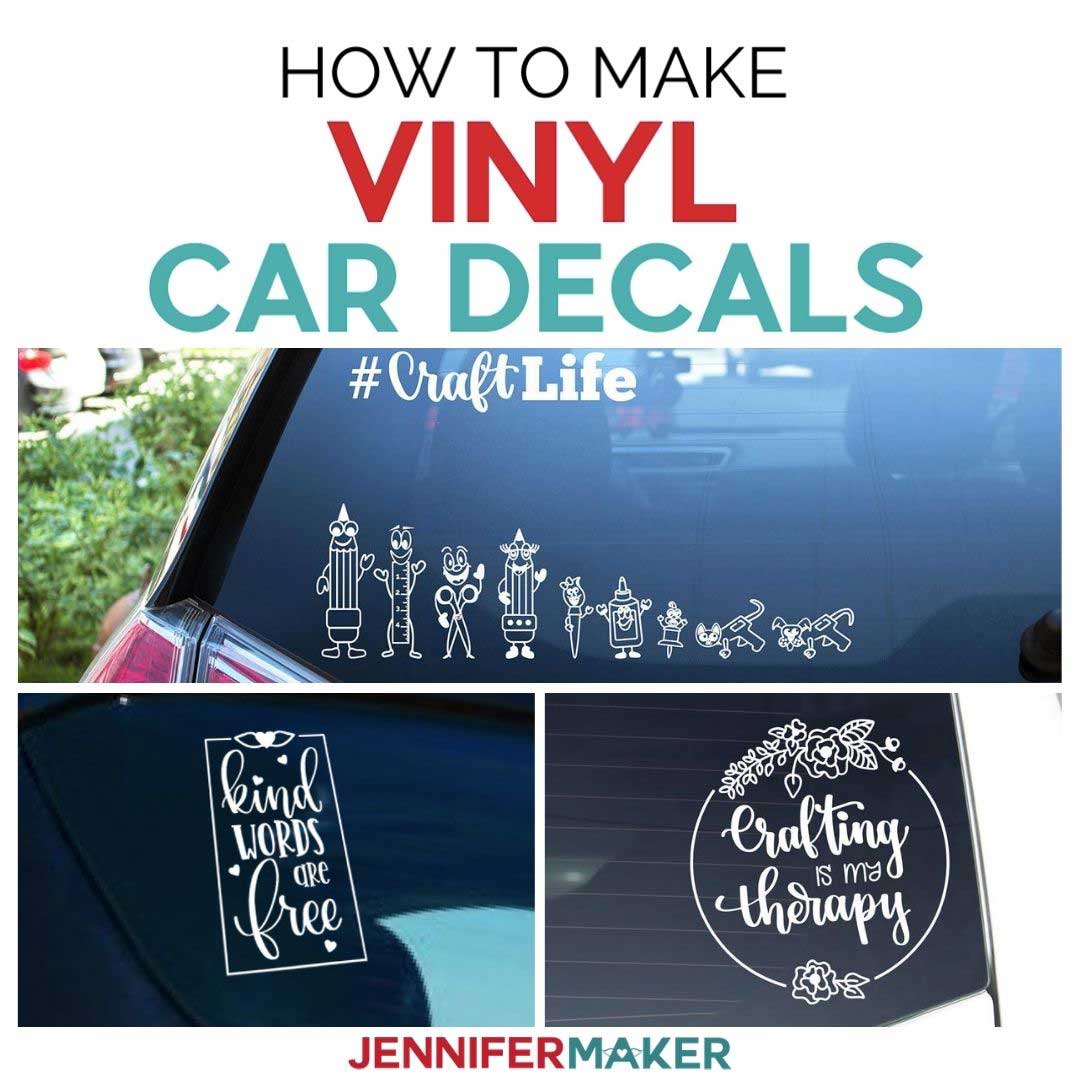
Make Your Own Car Decals
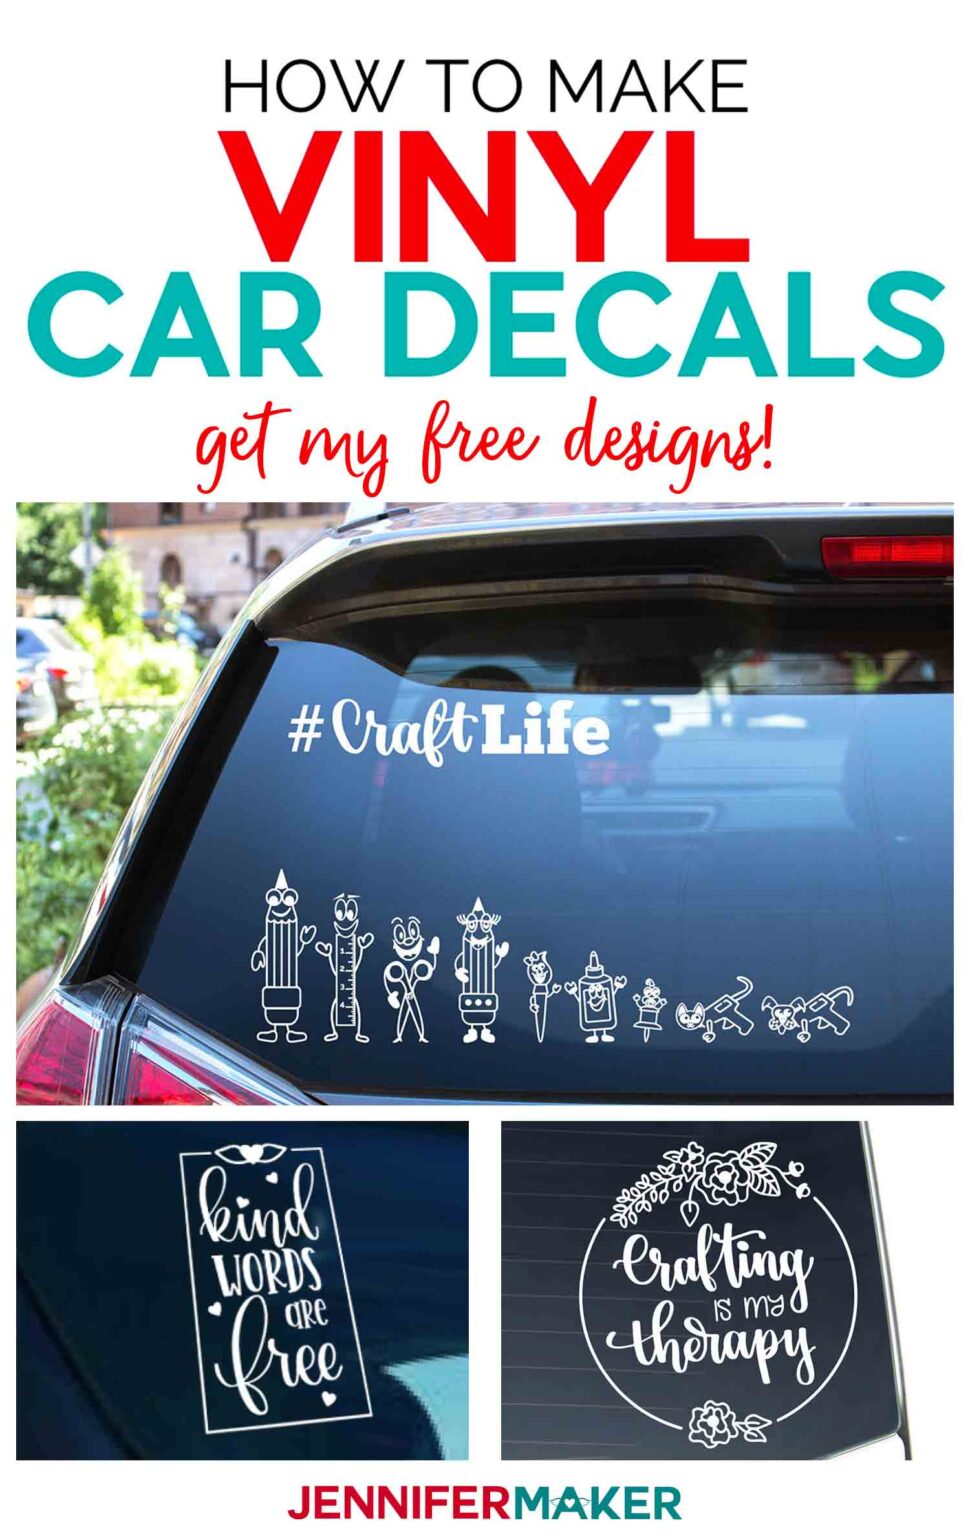
Making your own car decals is a fun and affordable way to give your vehicle a custom look without the cost of professional vinyl work.
Choose Your Design and Prepare the File
The first step to make your own car decals is deciding what you want to put on your vehicle. You can create anything from simple text, such as a name or slogan, to detailed graphics, flames, or abstract art. Think about your personal style, the purpose of the decal like branding, humor, or decoration, and how it will look from a distance on your car.
Once you have an idea, sketch it on paper or use a digital design program. For clean results, it is best to make your artwork in vector format so it can be scaled without losing quality. If you are not confident in your drawing skills, you can find free or paid templates online and modify them to fit your taste. Keep in mind that simpler shapes and solid colors are often easier to cut and apply, especially when you make your own car decals for the first time.
Select Materials and Tools
To make your own car decals that last, you need the right materials. The most common choice is adhesive vinyl, which comes in matte or glossy finishes and various colors. You will also need transfer tape to move the decal from the paper backing to the car surface, a sharp utility knife or cutting tool for trimming, and a ruler or measuring tape for alignment.
Optional but helpful tools include a squeegee or credit card to remove air bubbles, a heat gun or hairdryer for better application on curved surfaces, and cleaning supplies to ensure the car surface is dust and grease free. Choosing weather resistant vinyl and quality adhesive will help your decal stay vibrant and stuck on the car even in rain, heat, and cold.
Cut the Decal Precisely
After designing your art, you need to cut it out using a cutting machine or by hand. If you have a vinyl cutter or Cricut, load the vinyl into the machine, mirror the image if required, and let it cut along the lines with enough depth to pierce the vinyl but not the backing.

If you are cutting by hand, print your design at the correct size, place it on top of the vinyl, and trace the outlines with a pen or marker. Use a sharp utility knife and a metal ruler to cut slowly and carefully along the lines. Take your time with corners and small details, because clean cuts make the application process smoother when you make your own car decals.
Weed the Excess Vinyl
Weeding means removing the extra vinyl around your design so that only the parts you want to appear on the car remain. This step is crucial when you make your own car decals with detailed shapes or text, as leftover vinyl can make the final look messy.
Use a weeding tool, needle, or tweezers to gently lift and pull away the unwanted pieces. Work slowly and keep the design well lit so you can see small pieces. If your decal has intricate parts, you might want to place a second layer of transfer tape over the whole design before weeding to keep everything in place.

Apply Transfer Tape and Position on the Car
Once the weeding is done, smooth a sheet of transfer tape over the decal and press firmly from the center outward to secure the vinyl to the tape. Carefully peel away the paper backing, making sure no vinyl pieces stay behind.
Before you place the decal on the car, clean the area with soap and water, then use rubbing alcohol to remove any residue. Hold the transfer tape and decal together, position the decal on the car where you want it, and gently press it into place. It is easier to make small adjustments at this stage than after the decal is fully applied.
Squeeze Out Bubbles and Finish the Edges
Starting from the center, use a squeegee, credit card, or soft cloth to press the decal down and push air bubbles toward the edges. Work slowly and in one direction to avoid lifting the vinyl.

For best results when you make your own car decals, pay extra attention to edges and corners, pressing them firmly so they stick well. On curved surfaces, you may need to use a heat gun briefly to soften the vinyl and help it conform to the shape. Trim any excess vinyl from the edges with a sharp knife for a clean finish.
Care and Longevity Tips
After applying your custom decal, let it cure for a day or two before washing the car to allow the adhesive to set properly. Use a mild car soap and a soft sponge when cleaning, and avoid harsh chemicals or abrasive tools that can lift the edges.
With proper care, your handmade decal can stay bright and adhered for several years. If you notice lifting corners, gently press them back down and consider adding a clear car-safe sealant around the edges for extra protection. By following these steps, you can confidently make your own car decals that look great and protect your vehicle’s appearance.

Creating your own car decals combines creativity with a hands on project that transforms your ride and expresses your personality on the road.
Create and Sell Car Decals with Your Cricut | DIY Business Ideas
Want to make money from home with your Cricut machine? In this step-by-step Cricut tutorial, I'll show you how to make and sell ...
