Make Your Own Auto Decal
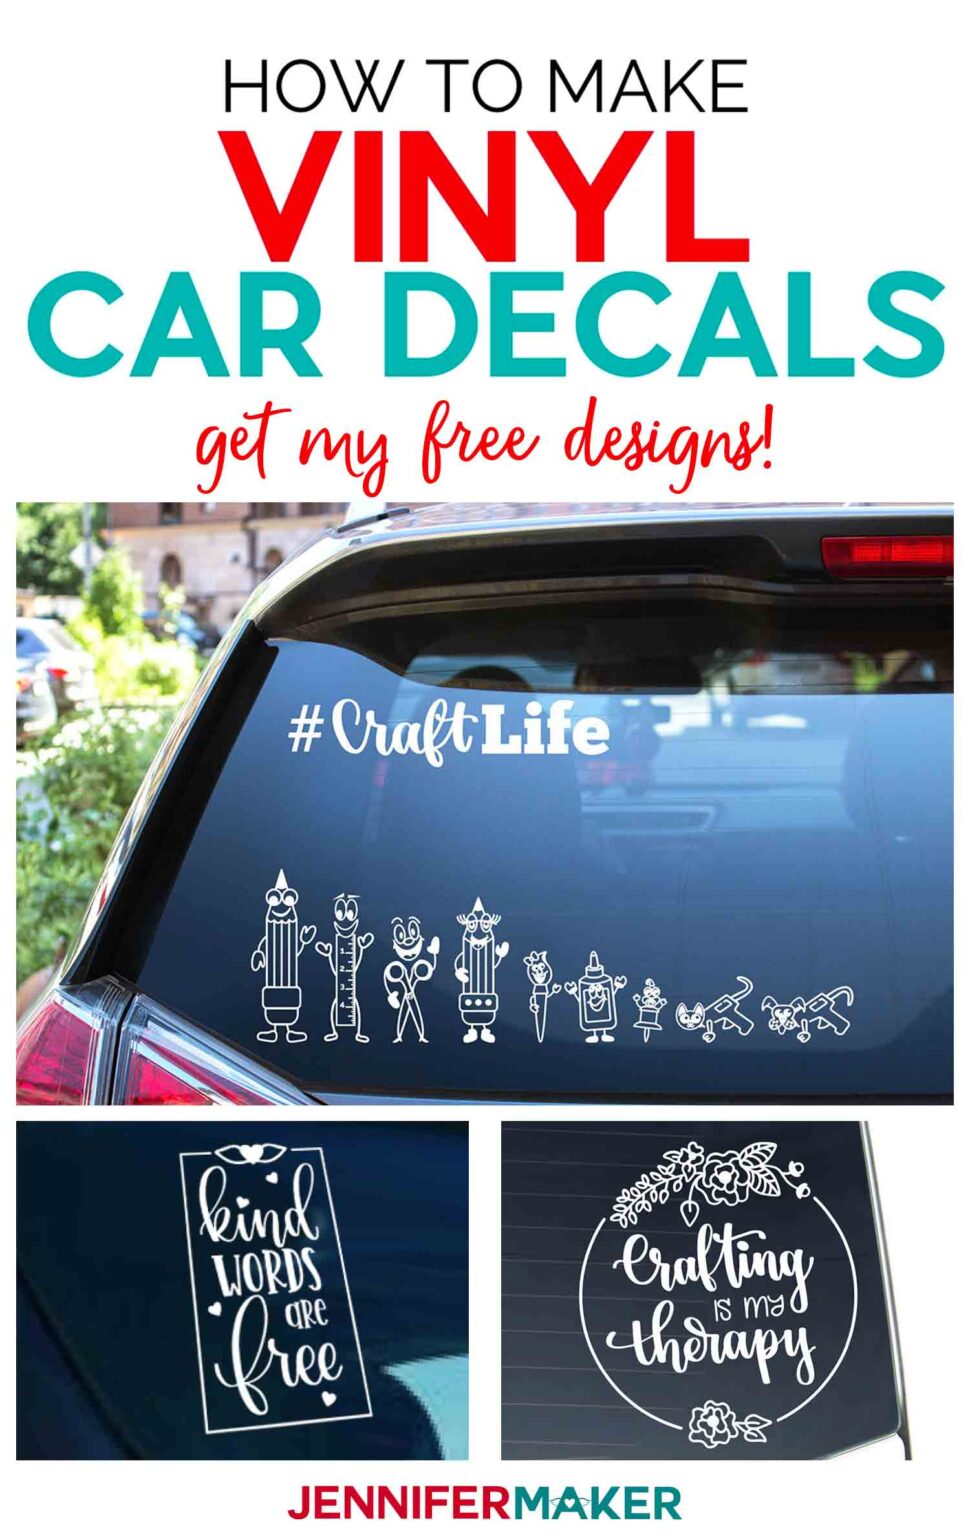
Making your own auto decal is a creative way to personalize your vehicle without the cost of a professional installer.
Understanding What an Auto Decal Is and How It Works
An auto decal is a thin, adhesive graphic designed to stick to painted or wrapped surfaces without damaging the finish when removed properly. Unlike paint or vinyl wraps, a decal sits on top of the existing surface and relies on strong adhesive and precise application to stay in place. The typical construction includes a printed layer, a clear protective layer, a release liner, and the adhesive backing that activates with pressure and sometimes heat. Because it is made to conform to curves and small details, a well-made decal can look seamless and professional on cars, trucks, and even motorcycles.
Before you begin to make your own auto decal, it helps to know where the decal will live on the vehicle and what kind of look you want to achieve. Large panels, hood accents, or full door graphics require different planning than small emblems or subtle pinstripes. The surface material also matters, since dirt, wax, or uneven paint can affect adhesion and longevity. Understanding these factors will guide your choice of materials, printing method, and installation approach so the final result stays sharp through sun, rain, and road trips.
Planning Your Design and Measuring the Surface
Good planning is the foundation of a great custom decal, starting with a clear idea of what you want to communicate or express. You might choose a bold logo, a stylized emblem, a geometric pattern, or a combination of text and imagery that reflects your personality. Keep in mind that overly complex details can be difficult to cut and align, so simplifying intricate artwork often leads to a cleaner install. Consider the proportions of your vehicle and how the decal will look from a distance as well as up close, since this influences font size, line weight, and color contrast.
Once the concept is set, accurate measurement becomes the critical link between design and reality. Use a measuring tape and a notepad to record the height, width, and key reference points on the area where the decal will go, such as the rear window, quarter panel, or lower fender. Sketch or create a digital mockup at actual size, and if possible, print a template on plain paper to test placement before committing to the final materials. This step helps you avoid common issues like awkward centering, interference with buttons or lights, and violations of any local regulations about signage on public roads.
Choosing Materials and Tools for a Durable Decal
The quality of your materials has a direct impact on how long your homemade auto decal will look good and stay adhered. For a durable result, use a weather-resistant vinyl designed for outdoor graphics, along with a clear overlaminate if you want extra protection against scratches and ultraviolet light. You will also need a strong, removable adhesive backing, transfer tape that does not stretch, and a sharp cutting tool if you are creating a die-cut design. For printed decals, a professional printer or a high-resolution inkjet printer with suitable inks can make the difference between a faded look and a vivid, long-lasting finish.
Gathering the right tools will make the installation process smoother and more precise. Helpful items include a soft squeegee for pressing out air bubbles, a heat gun or hair dryer for stretching material over curves, a level or ruler for alignment, and a cleaning solution free of oils and residues. Microfiber cloths, masking tape, and a hobby knife or razor blade are also useful for trimming edges and preparing the surface. When you invest in these tools and materials upfront, you set yourself up for a clean installation that looks like it came from a shop rather than a home project.
Designing, Cutting, and Printing Your Decal
With your plan and materials ready, it is time to bring your design to life by creating the actual artwork file. Vector formats such as SVG or AI are ideal because they scale cleanly without losing detail, which is especially important when you make your own auto decal in a specific size. If you are not comfortable with design software, many online tools and templates can help you position text, logos, and shapes exactly where you want them. Remember to add a bleed area around the edges and to mirror text if you are printing on the inside of a clear overlay, so the final result appears correct from the outside.
Cutting and printing require attention to detail to maintain the integrity of the design. For vinyl decals, carefully cut along the outlines using a precision knife or a cutting machine, ensuring that the blade is sharp enough to slice through the material but not the release liner. If you are printing, apply the appropriate ink settings and allow prints to dry fully before handling or applying adhesive. A test cut on scrap material can reveal the right pressure, speed, and alignment before you work on your final design. Taking the time to refine these steps reduces waste and increases your confidence when it is time to install the decal on your vehicle.

Preparing the Vehicle Surface for Installation
Even the best decal will fail prematurely if the surface is not properly prepared, so cleaning is one of the most important steps to make your own auto decal last. Start by washing the area with mild soap and water to remove dirt, road salt, and oils, then rinse thoroughly and dry with a clean towel. Use an isopropyl alcohol solution or a dedicated panel wipe to eliminate any remaining residue from wax, polish, or sunscreen, which can prevent the adhesive from bonding evenly. It is also wise to check for loose paint, rust, or damaged clear coat, since these issues can compromise the finish once the decal is removed later.
Consider the environment where you will do the installation, because dust, wind, and direct sunlight can all interfere with the process. An indoor garage or a shaded area with calm air is ideal, as it reduces the chance that particles will land on the adhesive before you are ready. Some installers prefer to work in cooler temperatures to give themselves more working time with the adhesive, while others use low heat to help the decal conform to curves. By controlling these variables and double-checking that the surface is spotless and dry, you set the stage for a bubble-free, aligned application that looks great for years.
Applying the Decal Smoothly and Checking the Results
Applying the decal correctly is where preparation meets execution, and a steady hand makes all the difference. Begin by peeling a small section of the release liner and attaching the cut decal to a squeegee or application tool, then position it on the cleaned surface without letting the adhesive touch the paint directly. Slowly lower the decal into place while holding the liner back, using a level or reference lines on the vehicle to keep it straight. Once the position looks right, press from the center outward with a soft squeegee, working out trapped air and ensuring full contact with the surface. For larger or contoured areas, use gentle heat to soften the vinyl slightly so it stretches and conforms without tearing.

After the decal is fully applied, inspect it carefully for any remaining bubbles, lifted edges, or misalignment. A second pass with firm, even pressure can sometimes fix small issues, while a reheated section might be necessary for stubborn curves. Take a moment to admire the result, compare it to your original mockup, and confirm that the colors, proportions, and placement match your vision. When you are satisfied, allow the adhesive to cure according to the manufacturer’s recommendations before aggressive washing or driving in harsh conditions. With careful planning, quality materials, and methodical application, your homemade auto decal can become a standout feature that turns heads and lasts through many miles of driving.
How to make Decal Sticker at home DIY
How to make U.S. Air Force Insignia decals out of colored packing tape at home easy. Handmade World War II Roundel Sticker ...
