Make Wall Decals

Make wall decals is a simple and creative way to transform any room with personalized designs, removable murals, and budget friendly art.
Plan Your Wall Decal Design and Theme
Before you start to make wall decals, it helps to decide on a clear design and theme that matches the room and your personal style. Think about whether you want a bold feature wall, a subtle accent, or a playful children mural that can evolve as they grow. Consider the size, color palette, and mood you want to create, because a well planned concept will guide every later step of making and installing your wall art.
When you plan to make wall decals, list possible subjects like nature scenes, geometric patterns, typography quotes, or custom illustrations that reflect your interests. Keep the scale in mind, large pieces work well above sofas or beds, while smaller motifs are perfect for hallways or compact nooks. Choosing a unifying style, such as minimalist line art, vintage botanical, or modern abstract, will help you make cohesive wall decals that feel intentional rather than random.
Choose Materials and Tools for Making Wall Decals
Selecting the right materials is essential when you make wall decals, especially if you want a professional finish that sticks well and removes cleanly. For temporary or semi permanent projects, vinyl with a low tack adhesive is ideal, while more permanent options may require stronger adhesive backings designed for textured walls. You will also need transfer tape, a smoothing tool, a utility knife or cutting machine, measuring tape, and cleaning supplies to prepare the surface before application.
- Vinyl sheets or printable decal paper depending on whether you cut or print your design.
- Transfer tape to lift and position the decal without stretching it.
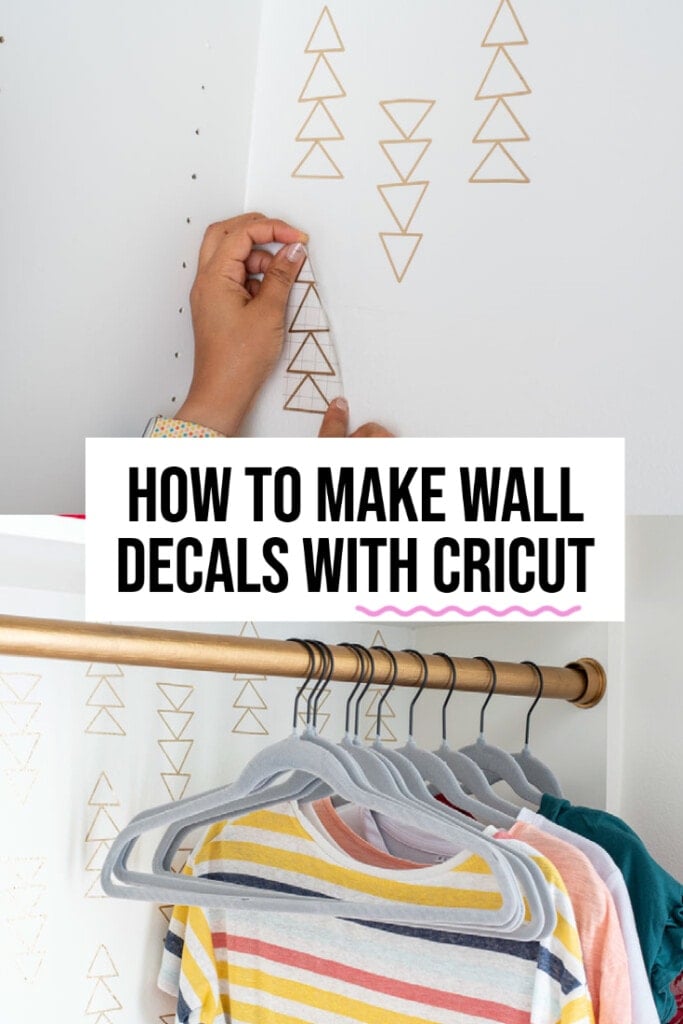
- A craft knife or cutting machine like a Cricut or Silhouette for precise cutting.
- Measuring tape, level, and painter’s tape to align your work accurately.
- A microfiber cloth, mild soap, and a smoothing tool such as a squeegee.
Gathering these tools in advance will make it easier to make wall decals with crisp edges and bubble free results. If you are creating a complex design, consider using a cutting machine to automate the process, but remember that simple shapes can also be cut carefully by hand for a charming, DIY look.
Create and Cut Your Decal Design
Once your concept is clear and materials are ready, the next step to make wall decals is to create the actual graphic, either by drawing it digitally, using design software, or selecting a template that suits your space. Vector based formats like SVG work best for cutting machines, because they scale cleanly without losing detail. If you are printing, choose a durable matte or glossy vinyl that matches the finish you want on the wall.
When you cut or print your decals, take time to mirror text or detailed elements if your method requires it, and always test cut a small piece to check alignment and adhesion. Precision matters here, because a well cut decal will peel smoothly and allow you to make wall decals that look seamless once installed. Save multiple copies of your design files so you can reproduce the look in different rooms or refresh a worn decal later.
Prepare the Wall Surface for Application
A clean, smooth surface is crucial if you want your wall decals to stay in place and look professional when you finally make wall decals in the chosen spot. Dust, grease, or uneven paint can cause bubbles, peeling, or poor adhesion, so start by cleaning the area with mild soap and water, then drying it thoroughly. If the wall is newly painted, let it cure for at least 48 hours, and avoid installing decals on surfaces that are flaking or heavily textured unless you use specialty methods.
For best results, use a level and painter’s tape to mark the intended position before removing any backing from your decal. This step helps you adjust alignment while the decal is still loose, which is much easier than peeling it off a wall after it has stuck. Taking a few extra minutes to prepare the wall will save you from rework and help your make wall decals project look flawless from day one.
Apply and Finish the Decal Like a Pro
Applying the decal correctly is the key to a polished result, so work slowly and use a soft squeegee or credit card to press out air bubbles from the center toward the edges. Start from one side and smooth gradually, because rushing can trap folds or cause the vinyl to stretch out of shape. If the decal is large, you may section it off, applying one part at a time while keeping the rest protected by its backing paper.
- Peel the backing slowly while pressing the decal down with your other hand or a smoothing tool.
- Use a level or measuring marks to ensure straight alignment and consistent spacing.
- Run the squeegee from the middle outward to remove trapped air and secure the edges firmly.
- Let the decal settle for a few hours before touching or cleaning the surface.
Once applied, step back and check for missed bubbles, loose corners, or color inconsistencies, and gently lift and re press any problem areas while the adhesive is still forgiving. With practice, you will find it easy to make wall decals that look installed by a professional, even on your first try.
Maintain and Refresh Your Wall Decals
After you successfully make wall decals, simple care will keep them looking vibrant for years, whether they are in a high traffic hallway or a child’s bedroom. Dust them regularly with a soft cloth, and clean spills immediately using a mild detergent solution and a very soft sponge, avoiding abrasive tools that can scratch the surface. Most vinyl decals tolerate light cleaning, but always test any new product on a small, hidden area first to protect the finish.
Over time, you may want to update the design, remove a decal without leaving residue, or rotate motifs to suit new decor trends. Because many wall decals are removable, you can experiment with different arrangements, seasonal themes, or accent walls without permanent commitment. By mastering the process to make wall decals, you gain the freedom to refresh your space easily, keeping your walls fresh, expressive, and uniquely yours.
Making wall decals combines planning, careful cutting or printing, and attentive installation, resulting in customizable wall art that is both budget friendly and visually striking. With thoughtful design, proper materials, and patient application, you can turn any wall into a personalized statement that feels polished, durable, and ready to evolve with your style.
How to Make a Wall Decal - Intro: The 4 Step Process
http://www.walldecalbusiness.com - This is an introductory video in which I show you the four steps I take to create a custom wall ...
