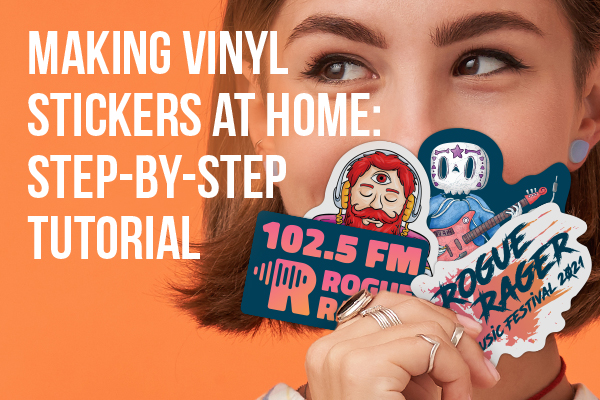
Make Vinyl Stickers

Making vinyl stickers is a fun and practical way to add bold personality to your gear, your shop window, or your gift packaging.
Understanding Vinyl Stickers and Why They Last
Vinyl stickers are made from a flexible, durable plastic material that resists water, UV light, and small scratches, which is why they stay vibrant outdoors much longer than paper labels. Unlike cut paper, vinyl conforms to slightly curved surfaces and keeps a smooth finish even on car doors, laptops, or outdoor signs. The secret to long life lies in the combination of the vinyl film, a strong adhesive layer, and a protective top coat that guards against fading and peeling.
When you set out to make vinyl stickers, you are choosing a product that can survive rain, mild cleaning, and moderate temperatures without losing adhesion. This durability makes them ideal for branding, event promotion, or personal expression on items that move or face the elements. With a little practice, you can produce professional-looking results that rival what you buy from commercial suppliers.
Gathering Tools and Materials for Professional Results
To make vinyl stickers at home or in a small studio, you need a reliable vinyl cutter, transfer tape, a squeegee, and a cutting mat. Entry-level desktop cutters are affordable and precise enough for most designs, while more advanced models give you greater control over blade depth and speed. You will also want a ruler, a craft knife for trimming, and a clean work surface free of dust and hair that could stick to the adhesive.
- Vinyl sheet in your preferred color and finish, such as gloss or matte
- Cutting machine or precision craft knife with a sharp blade
- Transfer tape for lifting and placing the design cleanly
- Squeegee or credit card for firm pressure application
- Design files prepared in vector format for crisp edges
Choosing the right vinyl finish matters when you make vinyl stickers for different surfaces. A glossy finish adds shine and vivid color depth, while a matte finish feels more subtle and modern. Decide whether you want permanent adhesive for outdoor durability or removable adhesive for items that may change frequently.
Designing Your Sticker for Maximum Impact
Start by creating a clear, vector-based design that defines the shapes and text you want to cut, because vector paths give you clean edges no matter how large you scale the sticker. Keep details moderate; very thin lines can be fragile on small stickers, while bold graphics and simple text often read better from a distance. Consider the color of the vinyl and the background where the sticker will live, using contrasting colors to make your message pop.

When you make vinyl stickers for branding, include a small margin around critical elements to avoid losing details during trimming. Test your design on paper first to check sizing and composition, then export it in the format required by your cutting software. Well-prepared files save time, reduce material waste, and help you iterate quickly as you refine your style.
Cutting, Weeding, and Preparing the Vinyl
Load your vinyl sheet onto the cutting mat, set the recommended blade depth and speed for the material, and send your design to the cutter. If you are using a craft knife, print your design at the correct size, tape it down, and carefully trace the outlines with firm, steady strokes. The goal is to cut through the vinyl and backing while leaving the liner intact, so you can later remove the excess material in a step called weeding.
Weeding requires patience but pays off in sharp, professional results. Use a weeding tool or the tip of a craft knife to lift away the unwanted vinyl around your shapes, taking care not to disturb the parts you want to keep. A well-weeded sticker makes the next step, applying transfer tape, much smoother and ensures that every detail transfers cleanly to the final surface.

Applying Transfer Tape and Placing the Sticker
Once the vinyl is weeded, cover it with transfer tape and use a squeegee to press out air bubbles, creating a solid sheet that will hold all the pieces in place. Carefully peel away the backing, keeping the transfer tape and vinyl aligned, because the adhesive side is now exposed and can grab dust or curl up. Position the sticker on your chosen surface, lower one edge first, and then smooth from the center outward to push out any trapped air.
After the sticker is in place, firmly rub the surface with a squeegee or a soft cloth to strengthen the bond, especially around small shapes and corners. Give the adhesive time to set according to the manufacturer’s recommendations before you peel off the transfer tape. If you make vinyl stickers with very fine text or intricate details, slowly removing the transfer tape at a low angle helps prevent pieces from lifting off the vinyl.
Tips for Longevity and Troubleshooting Common Issues
To extend the life of your stickers, avoid immediate washing or harsh chemicals, and gently clean them with mild soap and water. For outdoor applications, choose a weather-resistant vinyl and consider a laminated overlaminate if your design needs extra protection against abrasion or sun exposure. If edges begin to lift, press them down with medium heat from a hairdryer, which temporarily softens the adhesive and improves contact.
Common problems like wrinkling usually come from uneven application or dust trapped under the vinyl, so work in a clean, dust-free area and smooth from the center to the edges. When you make vinyl stickers on textured surfaces, slightly stretching the vinyl or using a softer adhesive can help the material conform without pulling apart. With practice, careful preparation, and attention to detail, you can consistently produce vinyl stickers that look great and last longer.
By following these steps and refining your technique over time, you turn a simple craft into a reliable skill that produces high-quality vinyl stickers for personal projects, gifts, or professional branding.
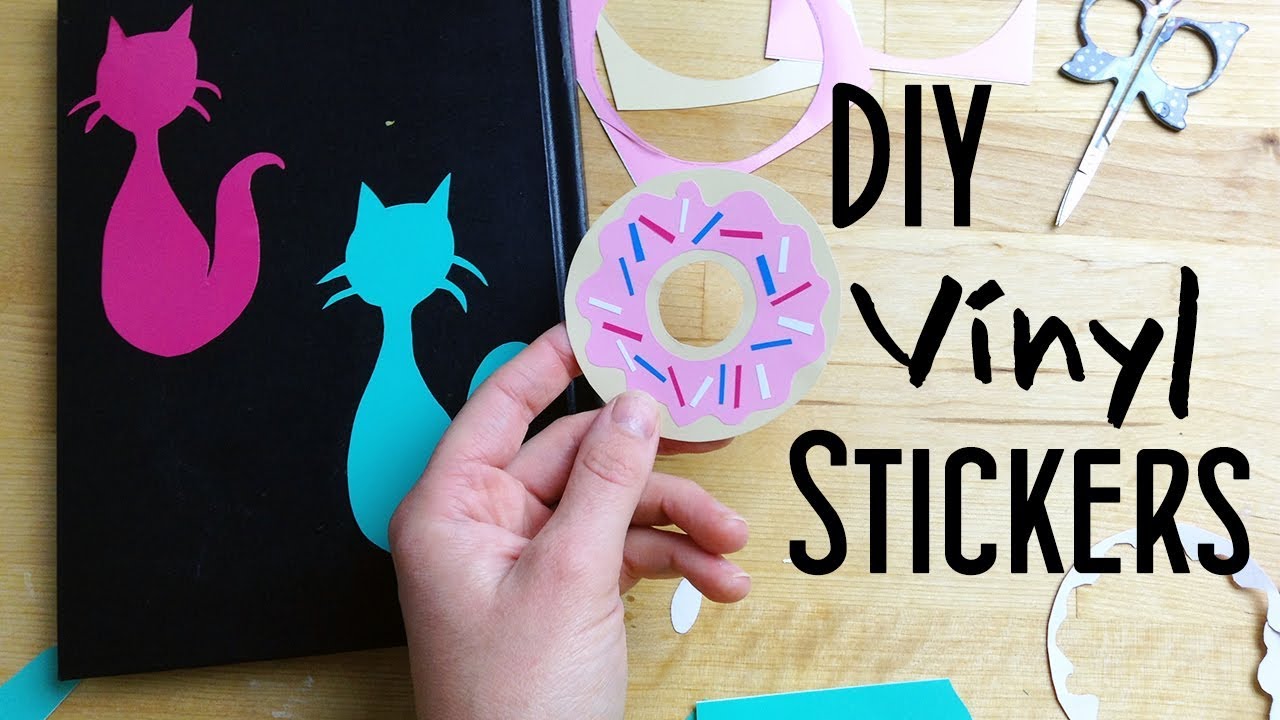
How to Easily Make Professional Vinyl Decals | Cricut Tutorial
Take your vinyl stickers to the next level, and make them look very professional, and it is so easy to do this too! Supplies used in ...
