Make Photo Into A Sticker
Turning any photo into a sticker is easier today than ever, thanks to powerful mobile apps, web tools, and simple editing techniques.
Why Turn a Photo into a Sticker
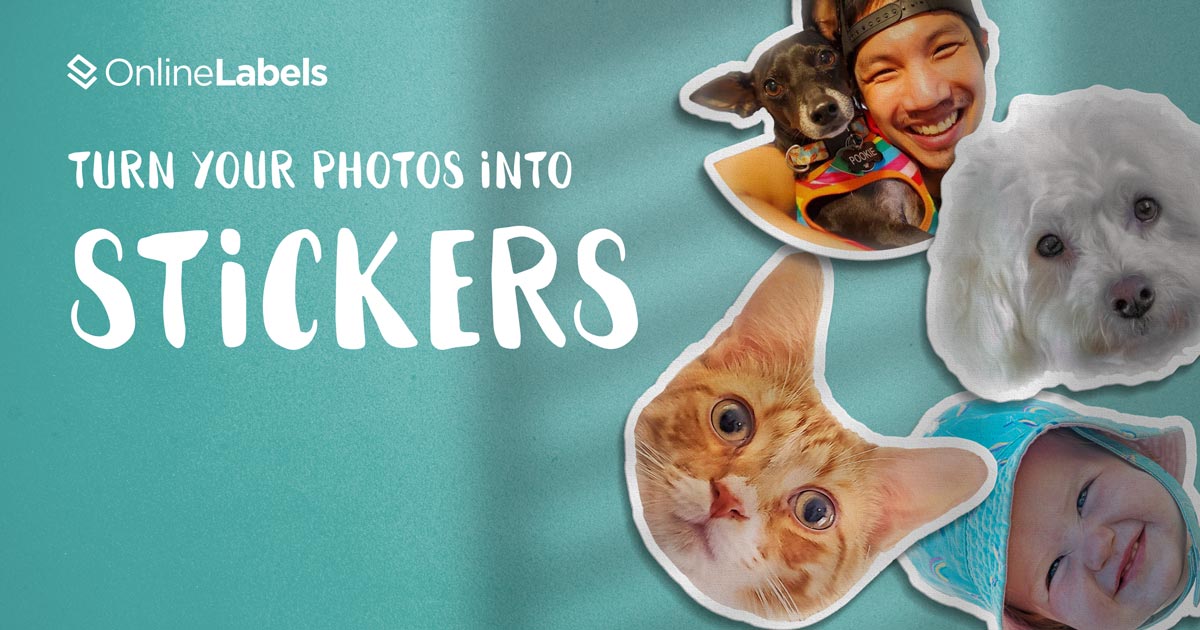
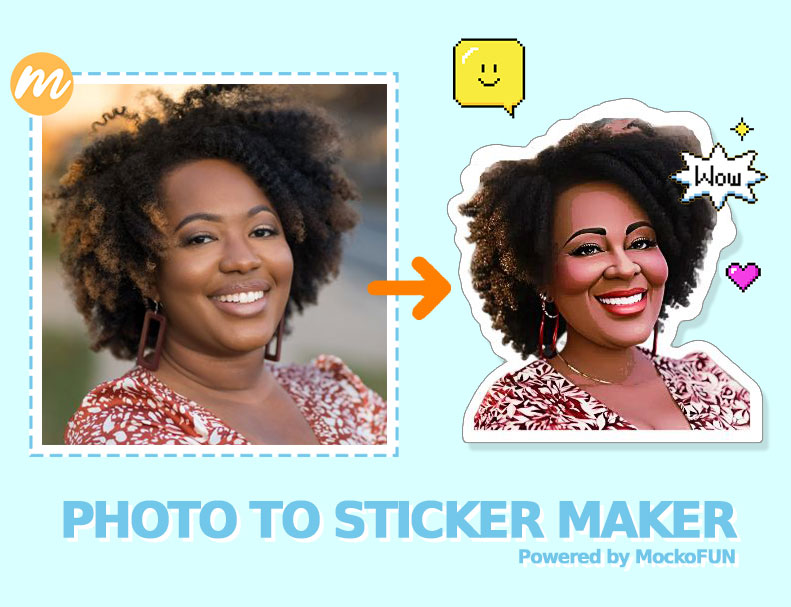
Converting an image into a sticker format adds personality to chats, stories, and digital conversations. Whether you want a fun profile sticker, a branded emblem for messaging apps, or a custom icon for social media, the ability to make photo into a sticker opens creative possibilities for both personal and professional use.
Stickers created from real photos feel more authentic than generic illustrations, helping you express emotions, reactions, and identity in a vivid way. You can transform a favorite portrait, a pet, a product shot, or a scenic moment into a reusable graphic that stands out in crowded chats and feeds.

Choose the Right Tools for the Job
Selecting the proper app or online service is the first critical step when you decide to make photo into a sticker. Look for tools that support transparent backgrounds, multiple export formats such as PNG, and easy integration with messaging platforms like WhatsApp, Telegram, and Instagram.
Some popular options include dedicated sticker maker apps, photo editors with sticker features, and converter websites. Consider whether you need a mobile solution for on-the-go creation or a desktop tool for more refined editing. The best choice balances simplicity, export quality, and compatibility with the platforms you use most often.
Key Features to Prioritize
- Background removal or transparency support
- High-resolution export without heavy compression
- Batch processing if you plan to convert several images
- Integration with popular messaging apps
- Custom size options to match platform requirements
Prepare Your Source Photo
The quality of the original image heavily influences the final sticker, so it is important to prepare your photo carefully before you make photo into a sticker. Choose pictures with clear subjects, good lighting, and enough contrast so that details remain visible after background removal.
Avoid overly busy backgrounds that can confuse automatic selection tools. If necessary, use simple editing adjustments such as brightness, contrast, or saturation to emphasize the main subject. A well-prepared photo reduces manual cleanup and helps you create a crisp, professional-looking sticker with less effort.
Basic Photo Preparation Tips
- Use high-resolution images to preserve detail after scaling
- Ensure the subject is clearly separated from the background
- Adjust shadows and highlights to improve edge detection
- Crop tightly around the subject to simplify the conversion
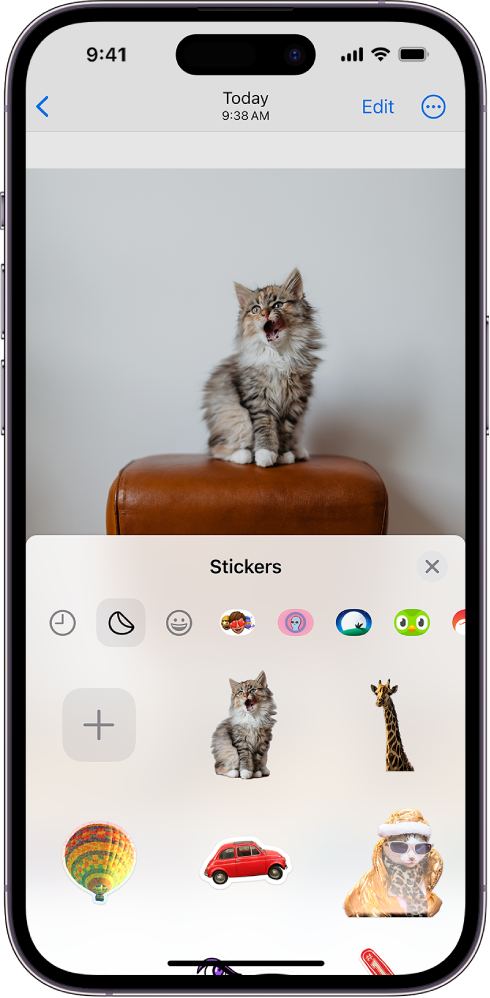
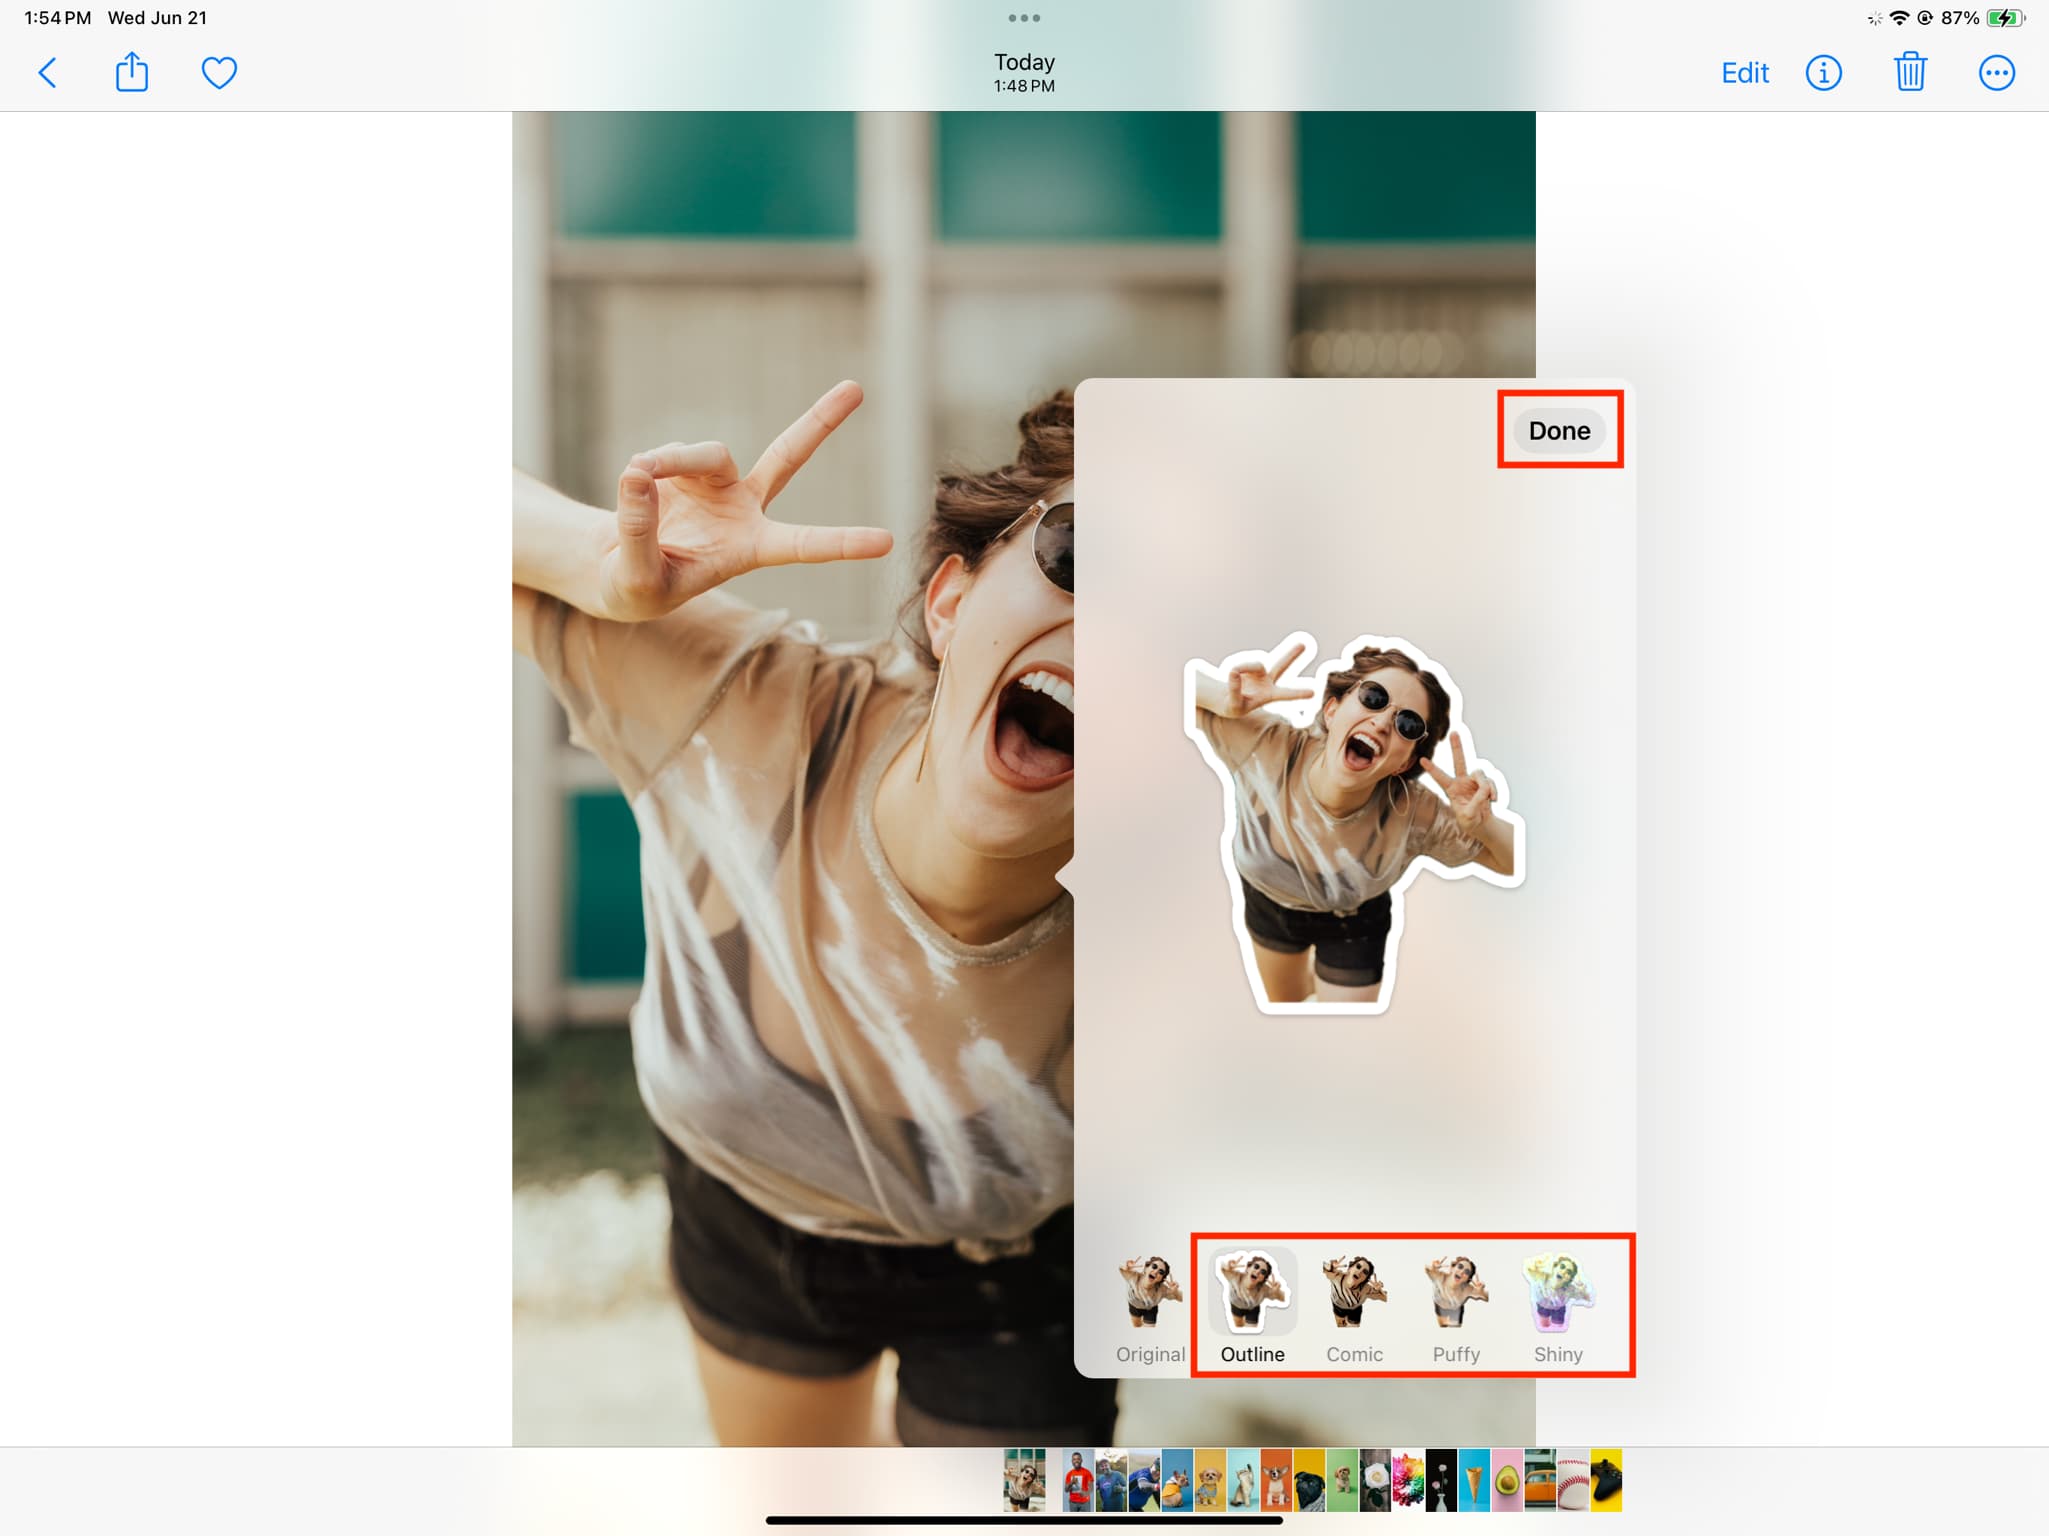
Remove the Background and Isolate the Subject
One of the most important stages when you make photo into a sticker is isolating the subject from its original background. Many modern editors offer automatic background removal, which can quickly generate a transparent or contrasting background.
For tricky edges like hair, fur, or delicate objects, manual refinement tools such as brush-based erasers, selection paths, and edge smoothing become essential. Take your time refining the mask, checking the edges against various backgrounds to ensure the sticker integrates seamlessly into chats and designs.
Common Isolation Techniques
- Automatic background detection with manual touch-ups
- Using selection tools like magic wand or lasso for simple shapes
- Path-based outlining for precise edges around complex subjects
- Leveraging AI-powered segmentation for faster results
Export in a Sticker-Friendly Format
After editing and isolating the subject, you must export your work in a format that preserves transparency and quality. The most widely supported option is PNG, which handles transparent backgrounds better than JPEG.
When you make photo into a sticker, verify that the exported file retains sharp edges, accurate colors, and an appropriate file size for fast sharing. Some platforms impose size limits or require specific dimensions, so check the requirements of WhatsApp, Telegram, Instagram, or your target app before finalizing the export.
Export Best Practices
- Save at the highest quality setting to minimize compression artifacts
- Check platform guidelines for recommended sticker dimensions
- Test the exported sticker in the messaging app before mass use
- Keep an editable source file for future adjustments
Optimize Stickers for Messaging Platforms
Different messaging services have specific rules for stickers, including file size, aspect ratio, and feature support. If your goal is to make photo into a sticker for WhatsApp, Telegram, or similar apps, you must tailor the output to those specifications.
Research the exact requirements for each platform, such as maximum file size, recommended dimensions, and whether animated stickers are supported. Optimizing for these constraints ensures your sticker uploads successfully, displays correctly, and delivers the intended visual impact without unnecessary cropping or blurring.
Use Your Custom Stickers Creatively
Once you master the process to make photo into a sticker, you can explore a wide range of creative applications. Enhance group chats with personalized reactions, create themed packs for holidays or events, or build a branded set for business communications.
Stickers derived from real photos carry a sense of familiarity and sincerity that generic icons often lack. You can use them in digital storytelling, marketing campaigns, social media posts, and even printed materials when converted to appropriate formats. The more you experiment, the more you discover how a simple photo can evolve into a versatile visual tool.

By following these steps and refining your technique over time, you can transform ordinary images into expressive stickers that enhance communication and add a personal touch to every message.
How to Make Photo Stickers for Journaling & Scrapbooking ✷ Silhouette Tutorial
FREE Canva design template for photo stickers (upload your photos to Canva and drag and drop to replace my default photos): ...
