Make My Own Decal
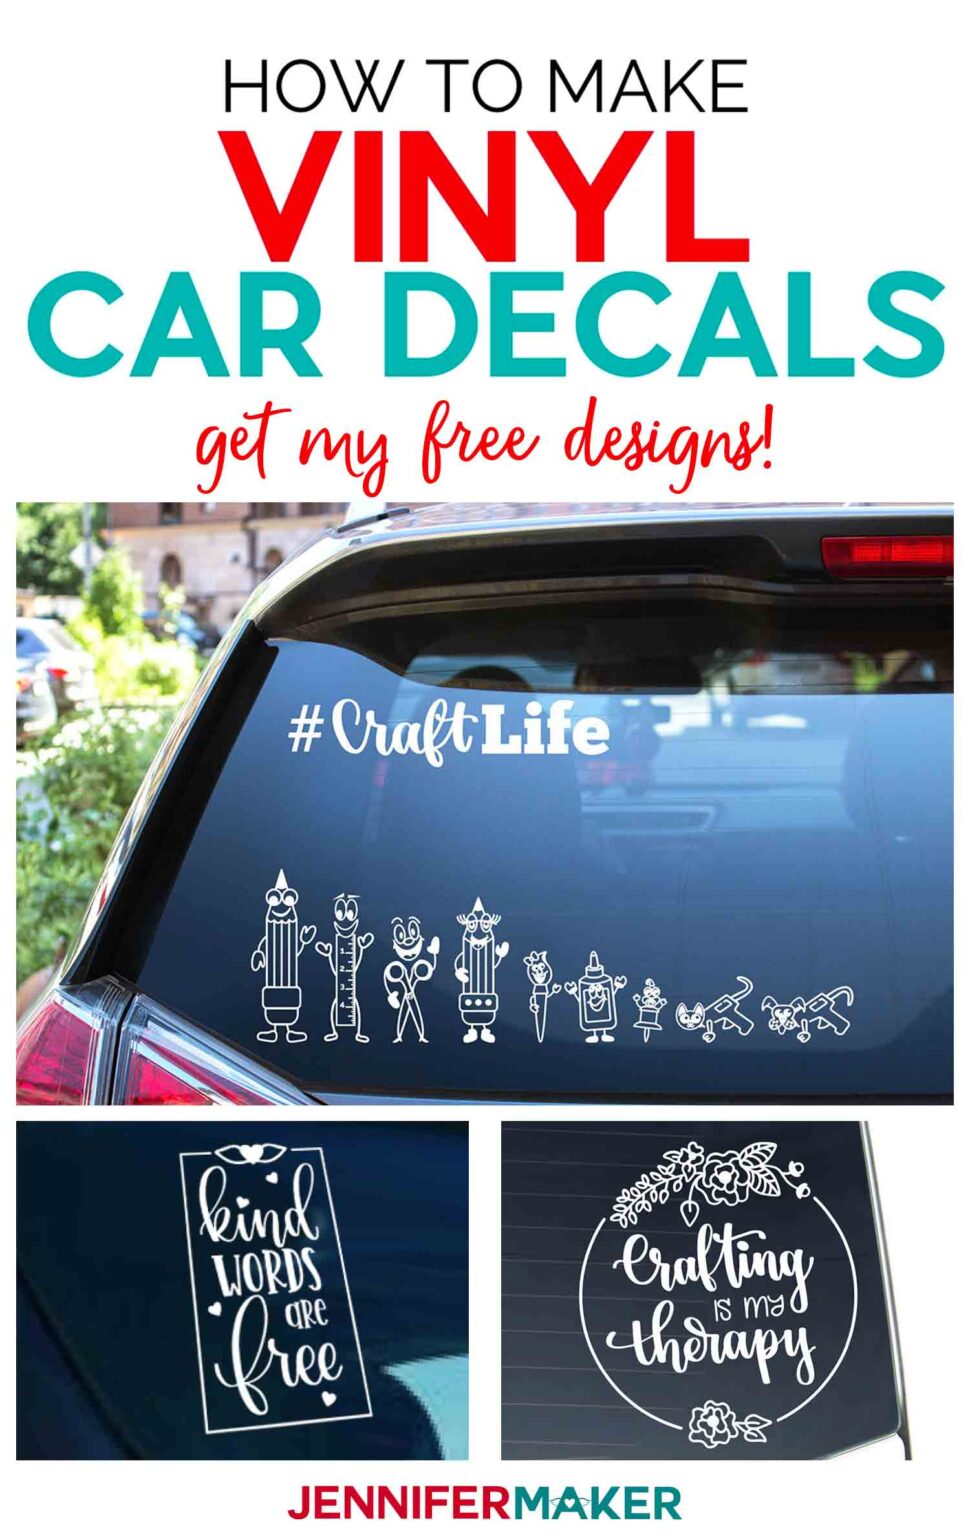
Making your own decal is a fun and affordable way to personalize your gear, decorate your space, and showcase your creativity.
Planning Your Custom Decal Design
Before you start, it helps to have a clear idea of what you want your decal to communicate, whether it is a bold logo, a playful illustration, or a simple phrase. Think about where the decal will live, such as on a laptop, car, window, or wall, since the surface will influence size, colors, and level of detail. Sketch or draft your concept on paper or in a digital tool, keeping lines clean and avoiding tiny pieces that can tear or lift too easily. If you are making a text-based decal, choose a font that matches your style and test how it looks at the final size to ensure readability and impact.
Color choices matter because they affect visibility and mood, so consider contrast with the background surface and any lighting conditions where the decal will be seen. You can create a simple template or digital file that captures dimensions and key visual elements, which will guide you during cutting and application. Planning also means deciding whether you want a permanent, semi-permanent, or repositionable decal, based on how long you intend it to last and whether you may want to remove or adjust it later.

Gathering Materials and Tools for Your Decal
To make your own decal, you will need basic supplies that match your method, such as printable vinyl, transfer tape, a cutting machine or craft knife, and a ruler or measuring tool. If you are using a printer, make sure it is compatible with the vinyl or sticker paper you choose, and check that the ink is suitable for the surface, especially if the decal will be exposed to moisture or sunlight. Transfer tape helps move your design cleanly from the carrier sheet to the target surface, while a scraper or credit card can remove air bubbles for a smooth finish.
Optional tools like a weeding tool make it easier to remove excess vinyl around detailed areas, and a cutting mat provides a stable, protective surface for manual cutting. For more advanced results, you might invest in a vinyl cutter or a printer designed for specialty media, but even simple hand-cut designs can look great with patience and careful work. Gather everything beforehand so your creative flow stays uninterrupted once you start crafting.
Creating and Cutting Your Decal Design
Start by importing your sketch or digital artwork into a cutting software if you are using a machine, or print your design onto vinyl or sticker paper if you plan to cut by hand. When using a cutter, mirror the image if needed so the printed side faces down after cutting, and securely load the material to avoid shifting. For detailed shapes, slow down the cutting speed and pressure to maintain precision, and test cut a small section first to confirm settings.
Hand-cut methods require steady hands and sharp tools, so trace your design carefully and use a ruler for straight lines. Weeding is the process of removing excess material, leaving only the parts that will become the decal, and it helps to work in a well-lit area with a comfortable setup. Take your time to avoid pulling up delicate pieces, and use a hook tool or needle to lift intricate sections if needed.
Applying Transfer Tape and Preparing the Surface
Once your design is cut, cover it with transfer tape to keep all the pieces aligned during placement. Press the tape down firmly with a scraper, starting from the center and moving outward, to ensure strong adhesion and to prevent parts from shifting. Carefully trim excess transfer tape around the edges, leaving a small border if that helps with handling, especially on larger decals.
Preparing the surface is just as important as the decal itself, so clean the area thoroughly to remove dust, grease, and dirt that could affect adhesion. Wipe with a mild cleaner and dry completely, and consider using a light rubbing alcohol swipe for extra grip on smooth surfaces. If the surface is textured or uneven, think about whether your decal will cover it adequately or if you need to adjust the design for best results.
Positioning, Applying, and Smoothing Your Decal
Position the decal on the surface without letting the transfer tape touch the area first, because this is your last chance to adjust alignment. You can use a ruler or a guide mark to keep edges straight and centered, especially for logos or text that must look professional. When you are satisfied with placement, gently lay the decal down from one side to the other, pressing as you go to minimize trapped air.
After the decal is fully applied, slowly peel away the transfer tape at a low angle, checking that vinyl stays on the surface rather than lifting with the tape. If pieces stick, press them back down and lift the tape more slowly, or use a needle to help release stubborn spots. Finish by smoothing the entire decal with a soft cloth or scraper, working from the center outward to push out any remaining bubbles and ensure a strong bond.
Caring for and Removing Your Custom Decal
To keep your decal looking fresh, avoid harsh cleaning products at first and allow adhesive to set for at least twenty four hours before washing or wiping. Use gentle soap and water for cleaning, and dry with a soft cloth to maintain vibrant colors and prevent premature wear. If your decal is on a vehicle or outdoor item, occasional checks for lifting edges can help you address small problems before they become bigger.

When you decide to remove the decal, do it slowly and at a moderate angle to reduce the risk of leaving residue or damaging the surface. Heating the edges slightly with a hairdryer can soften adhesive, making removal easier, especially on painted or delicate materials. If residue remains, a bit of rubbing alcohol or a dedicated adhesive remover on a cloth should clean it away without harming most surfaces, leaving your item ready for a new custom design.
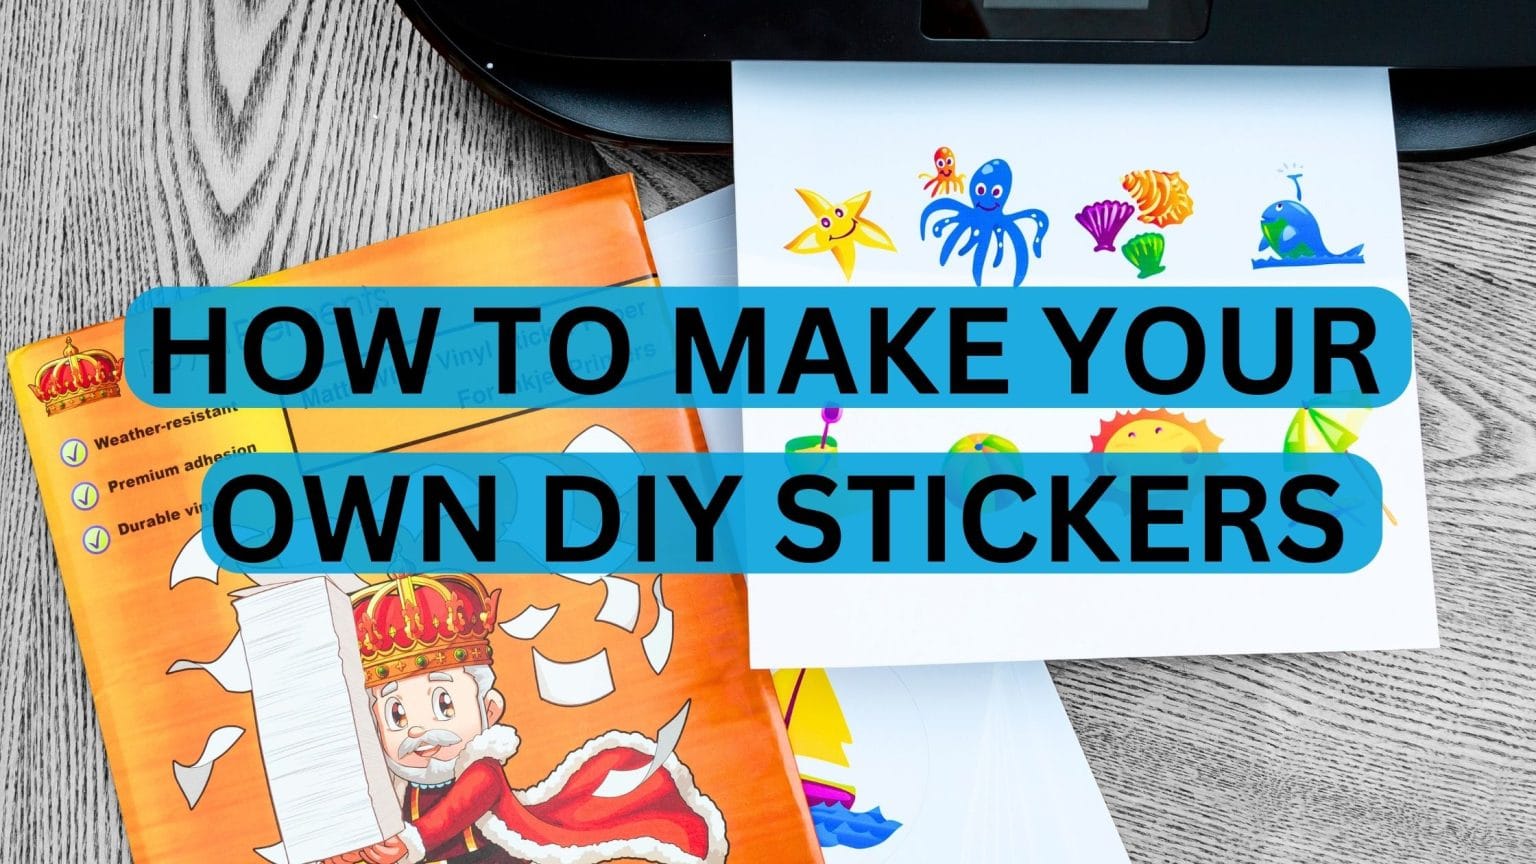
Create Your Own CUSTOM Decals and Apply Them PERFECTLY | Applying Transfer Sheets
Creating you own custom decals can be difficult...but does not HAVE TO BE! With this guide on how to create custom decals ...
