Make Custom Decals
Making custom decals is a creative and practical way to personalize vehicles, gear, walls, and events with your own unique designs.
Understanding Custom Decals and Their Uses
Custom decals are printed graphics with an adhesive backing that can be applied to smooth surfaces. They are more flexible than stickers because they are often cut to the exact shape of the artwork rather than a standard rectangle. You can use them to brand a business, mark personal items, or add art to almost any surface. Common places to apply them include cars, laptops, skateboards, windows, and storage containers.
Because the process is digital, you have the freedom to create anything from a simple lettered logo to a detailed illustrated scene. The ability to make custom decals means you are not limited to off-the-shelf designs. This makes them ideal for small businesses, event organizers, and hobbyists who want a tailored look without the expense of traditional printing methods.

Planning Your Design and File Preparation
The first step to great results is a strong design. You should start with a clear idea of the message, colors, and style that represent your brand or personality. Sketching on paper or using vector software helps you refine shapes and text before you commit to printing. Keep in mind that simpler designs often stick in people’s minds better than overly busy graphics.
When you are ready to finalize, save your artwork in a high-resolution format such as PNG or PDF to preserve quality. Vector files like SVG or AI are ideal because they scale without losing clarity. Make sure the colors are converted to CMYK if your printer requires it, and remove any hidden layers or objects you do not want printed. Proper file preparation reduces the chances of errors and ensures that the custom decal matches your vision exactly.
Choosing the Right Materials and Adhesives
The material you choose affects how the decal looks and how long it lasts. For indoor use, a standard vinyl with a matte or glossy finish is usually sufficient. If the decal will be exposed to weather, you need a durable outdoor vinyl that resists fading, cracking, and moisture. The thickness of the material also matters, as thicker films tend to be more resistant to tears and peeling.
Adhesive options vary depending on the surface and duration of use. Permanent adhesives create a strong bond and are best for smooth, clean surfaces. Removable adhesives allow you to take the decal off without leaving residue, which is useful for temporary promotions or rental properties. When you make custom decals, always consider where and how long the decal will be placed so you can select the right combination of material and adhesive.
Measuring and Ordering the Right Size
Before placing an order, measure the space where the decal will go and compare it to the design. A decal that is too small can look insignificant, while one that is too large may overwhelm the surface. Use a tape measure to get the height and width, and imagine how the decal will fit within the surrounding environment.
Many printing services offer templates that help you visualize the final size. You can also create a low-tape stencil on the surface to test how the design looks in real life. Ordering slightly larger than you think you need is often a good strategy because you can always trim the edges. By taking accurate measurements, you reduce waste and avoid the cost of reprints.

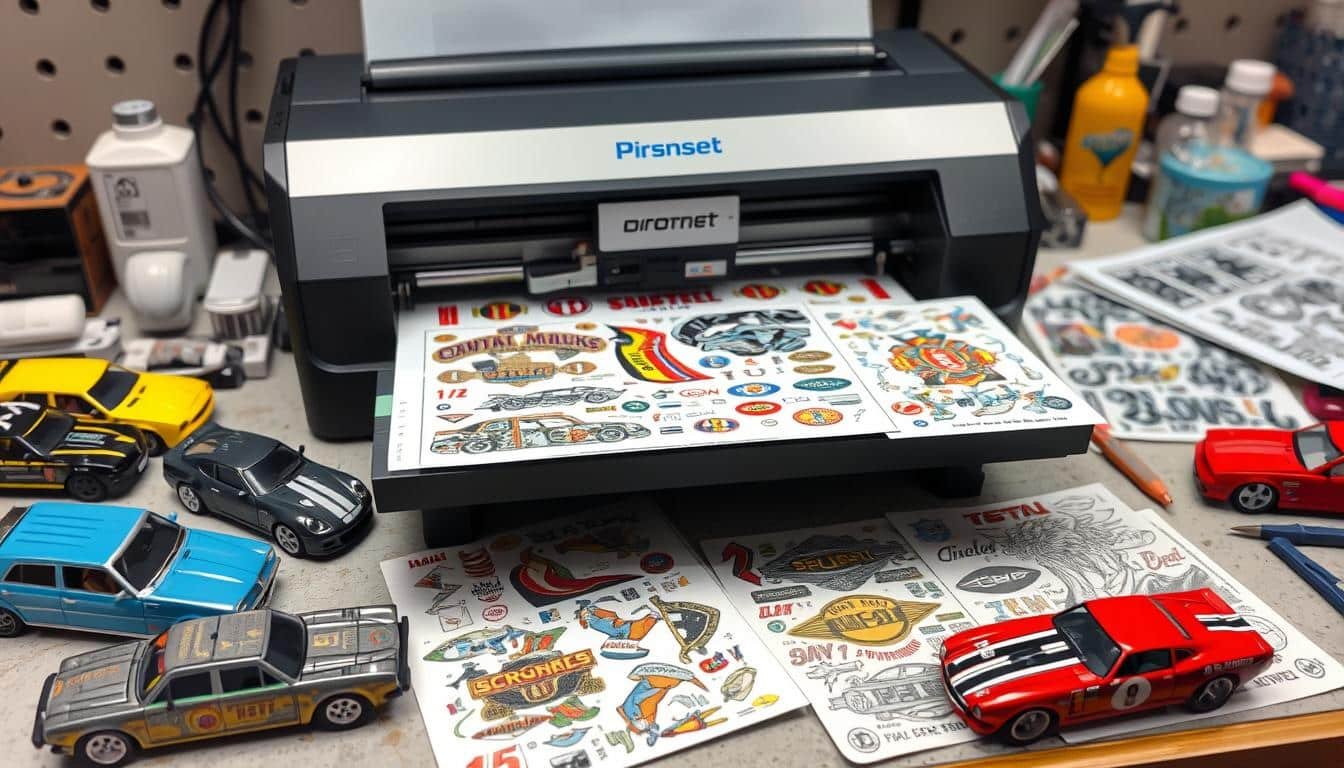
Cutting, Weeding, and Application Techniques
Once the decal is printed, it moves to the cutting stage where the machine trims it to the outline of the design. After cutting, the process of weeding begins, which involves removing the excess vinyl around the graphics. Using a weeding tool, you carefully lift away the negative space while leaving the parts that will form the image. This step requires patience, but a clean weeding job results in a professional-looking final product.
Applying the decal correctly is just as important as making it. Start by cleaning the surface thoroughly to remove dust, oil, and dirt. Position the decal lightly at first, then press from the center outward to push out air bubbles. A soft squeegee or credit card can help smooth the surface as you work. For best results, apply the decal on a flat surface and allow the adhesive to set for a day or two before heavy use.
Maintaining and Removing Custom Decals
To extend the life of your custom decals, avoid harsh chemicals and abrasive cleaning tools. Gentle soap and water with a soft cloth usually keep the graphics looking fresh. If the decal is outdoors, occasional rinsing prevents dirt buildup and helps the adhesive stay strong. With proper care, high-quality decals can last for several years without fading or peeling.

When the time comes to remove the decal, heat can make the process easier. A hairdryer set to low warmth softens the adhesive, allowing you to lift a corner and peel slowly. If residue remains, rubbing alcohol or a dedicated adhesive remover can clean the surface without damage. Removing the decal carefully ensures that the surface stays undamaged and ready for a new design.
Conclusion
Making custom decals combines design creativity with practical application, giving you control over every detail from concept to installation. By planning your design, choosing the right materials, and applying the decal carefully, you can achieve a polished and lasting result. Whether you are promoting a brand, personalizing gear, or decorating a space, custom decals offer a versatile and affordable solution.
Create Your Own CUSTOM Decals and Apply Them PERFECTLY | Applying Transfer Sheets
Creating you own custom decals can be difficult...but does not HAVE TO BE! With this guide on how to create custom decals ...
