Make A Sticker For Car
Making a sticker for car is a fun way to personalize your ride and make it stand out on the road.
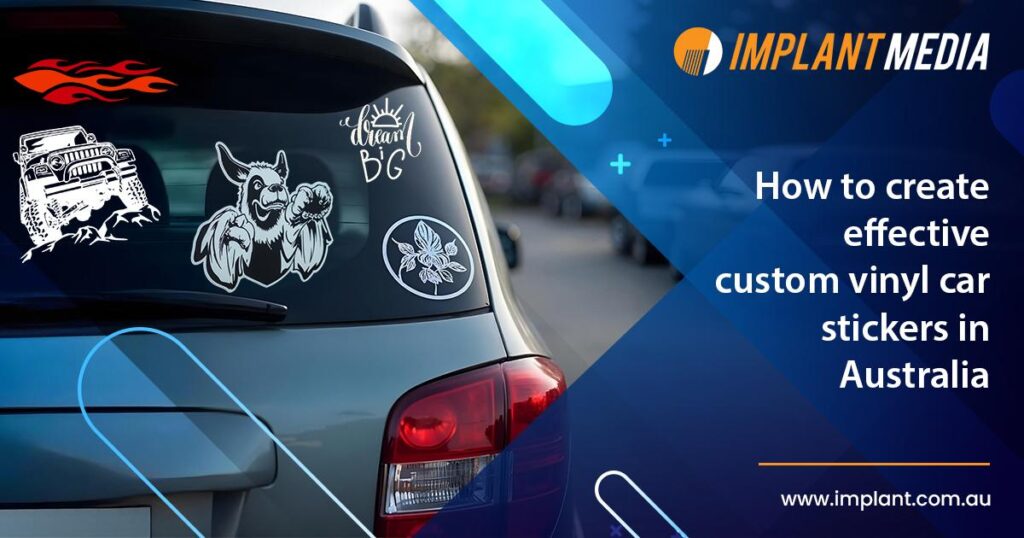
Choose Your Car Sticker Design and Style
The first step to make a sticker for car is deciding what kind of design matches your personality and vehicle. You can go for bold racing stripes, minimalist logos, cute cartoon characters, motivational quotes, or even custom artwork that reflects your hobbies. Think about the colors of your car, the size of the sticker area, and how visible you want the design to be. A clear idea of the final look helps you communicate better with manufacturers or when you prepare to print the sticker yourself.
When you plan to make a sticker for car, consider whether you want a single statement piece or a set of smaller stickers that you can place in different spots. Large designs look great on the rear bumper or door, while smaller ones can decorate the front grille, side mirrors, or windows. Keep in mind the style of your car, whether it is sporty, family-friendly, rugged, or elegant, so the sticker style enhances rather than clashes with the overall look.

Measure the Surface and Decide the Sticker Size
Before creating your artwork, measure the area where you plan to place the sticker so you can make a sticker for car that fits perfectly. Use a measuring tape to get the width and height, and note any curves or contours that might affect a flat design. If you are making a sticker for car with complex curves, you might want to choose slightly smaller dimensions or design with flexible edges to ensure good adherence without wrinkles.
Also consider how the size affects visibility and impact; a larger sticker can include more detail and be seen from farther away, while a smaller one offers subtlety. When you make a sticker for car, remember that very large stickers might interfere with rearview vision or license plate readability, so check local regulations. Balancing aesthetics, functionality, and legality helps you end up with a sticker size that works well on your vehicle.
Select Materials and Waterproof Options
Choosing the right material is essential when you make a sticker for car, especially since the sticker will be exposed to weather, UV rays, and constant movement. Vinyl is a popular choice because it is durable, flexible, and available in many finishes such as matte, glossy, or satin. For a sticker for car that lasts long outdoors, look for weather-resistant vinyl that does not fade, crack, or peel easily.
Consider also the adhesive backing; a strong but removable adhesive ensures the sticker stays in place on car surfaces yet does not leave stubborn residue when you decide to remove it. If you want to make a sticker for car that can be applied to windows as well, opt for materials that allow easy bubble removal and repositioning in the early stages. Investing in quality materials from the start reduces the need for frequent replacements and keeps your car graphics looking fresh.
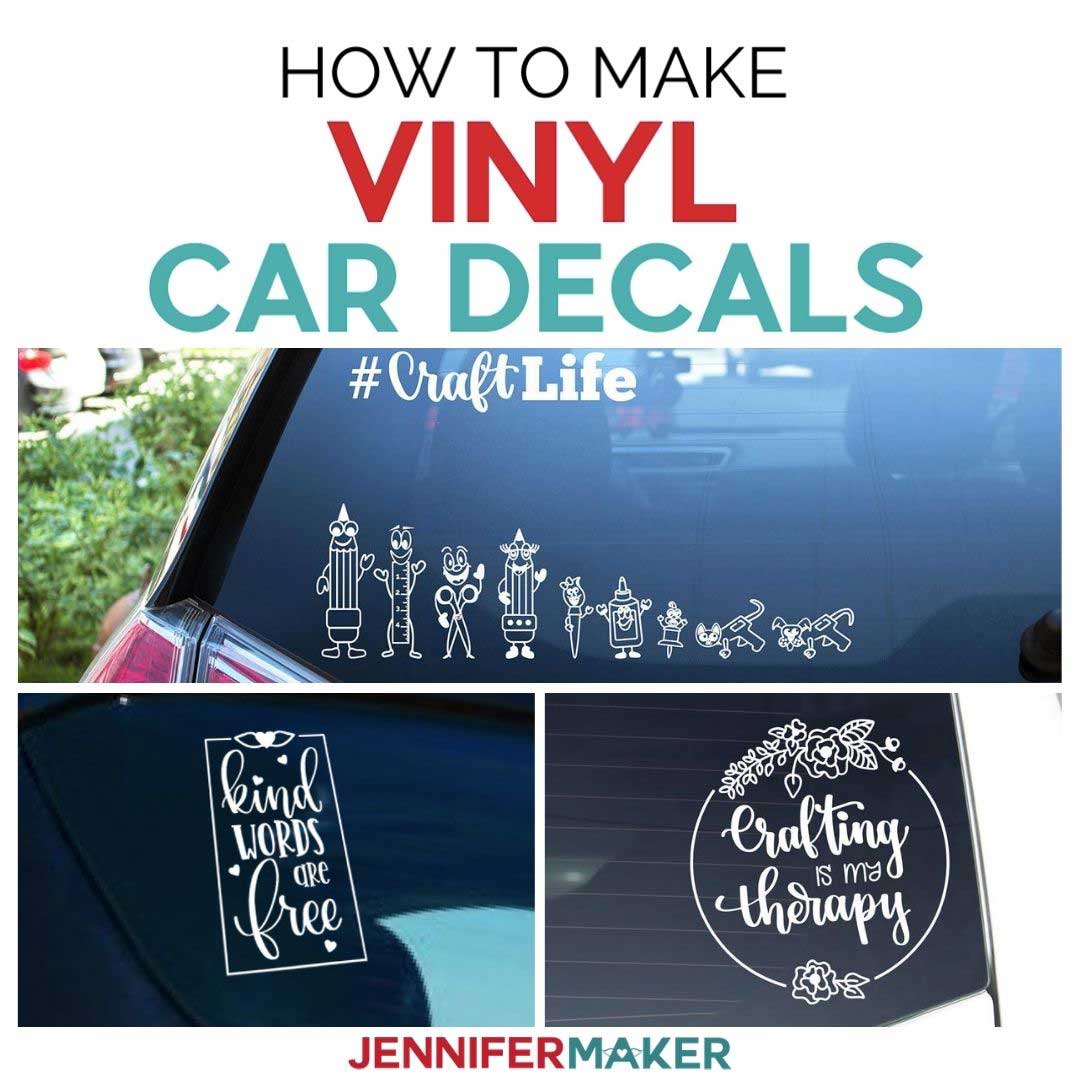
Design the Graphics and Text Elements
Creating the graphics is the heart of the process when you make a sticker for car, and it is where creativity meets clarity. Use simple, bold shapes and lines that remain recognizable even when viewed from a distance, because car stickers are often seen while driving or parked far away. Limit your color palette to 2–4 main colors that contrast well with your car’s background, making the sticker easy to read and visually appealing.
Typography matters a lot if your design includes text; choose clean, legible fonts and avoid overly decorative styles that might reduce readability. If you are making a sticker for car that includes logos or illustrations, ensure the artwork is high resolution so it does not become pixelated when printed at larger sizes. Testing the design on a digital mockup of your car or printing a small proof can help you refine proportions, spacing, and contrast before committing to the final production.
Prepare the Car Surface for Application
Even after you make a sticker for car, proper installation is what determines the final look and longevity. Start by cleaning the surface thoroughly with soap and water, then use rubbing alcohol to remove any grease, dust, or residues that could prevent good adhesion. Make sure the area is completely dry and free from debris, because particles trapped under the sticker can cause bubbles or uneven sticking.
If the surface has old stickers or tape remnants, use a gentle adhesive remover or rubbing alcohol to clean it, and lightly scuff the area with fine sandpaper if the surface is too smooth. A well-prepared surface ensures that the sticker for car lies flat, aligns correctly, and stays intact through rain, heat, and driving vibrations. Taking time to prepare the surface pays off in a professional-looking finish.
Apply the Sticker Carefully and Smoothly
Applying the sticker correctly helps you make a sticker for car that looks sharp and lasts long. It is often easier to work with a friend who can hold the sticker while you position it, or to use transfer tape to keep the layers aligned before final placement. Start from one edge and slowly lower the sticker while smoothing it down with a soft squeegee or credit card, pushing out air bubbles as you go.
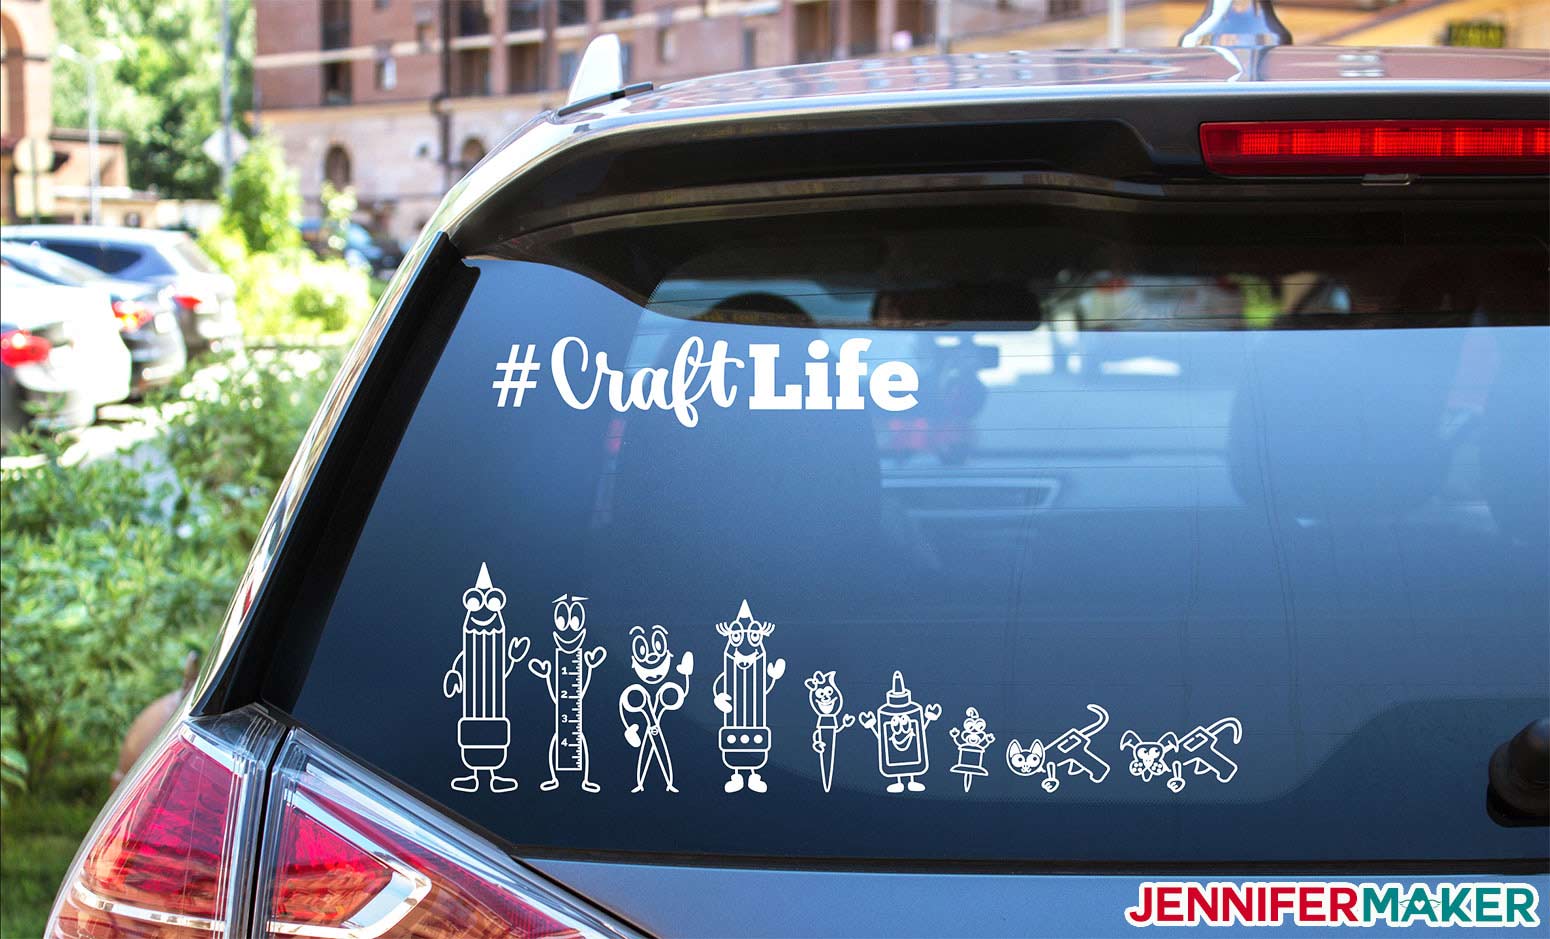
Work from the center outward to avoid wrinkles and ensure the sticker conforms to curves without stretching. If bubbles appear, gently lift the edge and reapply, or use a needle to pierce very small bubbles and press the air out. After the sticker for car is fully applied and dried, inspect the edges to confirm they are fully sealed, especially if you want the design to be weatherproof. Proper application turns a good design into a high-quality, long-lasting car sticker.
Maintain and Protect Your Car Sticker
To keep your sticker for car looking vibrant, avoid harsh automatic car washes with strong brushes, which can lift edges or cause premature wear. Instead, hand wash the vehicle and gently clean the sticker area with a soft sponge and mild soap. Protect the sticker further by parking in the shade when possible, since prolonged sun exposure can fade colors over time.
Inspect the sticker regularly for signs of peeling or lifting, and address small issues early by pressing down edges and cleaning accumulated dirt. With proper care, the sticker remains a striking expression of style, making your car uniquely yours while standing up to daily road conditions. Maintaining your sticker ensures that the effort you put into design, materials, and application continues to pay off in appearance and performance.

By following these steps to make a sticker for car, you turn a simple accessory into a personalized statement that enhances your vehicle’s look and reflects your individuality every time you hit the road.
Create and Sell Car Decals with Your Cricut | DIY Business Ideas
Want to make money from home with your Cricut machine? In this step-by-step Cricut tutorial, I'll show you how to make and sell ...
