Make A Custom Decal

Making a custom decal is a creative way to add personality to your gear, vehicle, or space without committing to a permanent design.
Choose Your Decal Type and Purpose
Before you start designing, decide what kind of decal you want and where it will live. Wall decals give a room instant character, vehicle decals turn heads on the street, and gear decals add subtle branding to your laptop or skateboard. Each surface has different requirements for adhesion, durability, and removal, so thinking about the final location helps you pick the right materials and techniques from the start.
Consider whether you need a temporary, semi-permanent, or permanent finish. Removable vinyl is great for renters or for testing a design, while cast vinyl and more robust adhesives suit long-term applications like car wraps or outdoor signage. Defining the purpose of your custom decal also guides your choice of colors, size, and level of detail, ensuring the result matches your vision.
Plan Your Design and Gather Inspiration
A strong design is the foundation of a great custom decal. Start with a clear idea, whether it is a logo, illustration, pattern, or phrase, and sketch or mock it up on paper or in a digital tool. Keep readability in mind, especially for smaller decals, because overly thin lines or tiny text can blur during cutting or application. Use negative space intentionally, and remember that simplicity often makes a stronger visual impact once the decal is on a surface.
Collect inspiration from typography, nature, street art, or your own photography to refine your concept. If you are working with text, choose fonts that match the mood and scale of the decal, and adjust spacing so letters do not feel cramped once cut. When you feel confident in the direction, save multiple versions so you can compare and choose the most impactful design for your custom decal project.
Select Materials and Tools
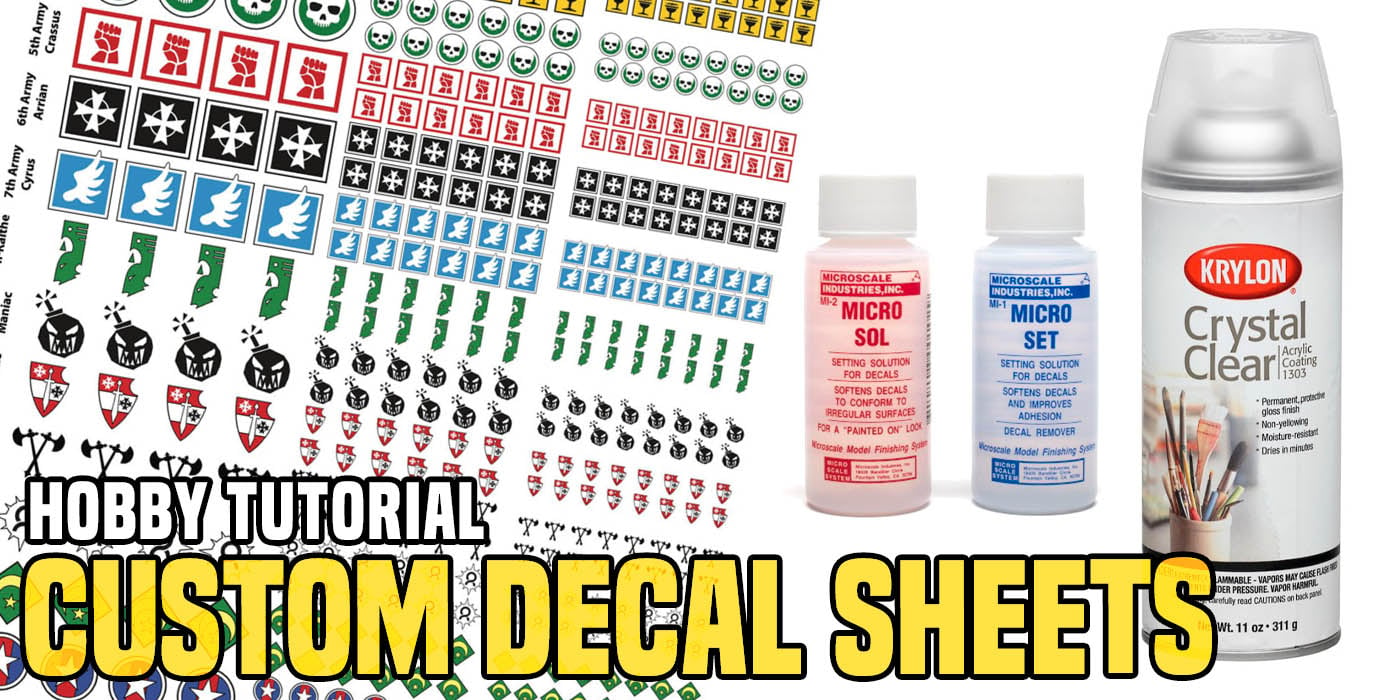
Choosing the right materials makes the whole process smoother and the result more durable. For a vinyl decal, you will need a vinyl sheet, transfer tape, a squeegee, a ruler or measuring tool, and a cutting machine or precision knife. If you are printing a decal, decide between a printed vinyl with adhesive backing or a sticker sheet, depending on how layered and professional you want the result to look.
- Vinyl sheets in your chosen colors and finishes, such as matte, gloss, or metallic.
- Transfer tape that is wide enough to cover your design and strong enough to lift cleanly.
- Cutting tools like a craft knife, cutting machine, or professional service option.
- Measuring tools, a level, and a soft cloth to prepare the surface before applying the decal.
Having these items ready reduces interruptions and helps you focus on precision at each step, from cutting to placement.
Create and Cut Your Decal
Now it is time to bring your design into the physical world. If you use a cutting machine, import your design into the software, set the correct material type, and adjust the blade depth and cutting speed for clean edges. For detailed work, test cut on a small piece of vinyl first to check how the lines hold and whether any parts need reinforcing.
For hand-cut projects, print your design at full size, place it under the vinyl, and carefully trace the outlines with a sharp knife, using a steady hand and light pressure. Take your time around curves and tight corners, and periodically lift a corner to confirm the cut has gone through the vinyl but not into the backing. A well-cut decal peels away easily from the excess vinyl, leaving only the parts you intend to transfer.

Weed, Apply Transfer Tape, and Position
Weeding is the process of removing the excess vinyl around your design, and it requires patience and good lighting. Use a weeding tool or the tip of a knife to lift small pieces, checking from different angles to ensure you do not pull up parts of your actual decal. Once the weeding is done, cover the design with transfer tape, pressing down firmly with a squeegee to eliminate air bubbles and secure every detail.
Before you place the decal on its final surface, clean the area thoroughly, removing dust, oils, and any residue that could affect adhesion. Measure and mark key points if your decal is large or needs to be perfectly aligned. By preparing the surface and positioning the decal thoughtfully, you set the stage for a professional-looking result that lasts.
Apply, Smooth, and Seal for Long-Lasting Results
Peel back part of the backing and lay the decal onto the surface, making sure it is straight before continuing. Slowly remove the transfer tape while pressing the vinyl down with a squeegee, working from the center outward to push out any trapped air. For edges that might lift, gently press them with the tip of the squeegee to reinforce the bond.

After the decal is fully applied, let it sit for a short period so the adhesive settles, especially if it will be exposed to temperature changes or occasional moisture. If you want extra protection against fading or scratching, you can apply a compatible clear coat or sealant designed for vinyl, following the manufacturer’s instructions. With careful application and a little ongoing care, your custom decal will stay vibrant and expressive for a long time.
By planning your design, choosing the right materials, and following each step with attention to detail, you can create a custom decal that looks polished and lasts well beyond the first day.
Imprima seus próprios decalques personalizados para modelos de plástico em escala! Guia passo a p...
Não consegue encontrar os decalques certos para o seu projeto de modelo em escala? Imprima os seus próprios! Neste vídeo ...
