How To Put Vinyl Sticker On Car

Applying a vinyl sticker to your car is a simple way to personalize your ride, and with the right approach you can achieve a clean, professional finish.
Choosing the Right Vinyl Sticker for Your Car
The first step in a successful car vinyl sticker project is selecting a high-quality product that suits your style and vehicle conditions. Look for outdoor-rated vinyl with strong adhesive and UV protection to prevent fading and peeling under sun and rain. You will find options such as cast vinyl for premium flexibility and conformability, or calendered vinyl for budget-friendly durability on flatter surfaces.
Before you start, measure the areas where you plan to place the sticker and make a simple layout to confirm sizing and placement. Consider the design complexity, color contrast, and how the sticker will look against your car’s paint when you evaluate different styles. Choosing a reputable brand and reading reviews can help you avoid cheap materials that crack, bubble, or lose adhesion quickly on moving surfaces.

Preparing the Surface of Your Car
Thorough surface preparation is essential for a long-lasting result, so wash your car and focus on the areas where the vinyl sticker will go. Use a mild car shampoo and a microfiber mitt to remove dirt, road grime, wax, and grease, then rinse and dry completely with clean towels. Pay extra attention to edges and seams, because any leftover contaminants can prevent the adhesive from bonding evenly.
- Clean with isopropyl alcohol or a dedicated panel wipe to eliminate residual oils and wax.
- Inspect the paint for any rough spots, peeling clear coat, or deep scratches that might interfere with adhesion.
- Work in a shaded area and avoid hot surfaces, so the vinyl does not start to set before you position it properly.
A well-prepared, cool, and dry surface gives the vinyl sticker the best chance to stick smoothly and stay intact through weather and driving vibrations.
Gathering Tools and Application Accessories
Having the right tools on hand makes the installation process smoother and reduces the risk of misalignment or trapped air. You will typically need a vinyl sticker, measuring tape, masking tape, a soft squeegee, a microfiber cloth, and a mild soap solution in a spray bottle. Optional accessories like a heat gun or hair dryer help the vinyl conform to curves, while a felt edge tool can protect the edges during sliding.

For more precise work, prepare a cutting mat, a ruler, and a craft knife if the design requires trimming before application. Keep a few clean microfiber towels nearby to wipe down surfaces and remove excess liquid during the squeegee process. Organizing these items ahead of time lets you focus on alignment and bubble removal instead of pausing to look for supplies.
Positioning and Temporary Alignment
To avoid costly mistakes, use masking tape or chalk to mark the outer boundaries of the sticker on the car before removing the backing. This framework helps you judge proportions, symmetry, and height relative to doors, windows, and other fixed elements. You can adjust the paper template or lightly drawn lines until the placement looks balanced from both the front and the side.
- Double-check that the sticker orientation matches your design, especially for text that should read correctly from the driver’s seat.
- Consider lighting conditions when evaluating position, because shadows and sunlight can change the perceived alignment.
- Take a few photos from different angles so you can compare options without rushing the final decision.
Once you are satisfied with the positioning, secure the sticker lightly in place so you can still peel and adjust if needed before the final press.
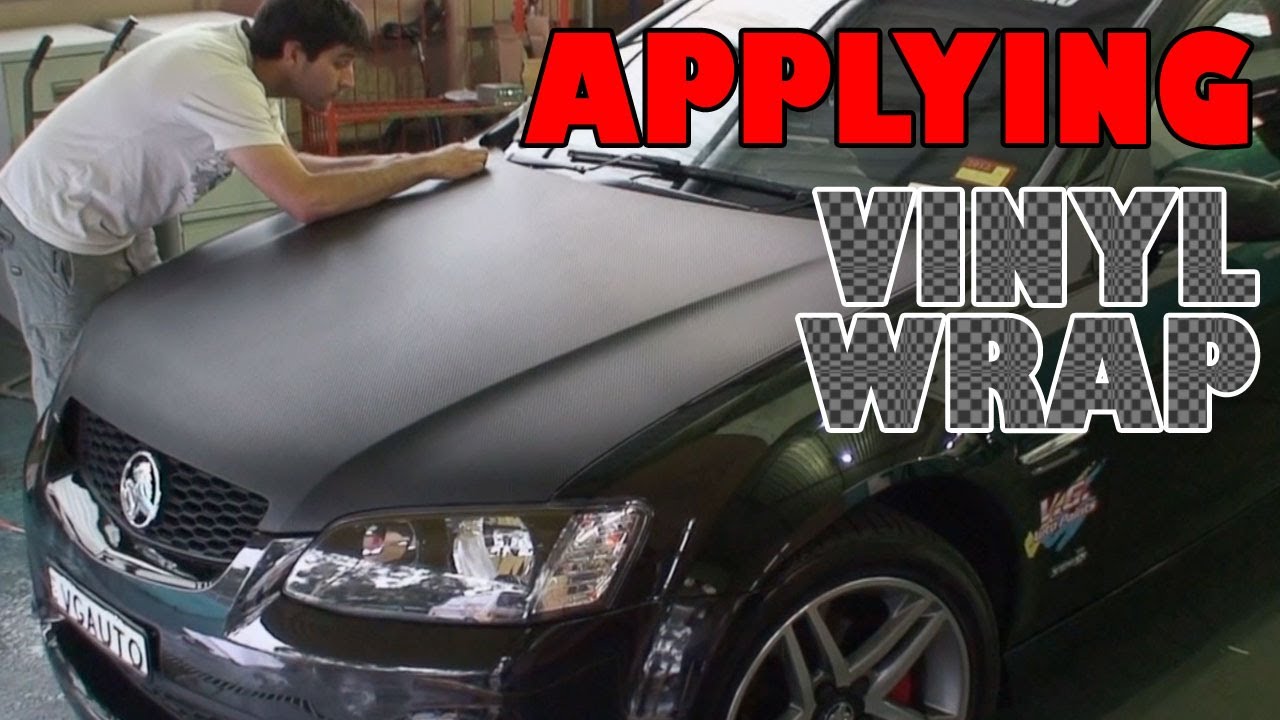
Applying the Vinyl Sticker to the Car
With the surface clean and the position marked, carefully peel a small section of the backing and align the exposed adhesive edge with your reference points. Slowly lower the vinyl sticker onto the car, pressing gently from the center outward to push out dust and avoid premature sticking. Keeping the backing attached for as long as possible gives you the flexibility to make minor shifts before the adhesive becomes permanent.
When the sticker is roughly in place, use a soft squeegee or a credit card wrapped in a cloth to smooth the surface, working from the center toward the edges. This motion helps release trapped air and encourages even adhesion, especially across larger panels. If the sticker resists placement on curved areas, use a low-heat setting on a heat gun to soften the vinyl slightly, allowing it to stretch and conform without tearing.
Removing Bubbles and Final Adjustments
After the vinyl sticker is fully pressed down, inspect it carefully for small bubbles, ridges, or lifted corners. For minor bubbles, gently lift the edge of the sticker, release the air, and reseat the material with firm, steady strokes from the bubble toward the exit edge. On stubborn areas, a little more heat and careful stretching can help the vinyl relax into a smooth profile.
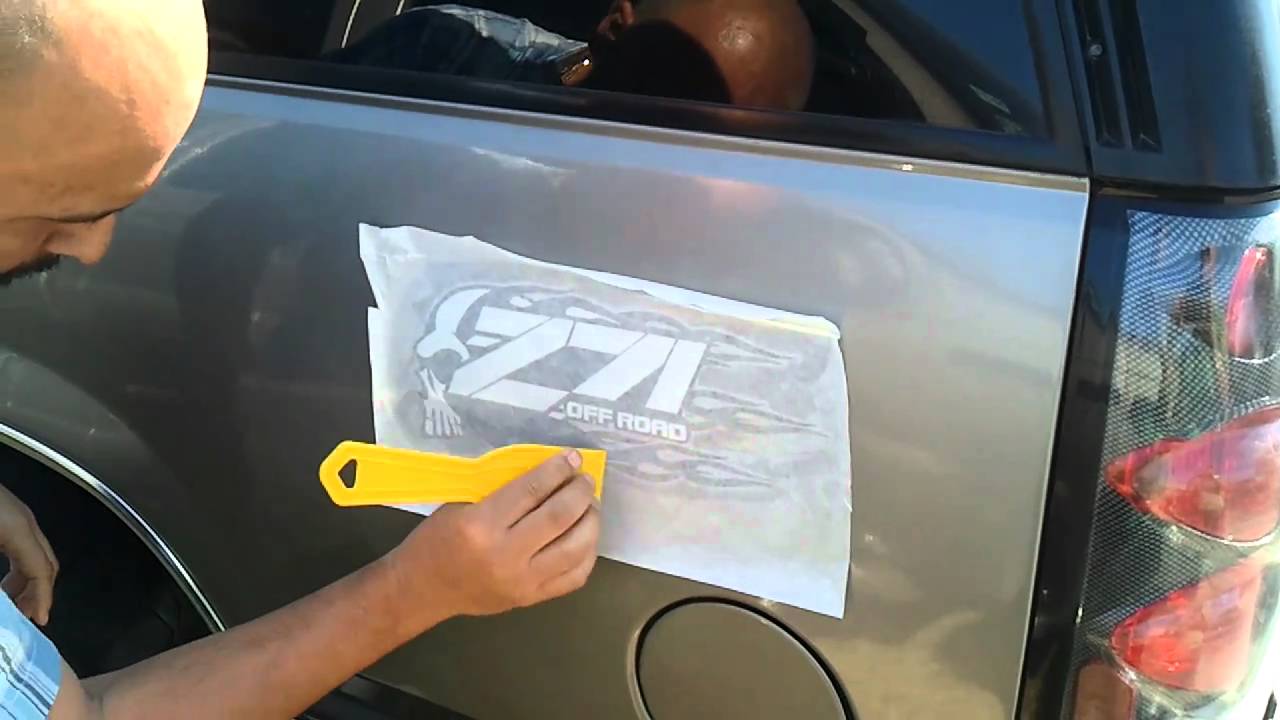
- Use firm but controlled pressure with the squeegee to avoid scratching the vinyl surface.
- If the sticker is large, work in sections to ensure complete adhesion before moving to the next area.
- Wipe away any soapy residue with a clean, damp cloth and dry thoroughly to reveal the finished look.
Allow the vinyl sticker to set for several hours or overnight, which helps the adhesive cure and improves durability against wind, rain, and temperature changes.
Maintaining Your Car Vinyl Sticker Over Time
Once the vinyl sticker on your car is installed, regular but gentle care will preserve its appearance and adhesion. Rinse the vehicle frequently to remove dust, bugs, and road salt, and use a soft sponge or mitt to wash around the edges without peeling them up. Avoid harsh brushes, abrasive cleaners, or pressure washers directed straight at the sticker edges, because they can gradually lift the seal.
Periodically check the perimeter of the sticker for signs of lifting, especially after cold weather or long drives, and press down any raised sections before they expand. When you need to remove the vinyl sticker, warm it slightly with a hair dryer to soften the adhesive, then peel slowly at a low angle to reduce residue. With proper installation and maintenance, a quality vinyl sticker can keep your car looking customized and vibrant for years.

Conclusion
By choosing quality materials, preparing the surface carefully, and applying the vinyl sticker with patience and the right tools, you can transform your vehicle with a clean, professional-looking design.
How to Install Car Stickers & Decals | Car Sticker Installation Without Bubbles (Step-by-Step)
How To Apply Vinyl Decals for Car Right Way With Wet Methods Looking for the best way to apply car stickers, car decals, ...
