How To Put Registration Sticker On Car

Placing your registration sticker on car correctly is easier than it looks when you follow a few simple steps.
Why the registration sticker on car placement matters
Before you peel and stick, it helps to understand why the position of your registration sticker on car matters. Law enforcement and automated camera systems often check for a valid, clearly visible sticker to confirm that a vehicle has been properly registered. If the sticker is placed in a location that is hard to see, partially covered, or applied on a dirty surface, officials may assume your registration is out of date or missing. This can lead to unnecessary questions, delays, or even a ticket in some regions. By putting the sticker in the recommended spot, you make life easier for inspectors and ensure your compliance is obvious at a glance.
Another reason to be careful about where you attach the sticker is to maintain your car’s appearance and resale value. A messy windshield or a cluster of old stickers can look unkempt and may put off a potential buyer. On the other hand, a clean, correctly positioned registration sticker signals that you take vehicle maintenance seriously. It shows that you keep up with registration renewals and pay attention to details. Taking a few extra seconds to choose the right spot and apply the sticker smoothly can prevent frustration later and keep your vehicle looking tidy inside and out.
Prepare the surface before you attach
One of the most common mistakes people make when they put registration sticker on car is trying to apply it over a dirty or greasy surface. For the sticker to adhere well, the area should be clean and dry. Start by wiping the chosen spot with a mild glass cleaner or soapy water, then dry it thoroughly with a soft cloth. If there is any old sticker residue, use a bit of rubbing alcohol or a dedicated adhesive remover to clear it away. A smooth, clean surface gives the sticker a strong bond and reduces the chance of it peeling off prematurely due to dust, moisture, or vibration from driving.
You should also consider the weather when you prepare to attach the sticker. Avoid applying it in very cold temperatures, because the adhesive may not bond well on a cold surface. Extreme heat or direct sunlight right after application can also cause the sticker to warp or bubble. If possible, choose a shaded area or wait for a cooler part of the day. Taking a moment to check the surface and conditions helps ensure that your registration sticker on car stays flat, readable, and intact until the next renewal.
Quick surface prep checklist
- Clean the area with glass cleaner or mild soap
- Dry thoroughly with a lint-free cloth
- Remove old adhesive residue using rubbing alcohol
- Make sure the surface is dry and not too cold
Where to place the sticker on different vehicles
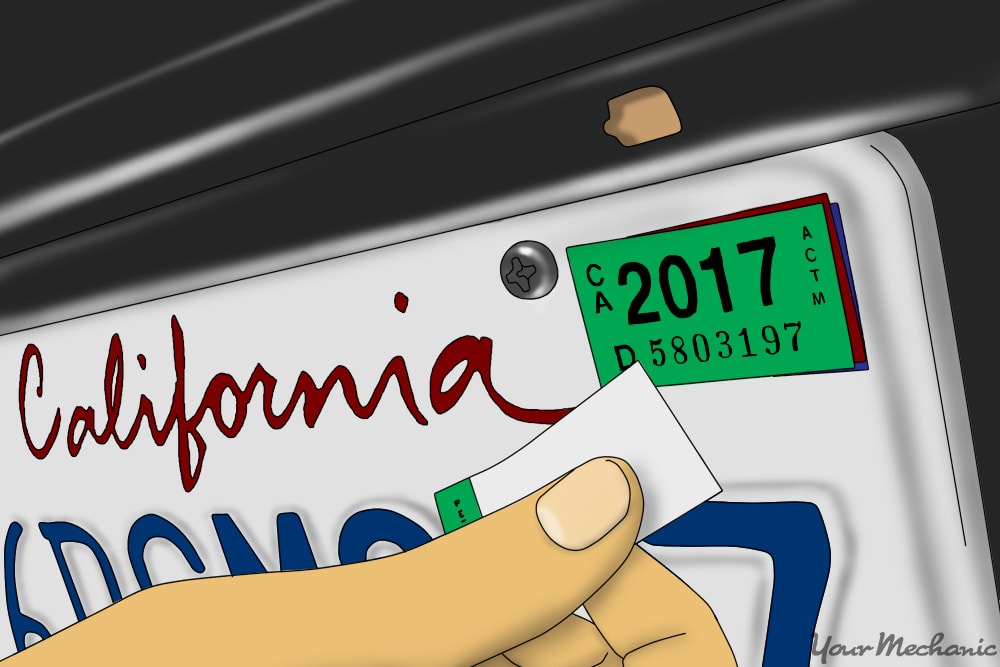
The ideal spot to put registration sticker on car can vary depending on your vehicle type and local regulations. For most passenger cars, the lower corner of the windshield on the driver’s side is the standard location. This area is easily visible without forcing the inspector to lean around the vehicle, and it is less likely to be blocked by sun visors or interior handles. If your windshield has a radio antenna embedded in the top corner, avoid placing the sticker directly over it, since metal can interfere with adhesion. Instead, move slightly to the side where the glass is clear and flat.
For larger vehicles such as SUVs, vans, or pickup trucks, the same lower corner of the windshield on the driver’s side usually works well. However, if your windshield is very wide or has heavy tinting, some regions allow the sticker to be placed on the driver’s side door jamb or another clearly visible area near the front of the vehicle. Always check your local department of motor vehicles or equivalent agency rules, because they may specify exact requirements. Following the official guidance helps you avoid having to move or reapply the sticker later.
How to apply without bubbles or misalignment
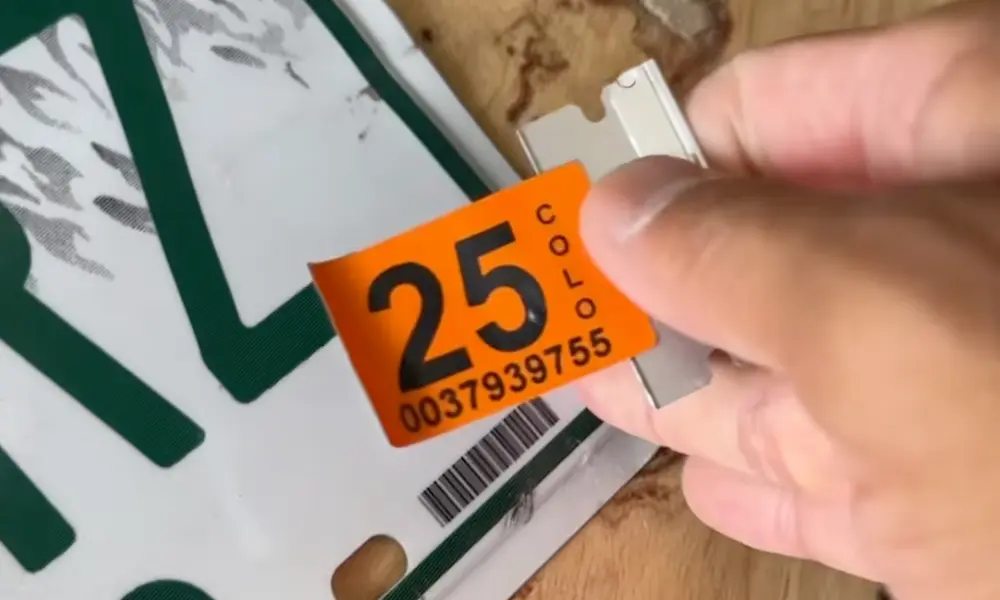
When you are ready to actually put registration sticker on car, start by peeling only a small section of the backing and align the top edge carefully before pressing the rest down. Use a slow, smooth motion and a soft squeegee, credit card, or similar flat tool to push out air bubbles toward the edges. Work from the center toward the corners, making sure the sticker lies flat against the glass. If a bubble forms, gently lift the edge of the sticker, smooth it back down, and try to remove as much air as possible. Small bubbles near the edges are sometimes unavoidable, but avoiding large central bubbles keeps the text legible and the sticker looking neat.
Alignment is especially important for the registration sticker on car, because officials need to see key details at a distance. Make sure the sticker is straight and that the text is not tilted. Some stickers have a clear top section that must remain above a certain point on the windshield, so read any printed instructions on the back of the sheet before you press it into place. If your sticker comes with a protective plastic film, leave it on until after application to prevent scratches and fingerprints. Once the sticker is firmly pressed and dry, you can remove any remaining film or protective layers.

Ongoing care and when to replace
After you successfully put registration sticker on car, it is important to care for it so that it remains readable. Avoid aggressive washing techniques that scrape the sticker directly, and try to clean the windshield without bending or lifting the edges. Over time, exposure to sunlight, rain, and temperature changes can cause the sticker to fade, curl, or lose adhesion. If you notice the edges lifting or the text becoming blurry, plan to replace it before the next inspection rather than waiting until you are already overdue. A fresh sticker is more likely to stay flat and keep your registration status clearly visible.
Finally, keep your renewal date in mind so you are ready to replace the registration sticker on car well before it expires. Many drivers choose to replace the old sticker a few weeks early, which gives them time to clean the area carefully and apply the new one without rushing. By maintaining a consistent schedule and following the placement tips outlined here, you can keep your vehicle compliant, avoid unnecessary fines, and present a clean, professional look every time you drive.
Conclusion
Taking a methodical approach to how you put registration sticker on car saves time, prevents rework, and keeps you on the right side of the law. From preparing a clean surface to choosing the right visible spot and applying the sticker smoothly, each step contributes to a professional result. With a little care and attention, your registration sticker will stay clear, intact, and easy to read for the entire duration of your registration period.

NY State Registration Sticker - How to Stick
How to stick your New York State Vehicle Registration Sticker! It's difficult to take off but easy to put on! 00:00 Intro 01:30 Scratch ...
