How To Place Vinyl Stickers On Nintendo 64
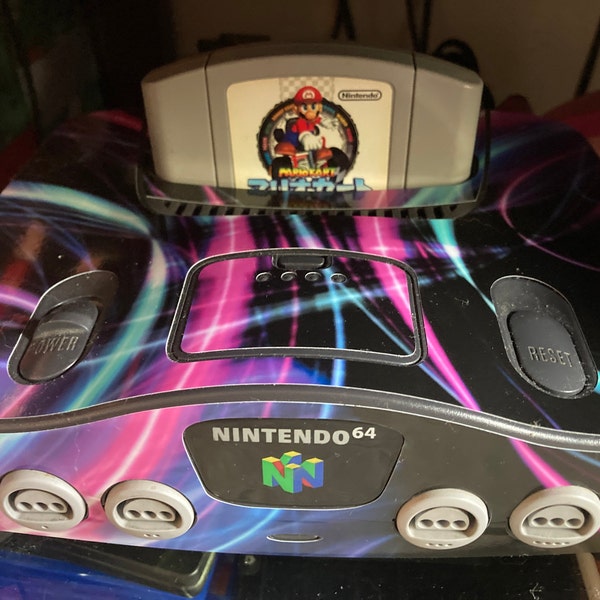
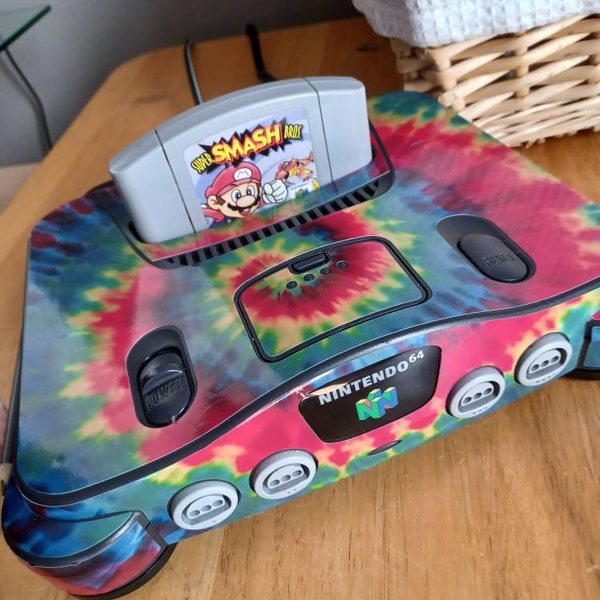
Placing vinyl stickers on Nintendo 64 is a fun way to personalize your classic console without damaging the original plastic.
Preparing Your Nintendo 64 for Vinyl Stickers
Before you start applying any vinyl stickers, you need to prepare the Nintendo 64 chassis carefully to ensure a clean, smooth surface. Dust, oils from your hands, and old stickers can prevent the vinyl from adhering properly and lead to bubbling or peeling over time. Take a moment to inspect the areas where you plan to place the decals, such as the top shell, front face, or controller grips.
Begin by powering off the console and unplugging it from any outlet. Use a soft microfiber cloth to wipe down the surfaces you intend to modify. If there are existing labels or stickers, you can gently remove them; for stubborn residue, apply a small amount of isopropyl alcohol on a cotton swab to dissolve the adhesive without harming the plastic. Always avoid harsh chemicals or abrasive cleaners that could scratch the matte or glossy finish of your Nintendo 64.
Choosing the Right Vinyl Stickers
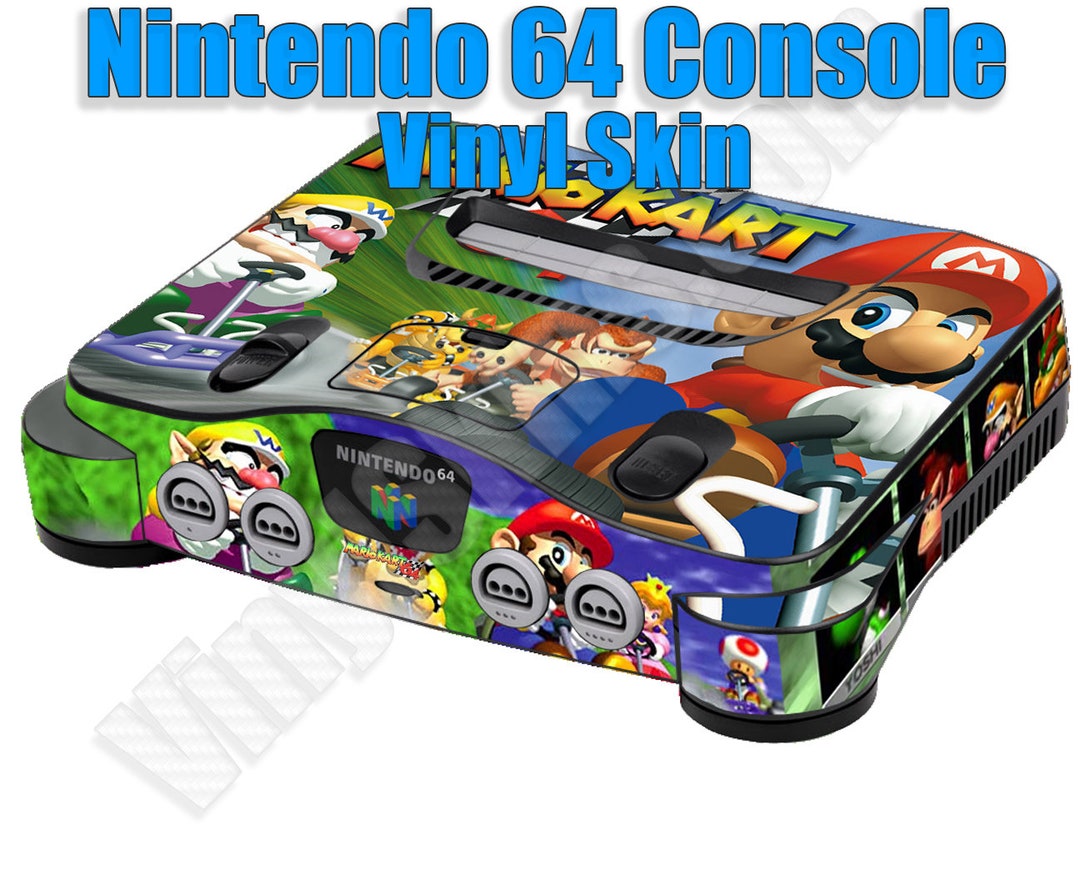
Selecting high-quality vinyl stickers is essential for achieving a professional look on your Nintendo 64. Low-grade vinyl tends to fade, crack, or lose adhesion quickly, especially on a console that might be handled frequently or exposed to varying temperatures. Look for durable, weather-resistant vinyl materials that are specifically designed for electronics or gaming customization.
Consider the design and size of the stickers to ensure they fit well on the curved surfaces of the Nintendo 64. You might want to choose stickers that complement the console’s original color scheme or add a bold contrast for a more striking appearance. Some popular options include logo decals, character art, or minimalist geometric patterns that align with your personal style without overwhelming the iconic look of the system.
Measuring and Positioning the Stickers
Proper measurement and positioning are critical when you place vinyl stickers on Nintendo 64, as the plastic surfaces are not perfectly flat and symmetry matters for a polished result. Use a ruler or measuring tape to mark the center points of each area where you plan to apply the decals. Lightly pencil in guide lines on a piece of tape rather than directly on the console to avoid leaving permanent marks.

Before removing the backing from the sticker, hold it against the planned location to visualize the final look. You can use alignment tools like a level app on your smartphone to ensure horizontal and vertical lines are straight. This step helps you avoid mistakes and adjust the placement while the adhesive is still forgiving, especially on the slightly curved edges of the Nintendo 64 shell.
Applying the Vinyl Stickers Correctly
Applying vinyl stickers correctly requires patience and a steady hand to avoid trapping air bubbles and ensuring strong adhesion. Start by cleaning the area one more time with isopropyl alcohol and let it dry completely. Carefully peel off the backing paper from the sticker, exposing the adhesive side while holding the vinyl by its protective transfer tape.
Position the sticker in place using your pre-marked guidelines, then gently press it onto the surface of the Nintendo 64, starting from the center and moving outward toward the edges. Use a soft squeegee, credit card, or a similar smooth tool to smooth out any trapped air bubbles and ensure full contact with the plastic. Take your time, especially around corners and curves, to avoid wrinkles or lifting edges.
Protecting and Maintaining Your Custom Look
Once you have successfully placed vinyl stickers on your Nintendo 64, it is important to protect them so they last as long as possible. The console may be handled often, and environmental factors like dust, moisture, or sunlight can affect the vinyl over time. Consider applying a clear, removable protective film or a coat of specialized vinyl sealant designed for plastic surfaces to add an extra layer of durability.
To keep your customized Nintendo 64 looking great, avoid using harsh cleaning products on the vinyl areas. Instead, clean the console gently with a damp cloth and mild soap if needed. If you ever decide to remove the stickers, do so slowly and carefully to prevent adhesive residue; use a little heat from a hairdryer or rubbing alcohol to soften any leftover residue without damaging the original plastic.
N64 Sticker Labels (For All 296 Custom Game Stickers)
I plan on putting theses on my clear protective game box sleeve cases. I'd rather do that instead of actually putting them onto my ...
