How To Make Your Own Decals
Making your own decals is easier than you think, and it lets you personalize your gear, vehicle, or space with custom designs.
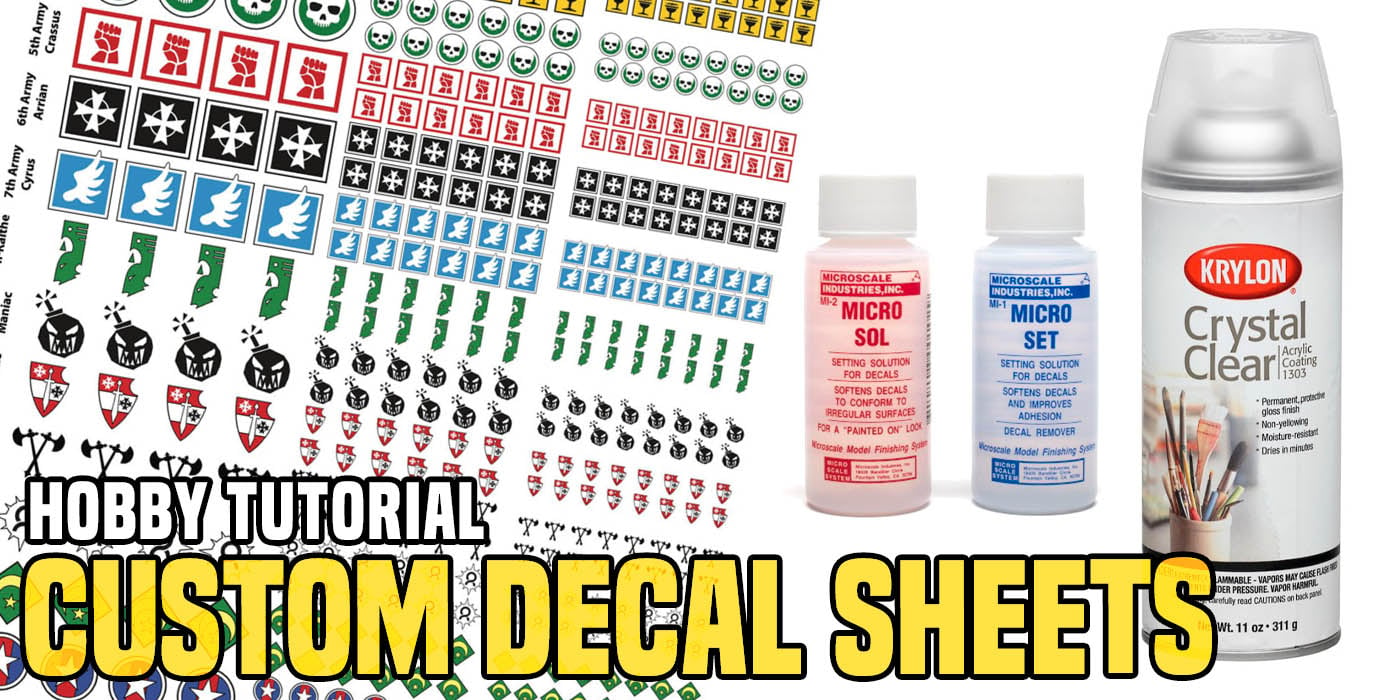
Choose Your Decal Style and Design
Before you start cutting or printing, decide what kind of decal you want, such as vinyl stickers, printable sticker paper, or iron-on patches. Your choice will shape the tools, software, and steps you need later. Think about where the decal will live, whether it is a laptop, a car, a helmet, or a wall, because surface and durability affect material selection.
Create or pick a simple, bold design that works well in small sizes, since overly detailed artwork can lose clarity when scaled down. You can sketch by hand, use free vector tools, or adapt royalty-free graphics, always respecting copyright and trademark rules. Keep clean lines, solid shapes, and high contrast so the decal looks crisp once cut or printed.
Sketch, Digitize, and Prepare the Artwork
Turn your idea into a digital file by scanning a sketch or drawing directly in a vector program like Inkscape, Affinity Designer, or Adobe Illustrator. Outline shapes, remove messy details, and simplify paths so the decal cuts smoothly if you are making a vinyl decal. Save the file in a format your cutting machine or printer can read, such as SVG, PDF, or PNG, and keep a high-resolution original for future tweaks.
Test the design on paper first to check size, spacing, and readability, especially for text or logos with fine elements. Adjust line thickness, corner curves, and negative space so the decal remains strong when material is removed during cutting. This stage saves time, material, and frustration later in production.
Gather Tools and Materials
For a basic vinyl decal, you will need adhesive vinyl, a cutting machine or hobby knife, transfer tape, a squeegee, and a ruler. If you are using printable sticker paper, you will need a standard inkjet or laser printer, clear or colored sticker sheets, and a laminator or waterproof spray for durability. Iron-on patches require fabric, heat-transfer vinyl, a printer capable of reverse printing, and an iron or heat press.

Optional but helpful tools include a craft blade for detailed trimming, a cutting mat to protect surfaces, masking tape to organize pieces, and cleaning supplies to remove dust from the surface before application. Having everything ready keeps the workflow smooth and reduces the chance of errors or rework.
Set Up Your Workspace for Safety and Efficiency
Choose a clean, well-lit area with a stable table, good ventilation if you use sprays, and a dedicated cutting mat or board to protect your surface. Keep sharp tools away from children and pets, and use a ruler or guide to make straight, precise cuts instead of freehand whenever possible.
Organize your materials by step, placing the vinyl, tools, and transfer tape within easy reach before you start. This reduces interruptions, speeds up production, and helps you maintain consistent quality across multiple decals. A tidy workspace also lowers the risk of mistakes like cutting too deep or misaligning layers.

Cut or Print the Decal
If you are using a cutting machine, load the vinyl, set the correct blade depth and speed, and send your design to the machine, mirroring text if necessary. For hand cutting, print the design at actual size, place it under the vinyl, and carefully trace the outlines with a craft knife, following the lines with steady, shallow cuts.
For printable decals, print the design onto sticker paper at high quality, let the ink dry, and then apply a clear laminate or waterproof coating if the decal will face weather. This extra layer protects colors and prevents fading, ensuring the decal looks fresh for a long time.
Weed and Prepare the Material
Weeding means removing the excess vinyl around your design, leaving only the parts that will become the decal. Use a weeding tool or the tip of a craft knife to lift and pull away unwanted pieces, being careful not to damage thin bridges or detailed spots. Take your time, especially with intricate logos or small text, because clean weeding leads to a professional finish.
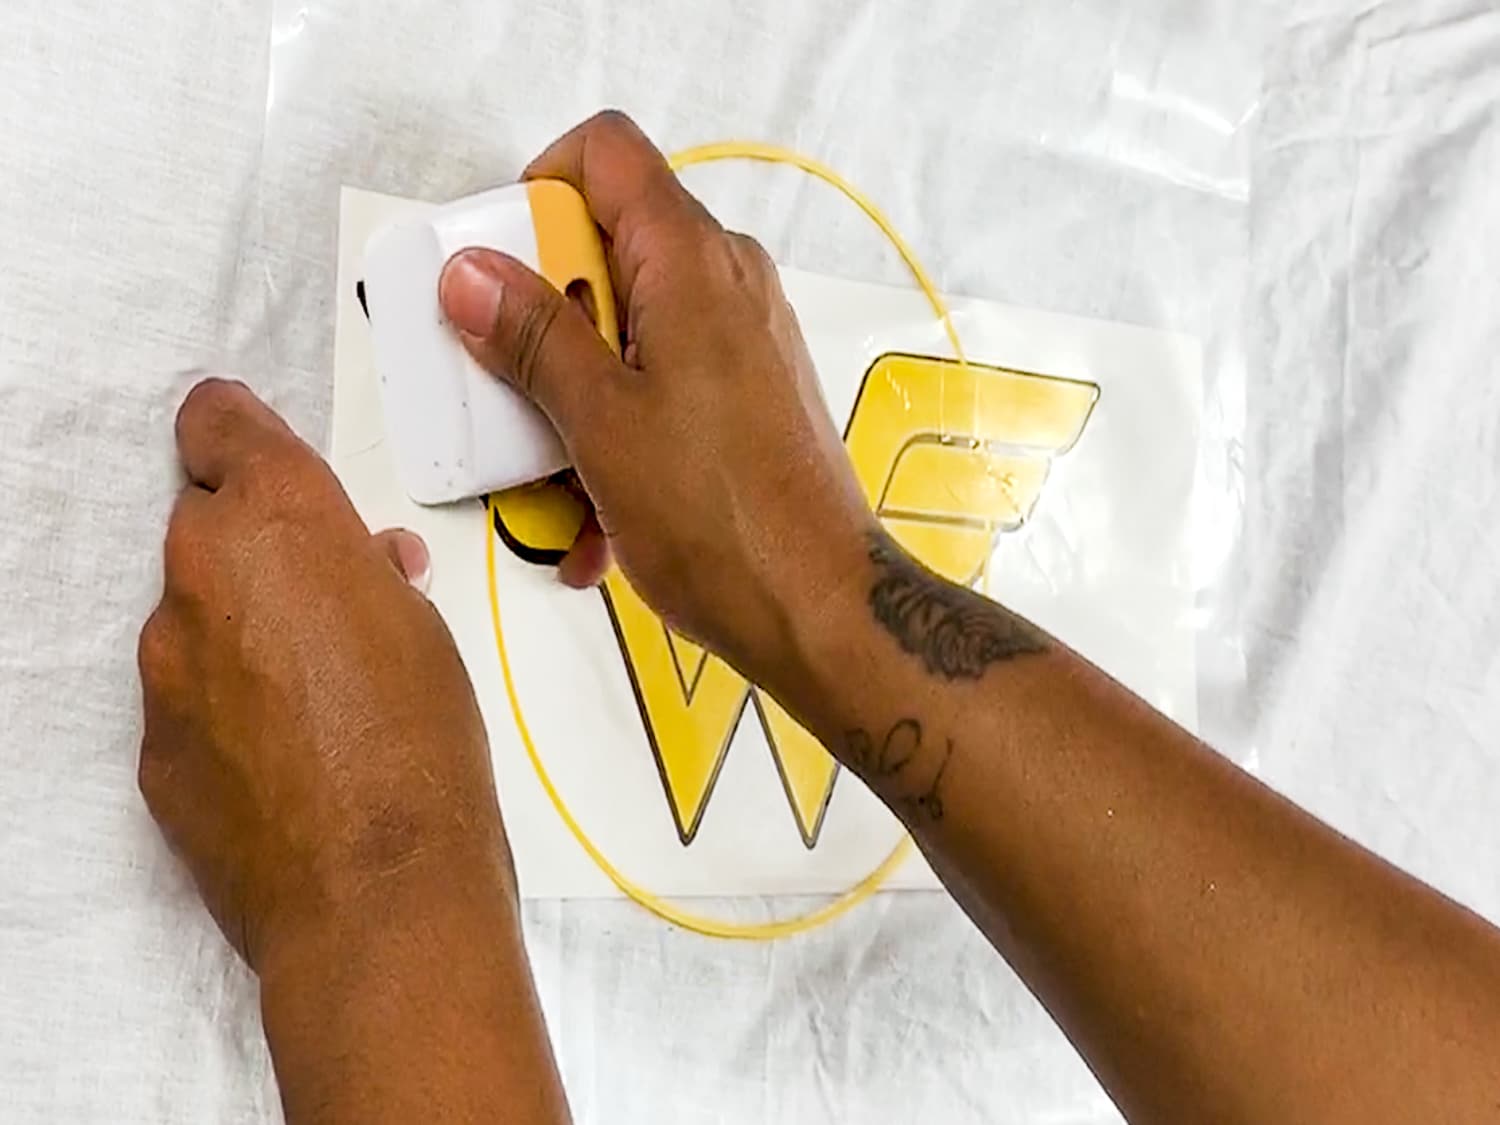
Before applying transfer tape, clean the surface of the vinyl to remove dust and static, which helps the tape stick evenly. Smooth the tape over the design with a squeegee, press down firmly, and then peel away the backing sheet, leaving the artwork on the transfer tape. This step keeps all the pieces aligned and ready for one smooth placement.
Apply the Decal to the Surface
Position the decal on the cleaned surface, adjusting it until it looks straight and balanced. Hold one edge and slowly lower the decal, pressing from the center outward to push out air bubbles. Use a squeegee or a soft cloth to smooth the surface, working from the middle to the edges to prevent wrinkles and lifted corners.
Once the decal is in place, carefully remove the transfer tape at a sharp angle, pulling back rather than lifting straight up to avoid pulling parts of the design away. If small pieces lift, gently press them back down and smooth them with the tool before the adhesive fully sets. A well-applied decal lies flat, sticks securely, and shows crisp edges without peeling at the corners.

Maintain and Customize Your Decals
After application, let the decal cure for a few minutes to an hour depending on the material, and avoid washing or stressing the surface until it is fully bonded. For long-lasting results, choose weather-resistant vinyl, use proper transfer tape, and avoid sharp impacts or harsh cleaners that can lift the edges.
You can experiment with gradients, metallic vinyl, or layered designs by cutting multiple sheets and stacking them for extra depth. Reuse stencils, build a library of templates, and refine your technique with each project to make decals that truly reflect your style and creativity.
By following these steps, you can confidently create durable, high-quality decals at home, turning simple materials into personalized art that stands out on cars, gear, walls, and more.
How to print waterslide decals - BOAB Models Tips & Tricks
decal #howto #scalemodels Hello and welcome to BOAB Models guide to printing waterslide decals. This guide looks at using an ...
