How To Make Vinyl Graphics

Making vinyl graphics is a creative and practical way to add bold designs to vehicles, walls, signs, and personal items, turning any surface into a professional-looking display of art or branding.
Understanding Vinyl Graphics and Their Uses
Vinyl graphics are adhesive-backed designs cut from flexible plastic material, widely used for decals, signage, vehicle wraps, and custom décor. They are durable, weather-resistant, and available in matte or glossy finishes, making them suitable for both indoor and outdoor applications. Whether you want to promote a business, express personal style, or label equipment, vinyl offers a cost-effective solution that is easy to install and remove without damaging surfaces.
The versatility of vinyl graphics spans multiple industries, including automotive, retail, events, and interior design. Small businesses rely on them for storefront signage, while individuals use them to customize laptops, skateboards, and car windows. Because the material is lightweight and printable, it supports intricate details and vibrant colors, allowing your artwork or message to stand out while remaining functional and long-lasting.
Planning Your Design and Preparing Artwork
The first step in how to make vinyl graphics is thoughtful planning and design preparation. Start by defining the purpose of your graphic, whether it is for branding, wayfinding, or decoration, and choose dimensions that fit the intended surface. Consider the environment where the vinyl will be placed, as outdoor graphics require thicker material and stronger adhesive to withstand UV exposure and moisture.
Follow these key steps when preparing your artwork:
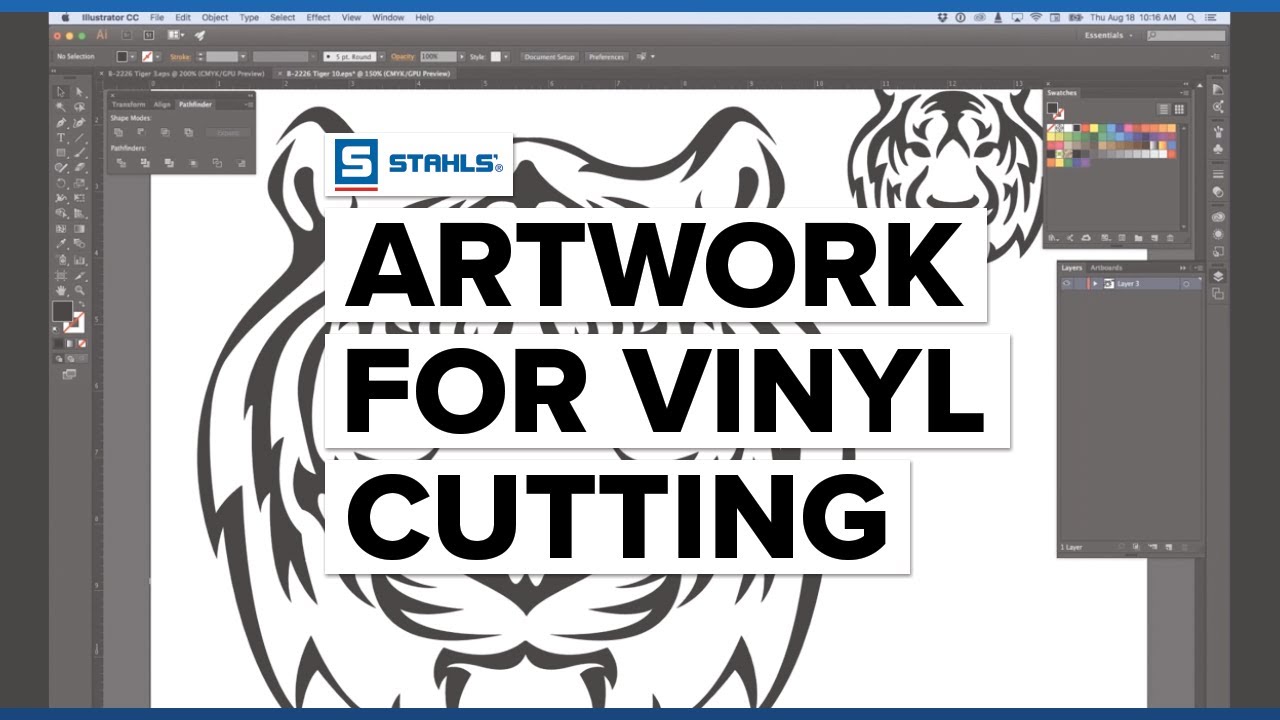
- Choose a vector-based design in software such as Adobe Illustrator or Inkscape to ensure clean edges and scalability.
- Limit color complexity to match your vinyl cutter capabilities and reduce material waste.
- Add registration marks if your project involves multiple layers or precise alignment.
- Export the file in the appropriate format, usually DXF or PDF, for cutting or plotting.
High-contrast designs with clear shapes work best for vinyl, especially when using solid colors or simple gradients. If you are printing detailed images, select a printable vinyl suitable for inkjet printers and ensure color profiles are calibrated for accurate reproduction. Proper planning at this stage saves time later by minimizing errors during cutting and installation.
Choosing the Right Vinyl Material and Tools
Selecting the correct vinyl type is critical for achieving professional results in your how to make vinyl graphics project. Cast vinyl is premium, with strong adhesive and flexibility, ideal for curved surfaces and long-term outdoor use. Calendered vinyl is more economical and suitable for short-term indoor applications, such as temporary window decals or trade show displays.
Essential tools for creating vinyl graphics include:
- A vinyl cutter or plotter capable of handling your material width and design complexity.
- Cutting mat (optional for some machines) and precision blades.
- Weeding tools, such as a hook tool or tweezers, to remove excess vinyl.
- Transfer tape and a squeegee for applying the design smoothly.
- Cleaning solution and microfiber cloth to prepare the surface.
For printed vinyl, you also need a compatible printer, RIP software, and appropriate ink. Consider the finish as well, choosing between gloss, matte, or textured options based on the visual effect and durability requirements. Investing in quality materials reduces the risk of peeling, fading, or tearing, ensuring your graphics look great from installation to removal.

Cutting, Weeding, and Transferring Vinyl Designs
Once your artwork is ready and materials are gathered, the core of how to make vinyl graphics shifts to cutting and assembly. Load the vinyl sheet into your cutter, set the blade depth and speed according to manufacturer recommendations, and send the design to be cut. Precision settings prevent over-cutting or under-cutting, which can ruin fine details or cause pieces to detach.
After cutting, carefully weed the excess vinyl, leaving only the parts you want to transfer. Use a weeding tool to lift small pieces, working under good lighting to avoid missing fragments. For complex designs, group related elements with low-tack transfer tape before removing the backing, then position the entire composition on the target surface. Using a squeegee, press firmly from the center outward to eliminate air bubbles and ensure strong adhesion.
Applying Vinyl Graphics to Surfaces
Applying vinyl graphics correctly is essential for a clean, professional finish and long-lasting results. Begin by cleaning the surface thoroughly with soap and water, then wipe it with rubbing alcohol to remove oils and dust that could interfere with adhesion. Measure and align the graphic using temporary guidelines or masking tape, especially for large or multi-part designs.

Tips for successful application:
- Work in a dust-free environment to prevent particles from becoming trapped.
- Use a heat gun or hairdryer on low setting to soften the vinyl for better conformity on curved surfaces.
- Apply firm and even pressure with a squeegee to achieve a smooth finish.
- Allow the adhesive to set for several hours or overnight before heavy exposure to weather or cleaning.
If you make mistakes during placement, most vinyl can be peeled off and reapplied, especially indoors. For outdoor projects, consider using specialized application fluids that allow repositioning without sticking to the surface prematurely. Taking your time during this phase ensures sharp edges, full coverage, and a result you will be proud to show off.
Finishing, Maintenance, and Troubleshooting
After installation, proper finishing and maintenance extend the life of your vinyl graphics and keep them looking vivid. Avoid washing freshly applied designs for at least 48 hours and use gentle cleaning methods thereafter, such as a soft cloth, mild detergent, and no abrasive tools. For outdoor graphics, occasional cleaning prevents dirt buildup and maintains adhesion, while avoiding harsh chemicals protects the vinyl surface.

Common issues and fixes include:
- Peeling edges: reapply heat and pressure with a squeegee or consider using a primer designed for vinyl.
- Fading colors: choose UV-resistant vinyl and avoid prolonged direct sunlight when possible.
- Air bubbles: carefully lift the affected area and press back down slowly with a squeegee.
- Damaged vinyl: small cuts can be patched with leftover material and adhesive.
By mastering how to make vinyl graphics from planning to installation, you gain the ability to produce high-quality, customized designs for business or personal projects. With practice, attention to detail, and the right tools, each project becomes faster, cleaner, and more professional, giving you confidence to tackle increasingly complex designs and applications.
How to Easily Make Professional Vinyl Decals | Cricut Tutorial
Take your vinyl stickers to the next level, and make them look very professional, and it is so easy to do this too! Supplies used in ...
