How To Make Sticker From Photo
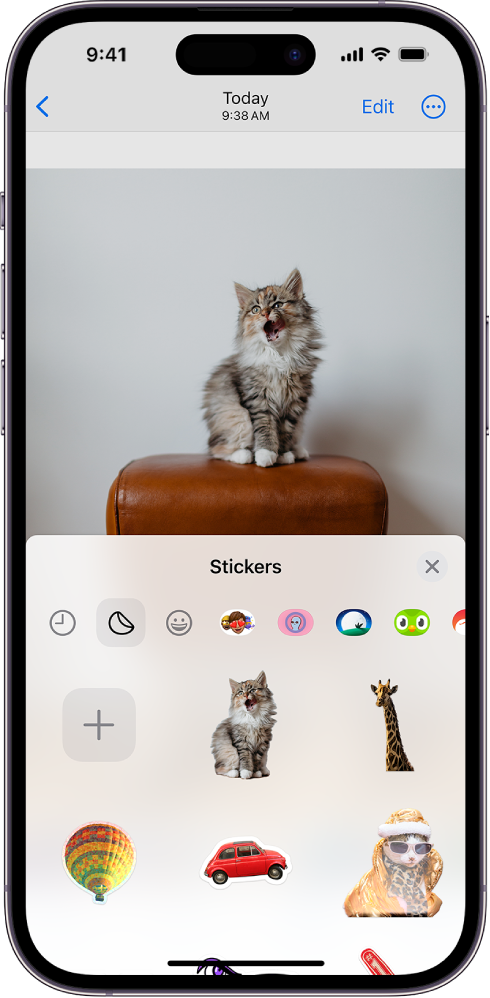
Turning your favorite picture into a playful sticker is easier than you think, and this guide will show you how to make sticker from photo with simple steps and everyday tools.
Choose the Right Photo for Your Sticker
The first step in how to make sticker from photo starts with picking the right image. Look for a photo with clear subjects, good contrast, and enough space around the main elements so the sticker shape feels balanced.
Avoid very dark or very washed-out pictures, because they can lose detail when you convert them into a sticker. A well-exposed photo with distinct edges and colors will make the outline and cutout much cleaner, saving you time in later editing stages.

Prepare Your Image for Sticker Creation
Before learning how to make sticker from photo in an editor, you may want to adjust brightness, contrast, and colors to make the subject stand out. Small tweaks here help the final sticker look vivid even on different backgrounds.
Use a photo editing tool to remove unnecessary background clutter. You do not need a perfect cutout yet, but cleaning up distractions makes the next tracing or automatic selection steps smoother and more accurate for your sticker design.
Create a Clear Outline for Your Sticker
To make sticker from photo, drawing or generating a clean outline is essential. You can trace the main shape by hand with a pen tool or let the software create a selection based on colors and edges.
When outlining, focus on the most recognizable shape of the subject. Simplify complex details so the sticker stays clear at a small size, especially if you plan to print it on stickers or use it as an icon.
- Use high contrast between the subject and the background to help the outline tool detect edges.
- Smooth jagged lines so the sticker looks neat when resized.
- Check the outline from a distance to confirm it reads as the intended object.
Decide on Sticker Style and Colors
Part of how to make sticker from photo is choosing a visual style that fits your purpose. You can keep the photo realistic, turn it into a silhouette, or apply flat colors for a cartoon-like sticker.
Adjusting color balance and saturation can make your sticker pop on different surfaces. For vinyl or printed stickers, consider slightly boosting contrast and avoiding very fine gradients that might blur during production.

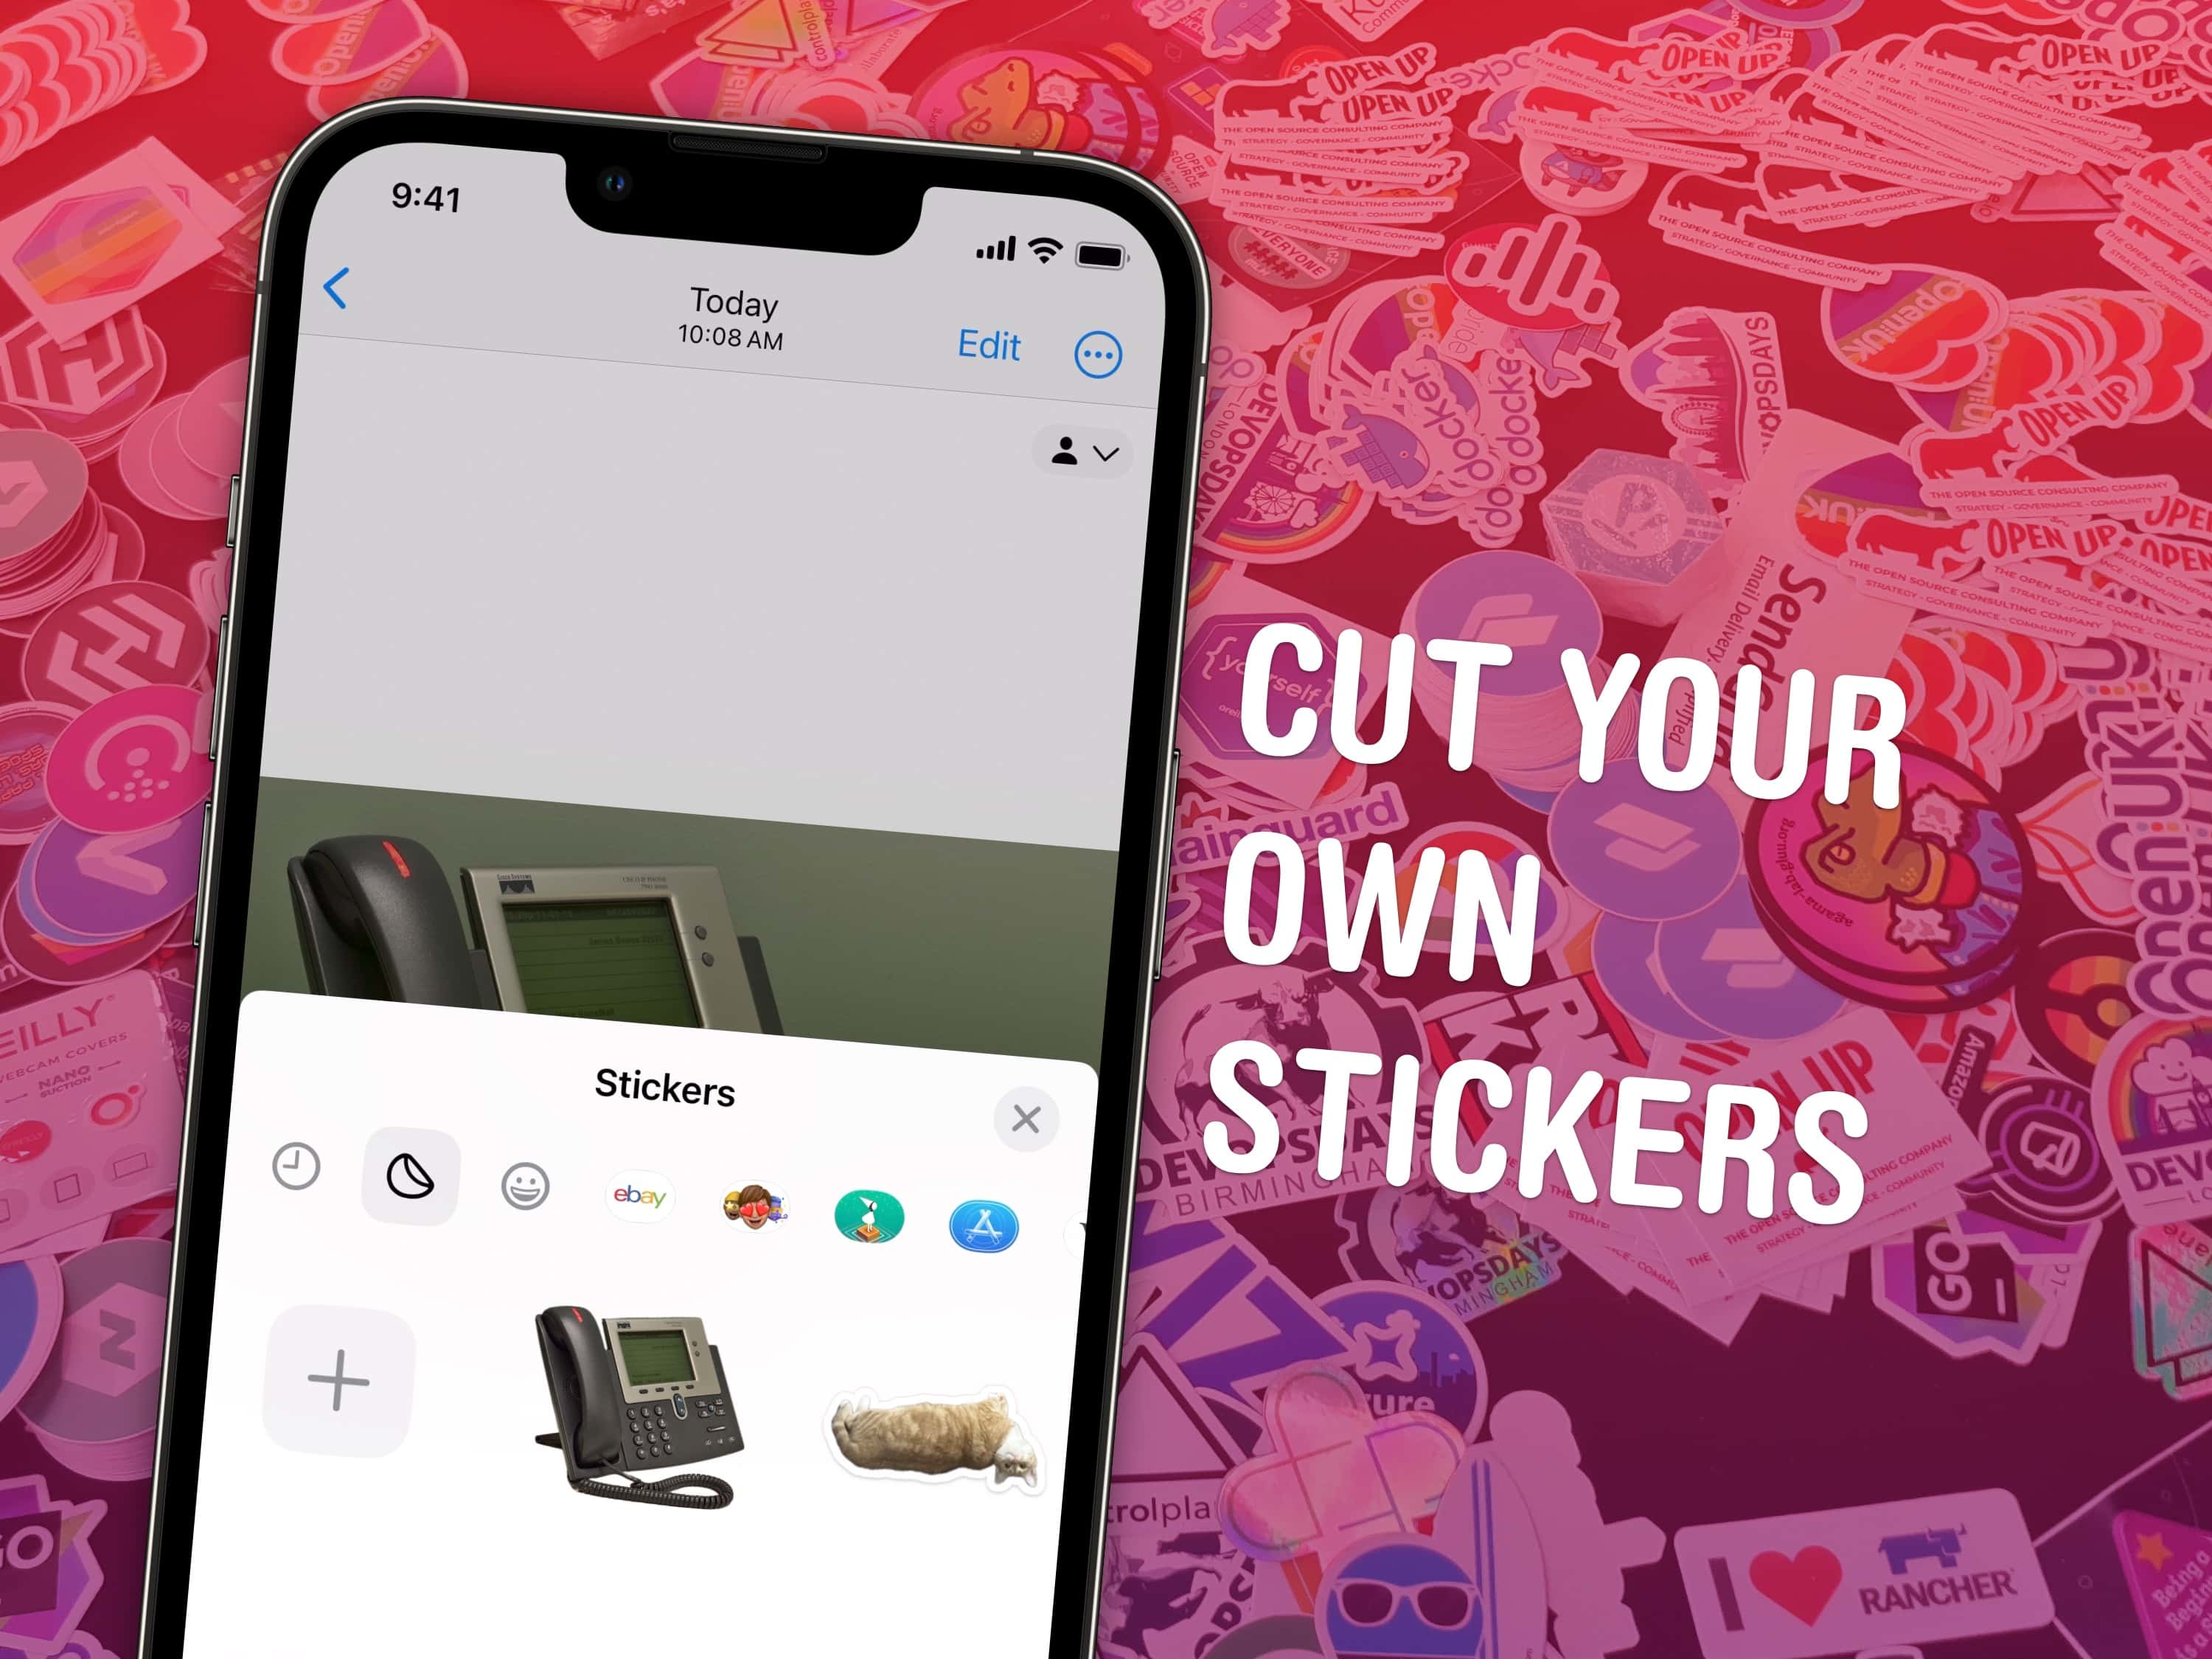
Cut Out and Refine the Sticker Shape
Cutting out the image means removing everything outside your outline so you can make sticker from photo as a standalone graphic. Most editors let you mask or delete the background, leaving only the selected shape.
Refine the edges by softening rough pixels and ensuring the transparent background stays clean. A well-refined sticker blends better when placed on notebooks, laptops, or other surfaces, giving it a professional finish.
Export and Test Your Sticker
When you export your file for how to make sticker from photo, choose a format that supports transparency, such as PNG, to keep the edges clean. Save a copy in high resolution if you plan to print stickers.
Test your sticker by placing it over different backgrounds and at various sizes. This step helps you see whether details are still clear and whether the overall shape is recognizable as a small icon, so you can make final adjustments before printing or sharing.
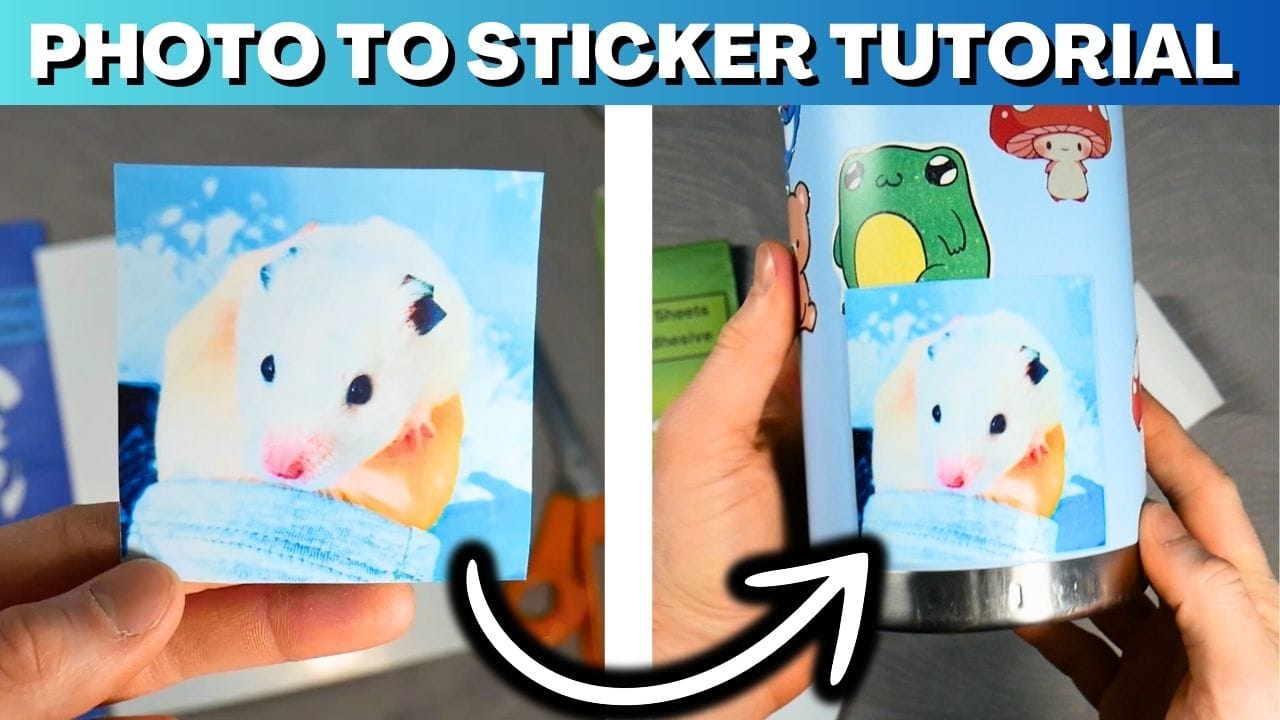
Print or Share Your Custom Sticker
After finalizing your design, you can print your sticker at home using sticker paper or send the file to a professional print service for better durability and colors.
Sharing your creation online or applying it to real objects completes the process of how to make sticker from photo. With a little practice, you will be able to turn almost any picture into a fun and usable sticker that reflects your style.

How to Create Stickers in Canva (Easy Tutorial)
Welcome to our step-by-step tutorial on how to create stickers in Canva! Whether you're looking to personalize your belongings or ...
