How To Make Decals

Making custom decals at home is easier than you think, and it is a fun way to personalize your gear, vehicle, or space.
Choose Your Decal Style and Purpose
Before you start, decide what kind of decal you want, because the method changes with style and surface. You might make a vinyl sticker for your car, a temporary wall decal for a party, or a detailed emblem for a model or laptop. Think about size, colors, and how long it needs to last, since outdoor decals require weather resistant materials while indoor ones can use simpler supplies. Clarifying the look and function helps you pick tools, adhesives, and materials that match your project.
Consider whether you need a permanent, semi permanent, or removable decal, because this affects adhesives and substrates. A removable decal for painted walls should use low tack adhesive, while a permanent vehicle decal needs strong outdoor vinyl and edge sealing. Defining the style, surface, and durability up front saves time and prevents having to redo your work later.

Gather Tools, Materials, and Workspace
Collect the right supplies so you can make decals smoothly from design to application. Basic tools include a computer with design software, a printer, cutting machine or craft knife, ruler, scissors, and a squeegee or credit card for smoothing. Depending on the method, you may need vinyl sheets, transfer tape, adhesive spray, printable decal paper, or clear laminating sheets for protection.
- Design software such as free vector tools or simple editors for creating shapes and text.
- Printer and quality ink, especially if you use printable decal paper.
- Cutting machine or precision craft knife for clean cuts.
- High quality transfer tape and strong yet removable adhesive options.
- Protective coating like clear matte or gloss spray for outdoor durability.
Prepare your workspace by clearing a flat surface, ensuring good lighting, and protecting nearby areas from adhesive or cutting marks. Keep ventilation in mind if you use sprays or solvents, and have cleaning supplies ready for any mistakes.
Design Your Decal Artwork
Create clean vector or high resolution artwork that suits the final size and material, because clarity determines how sharp your decals will look. Use bold shapes, strong contrast, and simplified details so the cut lines are easy to follow and the decal sticks well without lifting at small corners. Avoid overly thin elements that can tear, and make sure text is readable at the intended viewing distance.
Mirror text and details if your method requires a reverse image for transfer, and test colors on your substrate before finalizing. Save the file in a format compatible with your cutting machine or printer, and export a version with registration marks or guides for accurate placement. Planning the layout carefully reduces waste and makes trimming and weeding much faster.
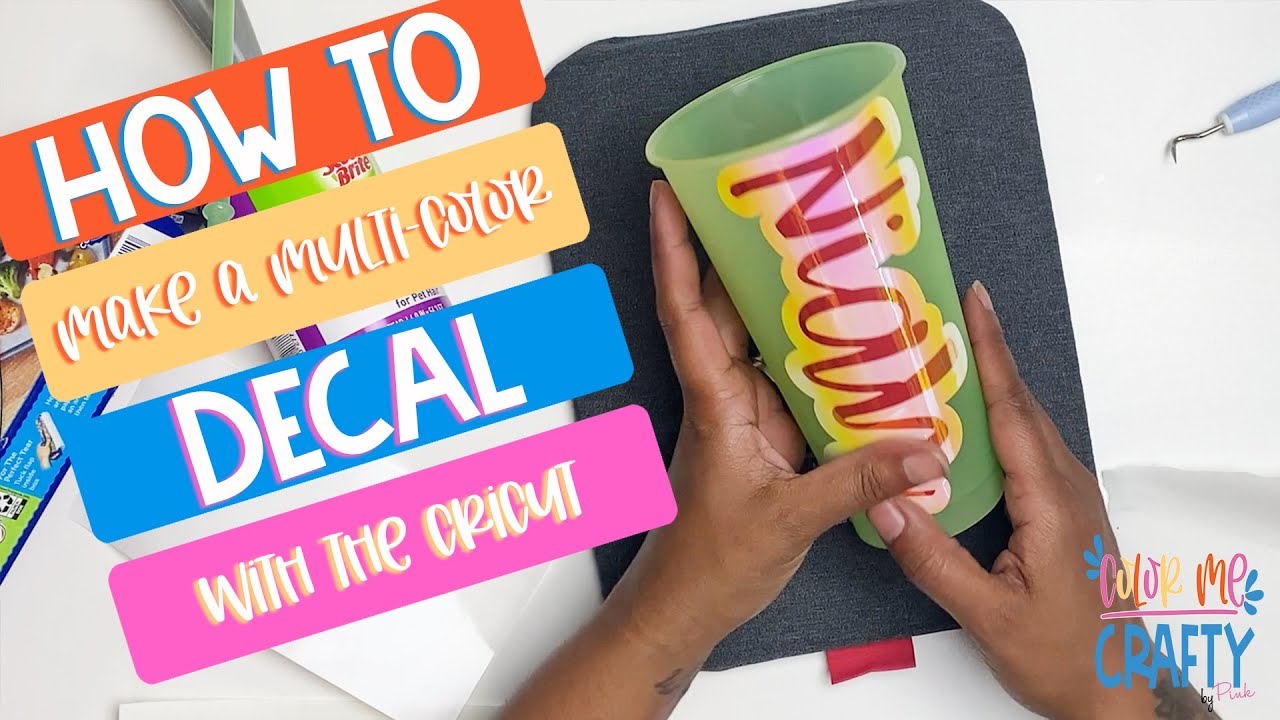
Cut or Print the Decal
Cutting method users should import the design into their machine software, set correct blade depth and speed for the material, and run the cut on vinyl or adhesive sheet. After cutting, carefully weed out excess material, leaving only the parts you want to transfer, and use a scraper to keep edges from lifting. For printing on decal paper, print the design at high quality, let it dry fully, then apply a clear top coat if needed for scratch resistance before cutting to shape.
Test the cut on a scrap piece first to verify colors, alignment, and adhesion, especially when you make decals for vehicles or textured surfaces. For intricate designs, consider layering colors or using registration marks to ensure each layer aligns perfectly during application. Taking time at this stage prevents rework and gives you a professional result.

Apply Transfer Tape and Prepare the Surface
Cover the cut decal with transfer tape, press firmly from center outward to remove air bubbles, and then peel back the backing sheet so only the adhesive and transfer tape remain. Before placing the decal, clean the surface thoroughly with isopropyl alcohol to remove dust, oils, and residues that could weaken adhesion. Let the area dry completely and, if allowed, mark placement guides so the decal lands exactly where you want it.
For larger projects, section your decal into manageable panels and work one at a time to maintain control. Ensure the surface is dry, cool, and out of direct sunlight, because heat and moisture can interfere with adhesive bonding. Proper preparation reduces peeling and lifting, making your custom decals last as long as possible.
Position, Smooth, and Seal
Align the decal using your marks, lower it gently from one edge to avoid wrinkles, and then use a squeegee or soft credit card to press from center to edges, pushing out air bubbles. Slowly remove the transfer tape at a low angle, holding down the decal with your other hand so it stays flat on the surface. Add extra pressure along edges and corners to ensure full contact, especially on uneven textures.

If the decal will face heavy weather or frequent contact, apply a compatible clear sealant over the surface to protect the colors and adhesive. Allow the sealant to cure according to the manufacturer instructions before touching or driving, if it is on a vehicle. With good placement, smoothing, and sealing, your homemade decals can look store bought and remain vibrant for years.
Troubleshoot Common Issues
You might encounter lifting edges, ink bleeding on thin lines, or cloudiness on clear surfaces, but most problems have simple fixes. Use a sharper blade, adjust cutting speed and pressure, or switch to a stronger adhesive for materials that do not stick well. For bubbles, gently lift the decal, smooth it again, and if needed apply a small slit at the center to release trapped air before smoothing flat.
- Edges lifting: press more firmly and re seal if the decal is outdoors.
- Color fading: choose UV resistant vinyl or add a protective coat.
- Wrinkles during application: slow down and use a softer squeegee.
- Partial stick: clean the surface again and avoid dust under the decal.
Keep notes on what works for your setup, because small adjustments in temperature, tools, or technique can dramatically improve results.

Practice and Expand Your Skills
Start with small projects like simple shapes or interior room signage, then gradually increase complexity as you learn how different materials behave. Experiment with layering multiple colors, using glow in the dark vinyl, or adding texture to create standout custom decals that stand out. Each time you make decals, you refine your cuts, weeding, and placement, gaining confidence and speed.
Over time, you can build a reliable workflow, from design to finished decal, and even offer your work to friends, local businesses, or online customers. Consistent practice, smart material choices, and attention to surface preparation are the keys to professional quality homemade decals.
Conclusion
Making decals at home combines creativity, careful planning, and a few practical techniques that anyone can learn. By choosing the right materials, preparing your design and surface thoughtfully, and applying each step with patience, you can produce durable, high quality decals for any purpose.
How to make Decal Sticker at home DIY
How to make U.S. Air Force Insignia decals out of colored packing tape at home easy. Handmade World War II Roundel Sticker ...
