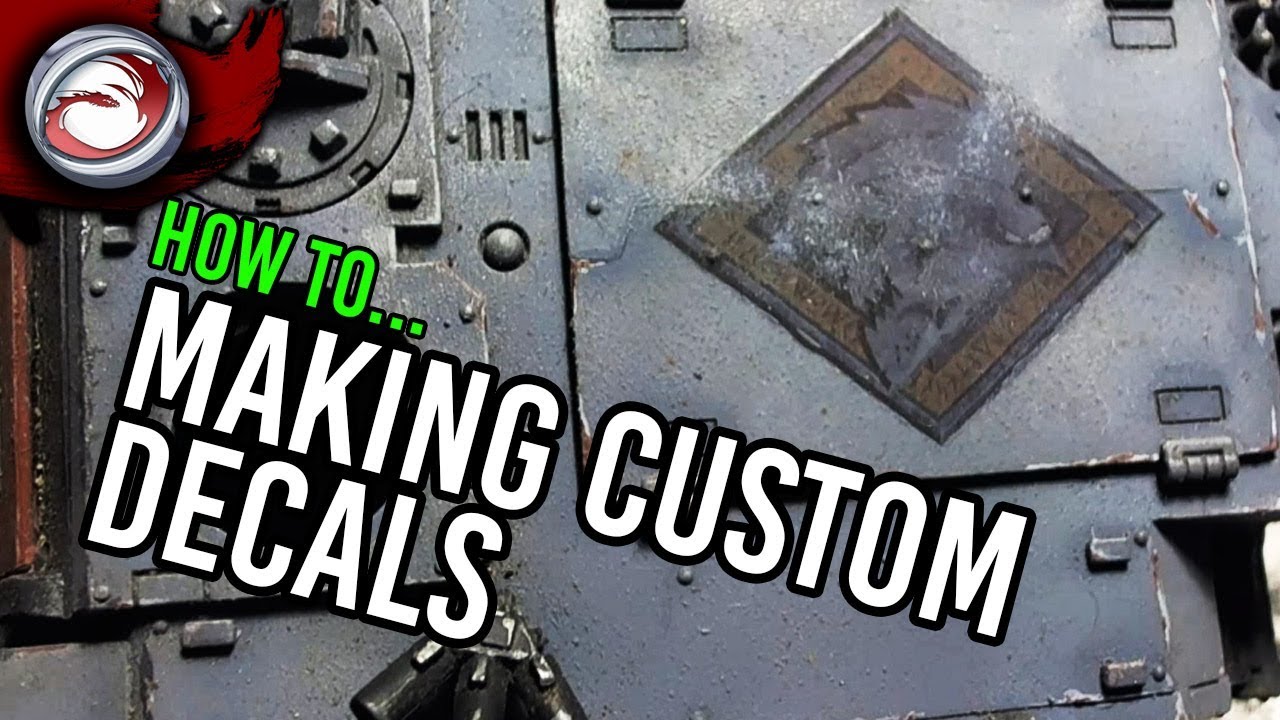
How To Make Custom Decals

Making custom decals is a fun and practical way to add personality to your gear, vehicle, or storefront, and with the right tools and techniques you can achieve professional results at home.
Choose Your Decal Type and Purpose
Before you start designing, decide whether you want a vinyl sticker, a printable decal, or a die-cut custom decal, because each type suits different surfaces and environments. A vinyl decal is durable and weather resistant, making it ideal for cars, windows, and outdoor signage, while a printable decal is great for short term events or indoor use on smooth surfaces like glass or plastic. Think about the size, shape, and level of detail, since a bold logo or intricate illustration will affect material choice and production method.
Consider the surface where the decal will be applied, because smooth non porous surfaces work best for adhesion and long term wear. For items like laptops, cars, or storefront windows, a strong adhesive vinyl custom decal will last longer and resist fading. If you are creating promotional giveaways, a removable decal with a matte finish can look premium without leaving residue, while a glossy finish adds vibrancy and depth to colors.
Design Your Decal with Precision
Start by sketching or vectorizing your idea in design software so that the lines are clean and the artwork is scalable without losing quality. Use layers to separate text, shapes, and background elements, and keep the color palette limited to make printing and cutting more efficient. Remember to mirror text and important graphics if you are using a vinyl cutter, because the decal needs to be applied from the backing side to appear correctly on the surface.
When designing, include a small registration mark or keep key elements away from the very edge to make application easier and reduce the chance of misalignment. Export your file in a high resolution format suitable for cutting or printing, such as PDF, SVG, or PNG at 300 dpi. For complex shapes, simplify paths and remove unnecessary anchor points so that the cutting process is faster and the final decal looks crisp and professional.
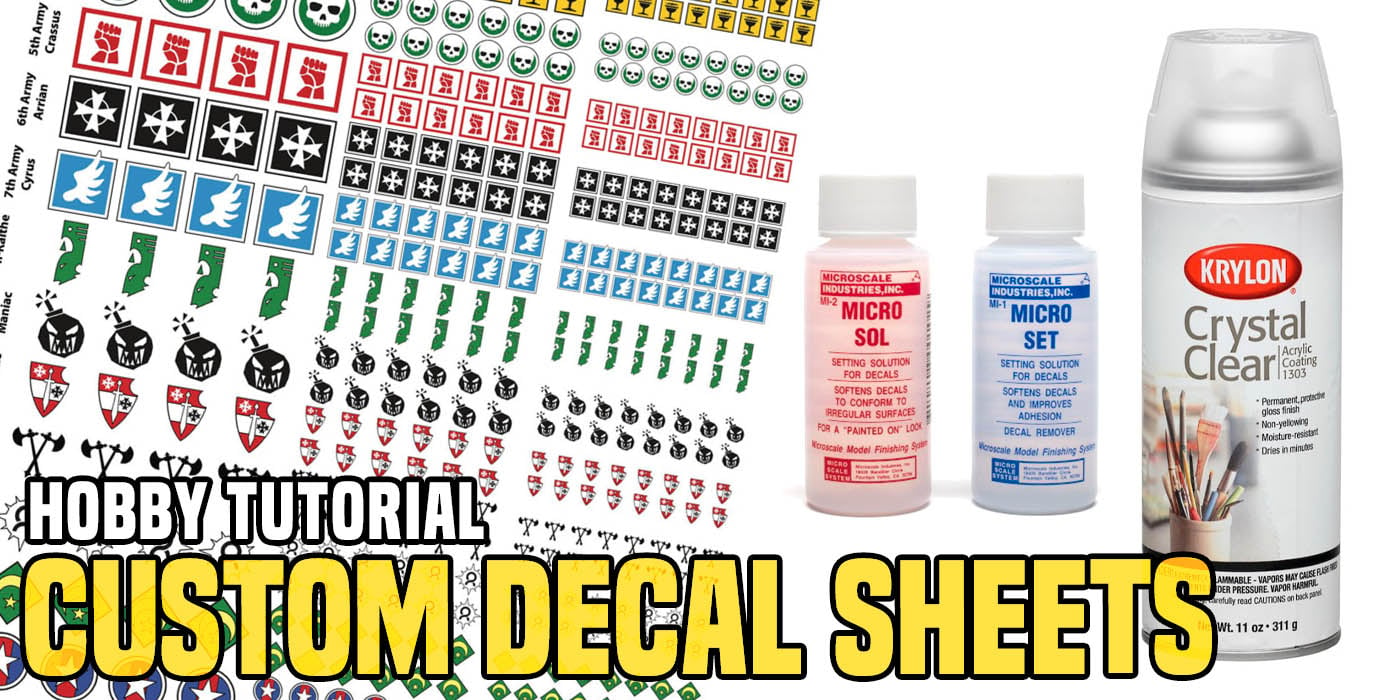
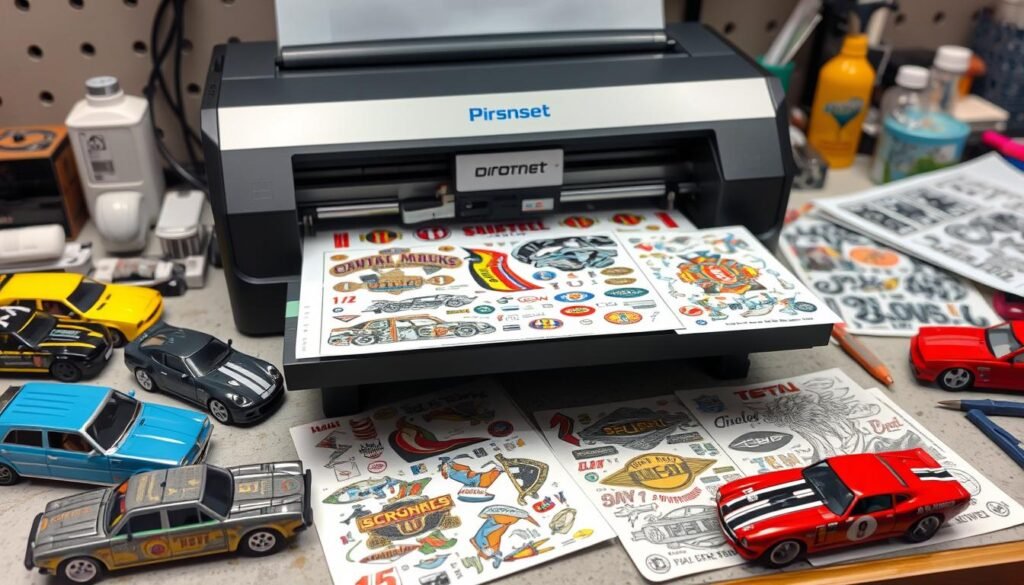
Prepare Your Materials and Tools
Gather a quality vinyl sheet or printable decal paper, a sharp craft knife or a digital cutter, transfer tape, a squeegee, and cleaning supplies to ensure a smooth application. If you are cutting by hand, print your design on paper, tape it to the vinyl, and carefully trace the outlines with a utility knife using a self healing cutting mat to protect your work surface. For digital cutting, import your file into the machine software, set the correct blade depth and speed for the material, and always test cut a small section to confirm settings before running the full job.
Transfer tape should be strong enough to lift the decal cleanly without stretching or tearing, so test it on a scrap piece first. Have a lint free cloth, mild soap, and a plastic card or credit card ready to smooth out bubbles during application. Choosing the right adhesive is also important, as some vinyls are formulated for outdoor use with UV resistance, while others are designed for temporary indoor displays that peel off easily.
Cut and Weed Your Decal
Feed the vinyl into the cutter or position your printed sheet for manual cutting, making sure the material lies flat to avoid jagged edges or missed cuts. After cutting, weed out the excess vinyl around your design, using a weeding tool or a sharp needle to carefully remove pieces you do not want, leaving only the parts that will become the decal. Take your time with detailed areas, because leaving behind small bits of vinyl can ruin the clean look you are aiming for.
Once weeding is complete, press down on the decal to ensure all edges are fully cut, then apply transfer tape smoothly from one side to the other to lift the design as a single piece. Firmly rub the transfer tape with a squeegee to remove air pockets and secure the vinyl, making it easier to position the decal accurately when you place it on the final surface.
Apply and Finish the Decal
Clean the surface thoroughly with rubbing alcohol or soapy water to remove dust, oil, and residue, because a spotless surface helps the adhesive bond evenly. Peel back a small corner of the transfer tape and align the decal carefully, then slowly lower it onto the surface while smoothing from the center outward with a squeegee. This technique pushes out air bubbles and ensures good contact, especially for larger custom decals that can be tricky to position.
After the decal is fully pressed down, slowly remove the transfer tape at a sharp angle to avoid pulling up the vinyl, and use a cloth to press any remaining edges. For outdoor projects, consider sealing the edges or using a protective overlaminate if your material allows, which can extend the life of the decal against weather and abrasion. With proper application and curing time, your custom decal will look vibrant and stay intact through regular use.
Troubleshoot Common Issues
If bubbles appear after application, gently lift the edge of the decal and reapply with more pressure, using a small pin to pierce larger bubbles and then smoothing them out. Curling or peeling edges often signal that the surface was not cleaned properly or that the adhesive was not pressed down firmly, so revisiting those steps can solve the problem without starting over.

Fading or cracking may occur with low quality vinyl or when a decal is applied to a surface that stretches or flexes, so choose material suited to the environment and avoid excessive stretching during installation. By practicing careful design, precise cutting, and thorough surface preparation, you can consistently produce durable, eye catching custom decals that meet your creative or commercial goals.
Creating your own custom decals gives you full control over design, size, and material, allowing you to produce striking results for personal projects or business branding with a hands on approach.
Create Your Own CUSTOM Decals and Apply Them PERFECTLY | Applying Transfer Sheets
Creating you own custom decals can be difficult...but does not HAVE TO BE! With this guide on how to create custom decals ...
