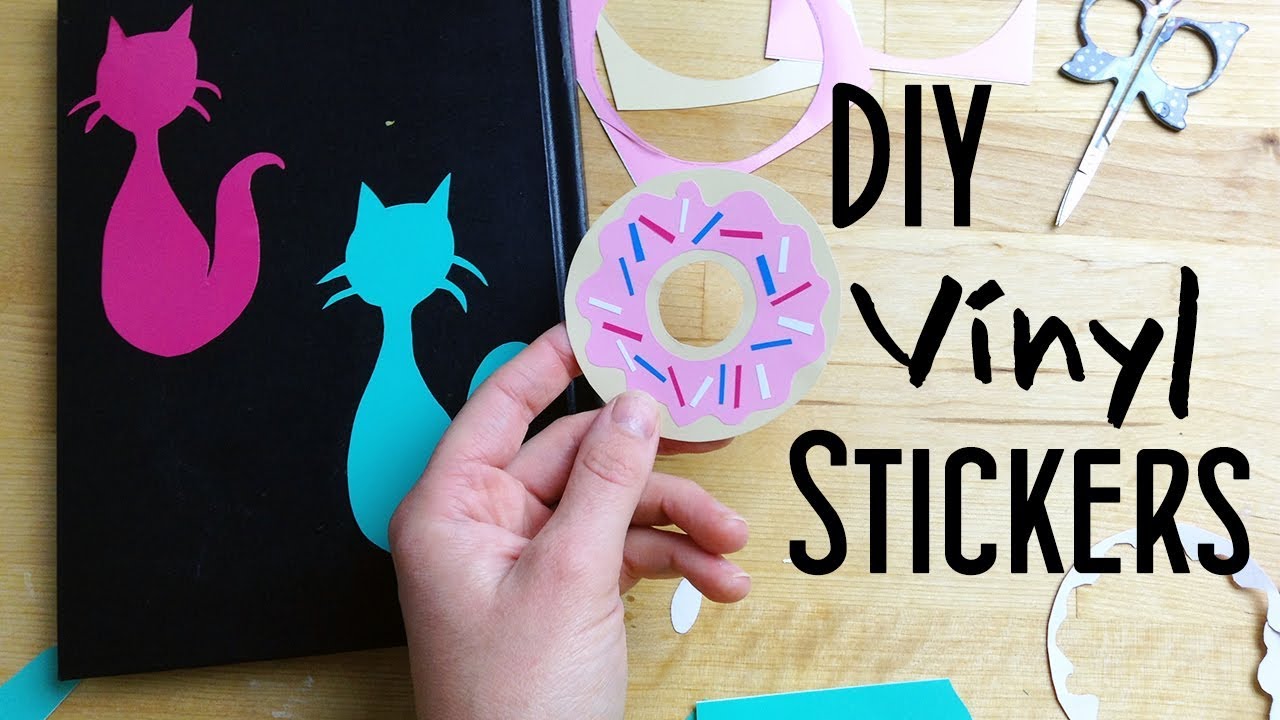
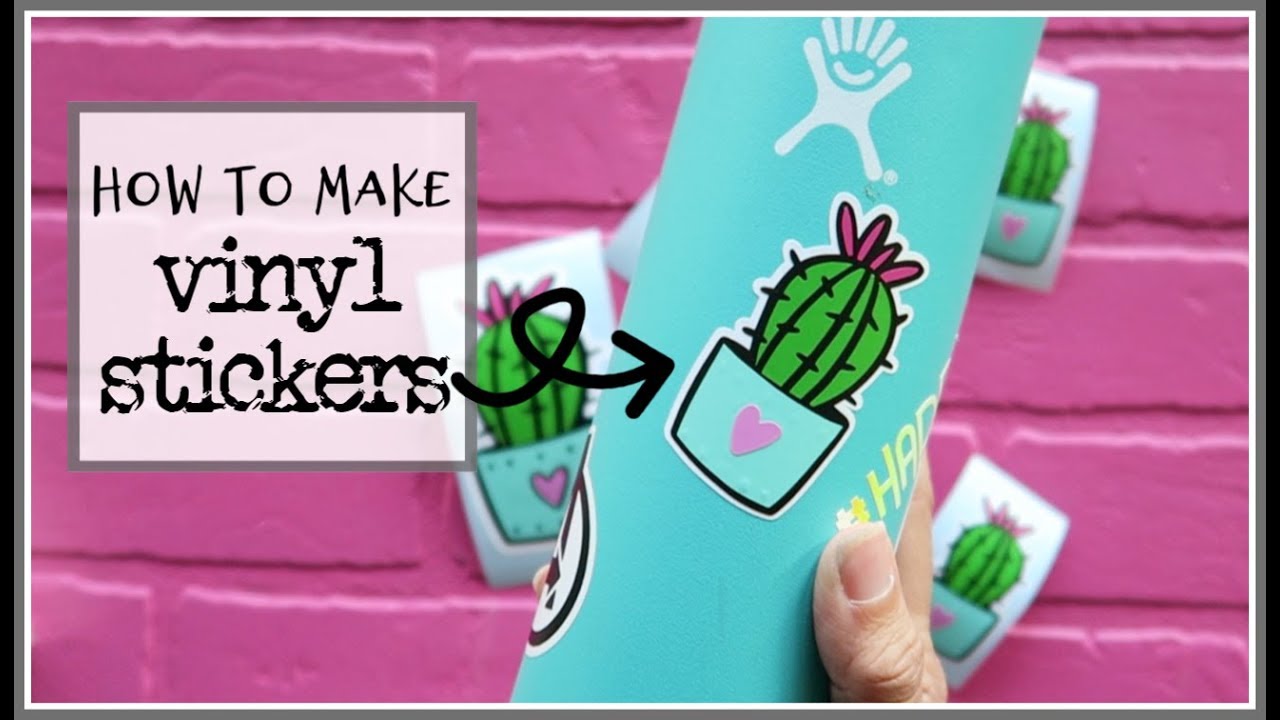
How To Make A Vinyl Sticker

Making a vinyl sticker is a fun and practical way to personalize your gear, promote your brand, or add flair to your space, and the process starts with a clear design, the right vinyl material, and a reliable cutting or printing method. Whether you are creating a small decorative sticker for your laptop or a bold weatherproof label for outdoor equipment, understanding the core steps helps you achieve clean lines, vibrant color, and strong adhesion. This guide walks you through the essentials of how to make a vinyl sticker, from choosing your tools to applying the final piece with confidence.
Design your sticker concept and layout
The first step in how to make a vinyl sticker is designing a concept that suits your purpose, whether it is for personal expression, event promotion, or product labeling. Start by sketching or using vector software such as Adobe Illustrator, Inkscape, or Affinity Designer to create a clean, scalable graphic that avoids overly fine details that might break during cutting or peeling. Keep text legible by choosing bold, readable fonts and ensure that color contrast is strong so the sticker remains visible on different surfaces. If you plan to print the design rather than cut it from colored vinyl, you can work with more intricate artwork, but always simplify complex gradients to maintain clarity when the sticker is produced.
When you prepare the file for production, save it in a vector format like SVG or PDF for cutting, or export a high-resolution PNG if you are printing on vinyl. Set the correct dimensions, add a clear border around the artwork, and remove any hidden layers or unnecessary elements that could confuse the cutting machine or slow down manual cutting. For printed vinyl, pay attention to resolution (at least 300 DPI) and color profiles so the printed sticker matches your intended hues. This design phase is crucial in how to make a vinyl sticker that looks professional, stays durable, and applies smoothly without unsightly bubbles or misaligned edges.
Choose the right vinyl material and backing
Selecting the appropriate vinyl is a key part of how to make a vinyl sticker that lasts, because different finishes and adhesives suit different environments and surfaces. For indoor use, a standard matte or glossy vinyl works well, while outdoor stickers require thicker, weather-resistant vinyl with strong adhesive to resist UV light, rain, and temperature changes. You can choose between printable vinyl sheets, which accept inkjet or laser prints, and cut vinyl sheets, which are fed into a cutting machine to produce precise shapes. Consider the surface texture of the item you are labeling, as rough or curved surfaces may need more flexible adhesive or specialized application techniques to ensure full contact.
The backing paper or carrier sheet also matters in how to make a vinyl sticker, because it protects the adhesive until you are ready to install the sticker and affects how easily you can position and align the piece. Low-tack backings are helpful for practice and delicate surfaces, while high-tack backings provide a stronger hold for long-lasting applications. If you are producing stickers in larger quantities, evaluate whether a roll-fed vinyl system or individual sheet vinyl fits your workflow and budget. Matching the vinyl type and backing to your project requirements simplifies the later steps and boosts the durability and appearance of the finished sticker.
Cut the vinyl using a machine or by hand
Cutting is a core stage in how to make a vinyl sticker, especially if you are working with a vinyl cutter that follows your digital design to carve out shapes with precision. Load the vinyl sheet onto the machine, adjust the blade depth and cutting speed according to the material thickness, and send the file so the cutter follows the outlines of your artwork. For intricate designs, test cut on a small piece first to verify that the settings allow you to weed away the excess vinyl without pulling up parts of your intended design. If you do not have a machine, you can cut simple shapes by hand using a sharp craft knife, a metal ruler, and a self-healing cutting mat, carefully following printed templates for guidance.
Weeding, or removing the excess vinyl around your design, requires patience and a gentle touch to keep fine details intact, which is an essential part of how to make a vinyl sticker with clean results. Use a weeding tool or the tip of a utility knife to lift small pieces, and consider using transfer tape to consolidate complex shapes into a single sheet before application. For hand-cut projects, take your time to slice through the vinyl but not the backing, and double-check alignment before moving on to the next section. A well-executed cutting and weeding process reduces errors, saves time during application, and contributes to a polished, professional look.
Print vinyl designs when cutting is not suitable
If your project involves photographic images, detailed illustrations, or full-color text, learning how to make a vinyl sticker through printing can be more effective than cutting. Printable vinyl sheets work with inkjet or laser printers, allowing you to produce vibrant graphics that cover larger areas without the limitations of cut lines. Before printing, verify that the vinyl is compatible with your printer model, and perform test prints on plain paper to confirm sizing and alignment. After printing, let the ink dry completely, and consider using a laminator or protective coating if the sticker will face heavy wear or exposure to moisture, which helps preserve the colors and prevents smudging.
When printing on vinyl, manage the layout carefully to minimize waste and ensure consistent spacing between stickers. Use guides or a light table to align the printed sheet with a plain backing or additional adhesive layer if you are creating a layered effect. This printing approach is especially useful for how to make a vinyl sticker for campaigns, product packaging, or event decorations where detailed imagery matters. Combining print and cut techniques, where printed graphics are combined with shaped vinyl pieces, can also expand your creative possibilities and make your stickers stand out.

Weed, apply transfer tape, and install the sticker
Once your vinyl is cut or printed, installing it correctly is the final critical step in how to make a vinyl sticker that looks clean and lasts long. Start by peeling away the excess vinyl using a weeding tool, and for detailed designs, use a combination of picking and gentle scraping to avoid tearing. Apply transfer tape over the entire design, smoothing it with a scraper to eliminate air bubbles and ensure all pieces stick to the tape. Carefully trim the edges, align the sticker on the target surface, and press it down firmly, working from the center outward to push out any trapped air and promote strong adhesion.
After removing the transfer tape, inspect the sticker for lifted corners or imperfections, and use a needle or small tool to gently press any edges back into place. For textured surfaces or larger pieces, consider using a softer application fluid or a thin soap solution that allows repositioning during installation, followed by drying to secure the hold. Proper installation not only enhances the appearance but also protects the sticker from early peeling, making the effort you invested in design, cutting, and weeding worthwhile. With practice, you will develop a reliable workflow that makes how to make a vinyl sticker efficient, repeatable, and enjoyable.
Maintain and care for your finished vinyl sticker
To complete your understanding of how to make a vinyl sticker, remember that ongoing care influences its longevity and visual appeal. Clean the surface gently with mild soap and water, avoiding harsh chemicals or abrasive tools that could scratch the vinyl or degrade the adhesive. For outdoor stickers, occasional checks for lifting edges and re-pressing them can prevent water from seeping underneath and causing peeling. If you notice fading or wear after extended exposure, consider using a UV-protective spray designed for vinyl to refresh and protect the colors.

Proper storage of unused vinyl sheets and stickers also matters when you plan to produce more pieces over time. Keep them flat in a cool, dry place away from direct sunlight, and avoid bending or folding the sheets to prevent warping or adhesive failure. By combining thoughtful design, careful cutting or printing, precise installation, and routine maintenance, you can create vinyl stickers that look great from day one and continue to impress long after they are applied. With these skills, you are ready to make durable, attractive stickers for personal projects, gifts, or professional branding.
How to make Vinyl decal stickers from start to finish | How to apply Vinyl Decals | Adhesive Foil
Subscribe to our Channel to keep up to date with our videos. ↓↓↓↓↓↓ CLICK TO SEE MORE ...
