How To Create Your Own Decals
Creating your own decals is a rewarding way to personalize your gear, vehicle, or space, and with the right approach you can achieve professional results at home.
Planning Your Decal Design
The first step in how to create your own decals is thoughtful planning, because a clear idea reduces rework and saves materials. Think about the purpose, size, surface, and visual style, and sketch or draft your concept on paper or in a digital tool before committing to production. Consider contrast, simplicity, and how the decal will look at a distance, since bold shapes and clean lines tend to read better than intricate details.
Choose a theme that reflects your brand, hobby, or message, and gather reference images that inspire your color palette and composition. Keep in mind where the decal will be applied, because curved surfaces, textured materials, and exposure to weather will influence your design choices. A well-planned design makes the later cutting and application steps smoother and more precise, especially if you are creating multiple similar decals.
Choosing Materials and Tools
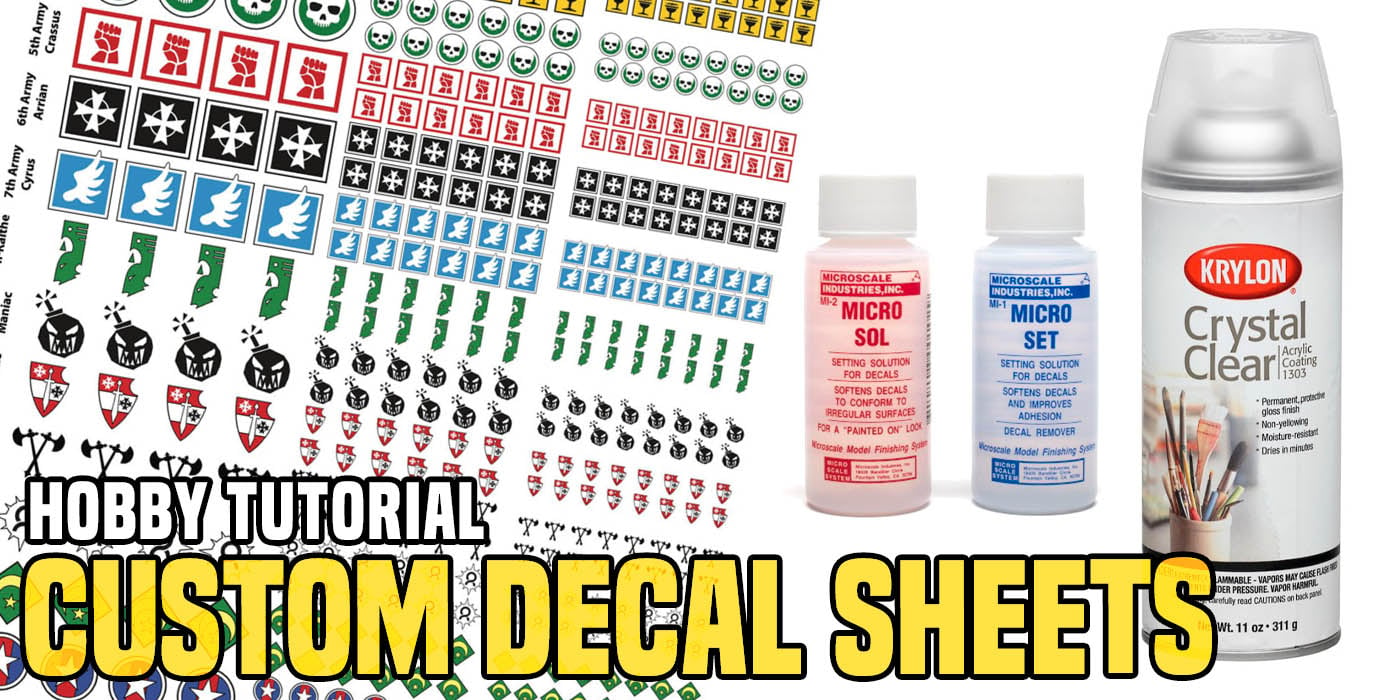
Selecting the right materials is essential for quality results when you learn how to create your own decals, and the options range from budget-friendly paper to durable vinyl. For temporary indoor decals, printable sticker paper or regular paper with a removable adhesive spray can work, while for outdoor use you’ll want weather-resistant vinyl or polyester film.You will also need a cutting tool such as a craft knife, cutting mat, and ruler for manual cutting, or a digital cutting machine like a Cricut or Silhouette for faster, more detailed work.
Additional tools that make the process easier include a ruler, pencil, tracing paper, transfer tape, a squeegee or credit card for smoothing, and cleaning supplies to ensure the surface is dust-free. If you are printing designs, a high-quality inkjet or laser printer helps achieve vibrant colors and sharp edges. Investing in a few basic tools pays off in cleaner cuts, better adhesion, and a more professional finish.
Creating or Preparing Your Artwork
Good artwork is the foundation of great decals, so you need to create or prepare your graphics with cutting and application in mind. Design your image in a vector program if possible, because vector files scale cleanly without losing quality and are ideal for digital cutting machines.

- Keep line work clear and avoid extremely thin details that might break during cutting or peeling.
- Use solid colors and high contrast between the decal and its background for better visibility.
- Add a registration mark or keyline if you plan to apply multiple layers, so they align properly.
If you are working from a physical sketch or photograph, scan or photograph it and trace it digitally, simplifying complex areas into shapes that are easier to cut. Test your design at actual size to verify proportions and text readability, and adjust colors if you plan to print on colored vinyl or transparent film.
Cutting and Weeding the Decal
Cutting is where your design comes to life, and precision here determines how smoothly the rest of the process goes when you master how to create your own decals. If you use a cutting machine, load the material according to the manufacturer’s recommendations, set the blade depth and force for the material thickness, and always test cut on a small piece first.
For hand cutting, tape the printed design to the material, trace the outlines with a sharp craft knife using a ruler for straight lines, and work on a stable cutting mat. After cutting, weeding removes the excess material around your design, leaving only the parts that will become the decal. Use a weeding tool or a gentle pin to lift small pieces, being careful not to damage delicate areas like thin bridges or small shapes.

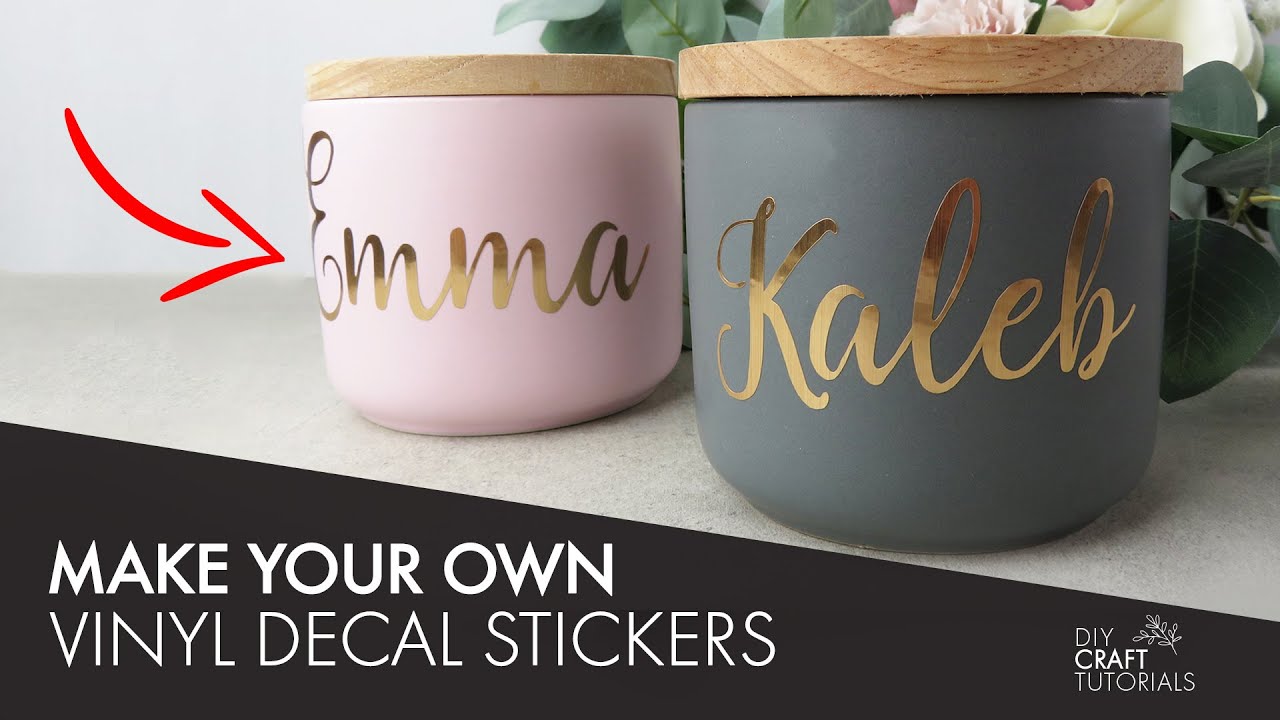
Applying Transfer Tape and Prepping the Surface
Transfer tape helps you move the decal in one piece, and using it correctly is a key part of how to create your own decals that look professional. Lay the transfer tape over the cut decal, smooth it down with a squeegee to remove air bubbles, and then peel away the backing material, leaving the design on the transfer tape.
Before applying, clean the surface thoroughly with soap and water or an alcohol wipe, let it dry completely, and if possible choose a smooth, flat area for best adhesion. Dust, grease, or texture can cause lifting, so take time to prepare the surface. For larger decals, it helps to have a second person to position the decal while you smooth it down.
Applying the Decal and Finishing Touches
Position the decal carefully, align it using reference points or guides, and then press it down firmly from the center toward the edges to push out air bubbles and ensure strong adhesion. Use a squeegee or a soft cloth to smooth the surface, and if any edges lift, press them down while the adhesive cures for a few minutes.

After application, wait at least twenty four hours before washing or exposing the decal to harsh conditions, and avoid peeling it up prematurely, since this can weaken the adhesive or tear the material. With quality materials, careful application, and a little practice, you can create durable, eye-catching decals that reflect your style and last through regular use.
How to Make Decals in Roblox - 2024 Guide
From here you will need to navigate the the development items, select decals, and upload your image. When you create a decal in ...
