How To Create Car Decals

Creating car decals is a fun and practical way to personalize your vehicle, and with the right tools and techniques you can achieve professional looking results at home. Whether you want to showcase a favorite quote, support a cause, or add subtle branding, custom car decals give you a mobile canvas that turns heads on the road.
Designing Your Car Decal
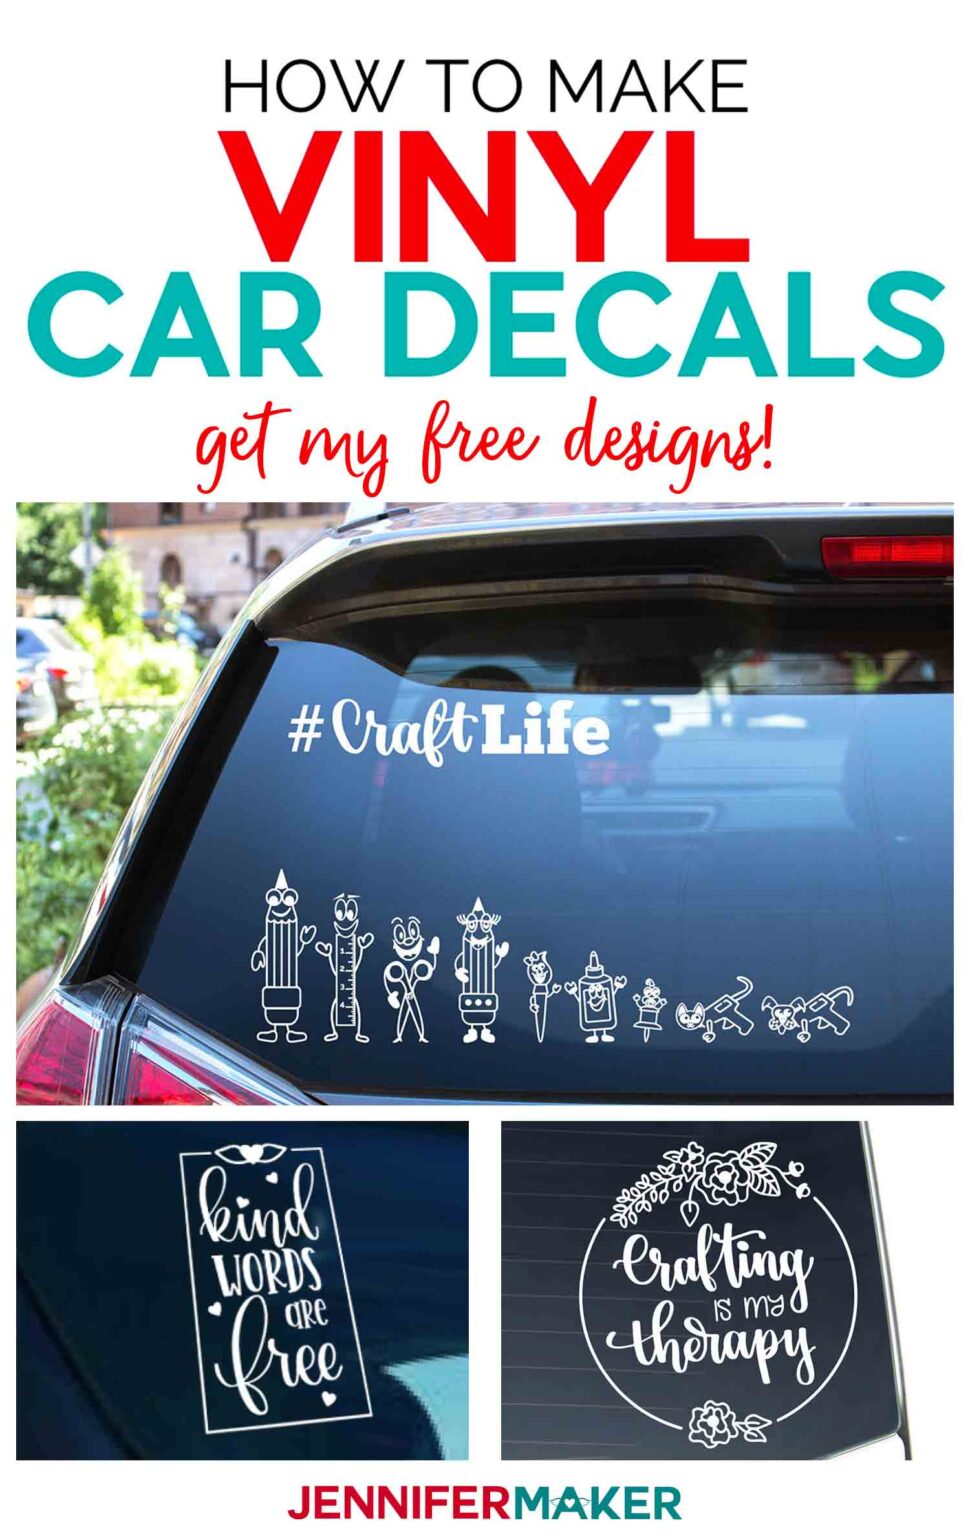
The first step in how to create car decals is designing your artwork, because the quality of the final decal depends heavily on how well the idea is planned on screen. Start by choosing a concept that suits your style and the size of the area where it will be placed, such as a bumper, door, or rear window. Keep text legible by using bold, simple fonts and high contrast colors that stand out against your car paint, and remember to leave enough empty space so the decal does not feel cluttered.
When you sketch or use vector software, think about how the decal will look in real life, including how light reflects off curved surfaces and how the logo or text will read from a distance. Create a few thumbnail sketches to compare layouts, and test how the design looks on a photo of your car using layer overlays or temporary printouts. This design phase is crucial for how to create car decals that look polished instead of amateurish, so take time to refine shapes, spacing, and balance before moving to production.

Choosing Materials and Tools
Selecting the right materials is essential when you learn how to create car decals that last through sun, rain, and road debris. For durable results, choose high quality vinyl film with strong adhesive backing, and consider cast vinyl for complex curves because it stretches and conforms better than calendered vinyl. If you want a subtle look, opt for matte finishes, or choose glossy vinyl for bold, vibrant colors that catch the eye in daylight.
Beyond the vinyl, gather tools that make installation clean and precise, such as a cutting plotter or a set of sharp craft knives for manual cutting, application tape for smooth placement, and a squeegee or soft cloth to remove bubbles. A ruler, measuring tape, and transfer paper help you position the decal accurately, while cleaning supplies ensure the car surface is free from dust and oils. Investing in these tools not only improves how to create car decals at home, but also reduces the chance of peeling, fading, or misalignment.
Preparing the Surface
Before applying any decal, thorough surface preparation is a key part of how to create car decals that stay put and look great for years. Wash your vehicle with a gentle soap to remove dirt, road tar, and wax, then dry it completely, paying attention to edges and seams where moisture can hide. Use isopropyl alcohol or a dedicated panel wipe to eliminate any remaining oils or residues, which helps the adhesive bond evenly and prevents lifting over time.
Choose a shaded area to work so the paint and vinyl do not heat up too quickly, which can cause the decal to stretch or apply unevenly. Inspect the surface for scratches or rough spots, and if necessary, address them so the decal does not catch on imperfections. A clean, smooth, and dry surface is the foundation of a professional installation and makes the difference between a temporary decoration and a long lasting custom car decal.
Cutting and Weeding the Decal
Once your design is printed on vinyl, cutting and weeding become the hands on phase of how to create car decals, where precision determines the final clarity and detail. If you use a cutting plotter, load the vinyl according to the manufacturer’s settings, select the correct blade depth and cutting speed, and perform a test cut to verify that the machine has sliced through the vinyl but left the backing intact. For manual work, print the design, place it over the vinyl, and carefully cut along the lines with a sharp craft knife, keeping the strokes smooth and controlled.
Weeding involves removing the excess vinyl around your design, leaving only the parts that will become the decal on your car. Use a weeding tool or a fine tipped hook to lift small pieces, paying attention to islands or detached shapes that need extra care. Work under good lighting and periodically place the decal against a light source to check for missed spots. Accurate cutting and thorough weeding are essential steps in how to create car decals that look sharp and professional once installed.

Applying the Decal
Applying the decal correctly is where many projects succeed or fail, and mastering this step is central to how to create car decals that lie flat and bubble free. Cut a piece of application tape slightly larger than the decal, place it over the design, and smooth it down with a squeegee to secure the vinyl. Carefully peel away the backing paper at a low angle, making sure that no parts of the design stick to the liner, especially on detailed areas or small text.
Position the decal on the prepared car surface, aligning it with reference points like seams or edges, then press it down gently from the center outward to anchor it in place. Use a squeegee or a soft cloth to press the vinyl firmly against the paint, working from the middle toward the edges to push out air and avoid wrinkles. Trim any excess material with a utility knife, and give the edges a firm rub to ensure a strong bond, completing one of the most satisfying phases of how to create car decals at home.
Maintenance and Longevity
After you finish how to create car decals, proper maintenance helps preserve their appearance and extends their life under constant exposure to the elements. Wash your car by hand using a mild soap, rinse thoroughly, and dry the decals gently, avoiding harsh brushes or abrasive sponges that can lift the edges. When parking outdoors, choose shaded spots when possible and consider applying a clear paint protector to reduce direct contact with UV rays, bird droppings, and tree sap.

Inspect the edges of the decal regularly and, if you notice any peeling, press the area firmly and consider using a small amount of rubbing alcohol to reactivate the adhesive before it fully detaches. With careful cleaning, mindful parking, and occasional touch ups, your custom car decals can remain vibrant for many years, turning each drive into a reflection of your personal style.
By following these steps for designing, cutting, and applying decals, you gain the skills to transform your vehicle into a moving expression of creativity and identity. Patience during preparation, precision during installation, and consistent maintenance afterward ensure that your custom car decals stay bold, bright, and securely attached mile after mile.
Create and Sell Car Decals with Your Cricut | DIY Business Ideas
Want to make money from home with your Cricut machine? In this step-by-step Cricut tutorial, I'll show you how to make and sell ...
