How Do You Put Decals On A Car
Applying car decals the right way turns a plain vehicle into a rolling expression of style, and getting every step right from surface prep to final sealing makes all the difference in long term durability and appearance.
Choosing the Right Decals for Your Car
Before you learn how do you put decals on a car, it is important to select the right type of decal for your vehicle and environment. Cast vinyl decals are generally the most durable and conform well to curved surfaces, while lower cost sticker decals can be more suitable for short term use or very flat panels. Consider the climate where you live, since UV exposure, temperature swings, and road salt can all affect how long a decal stays vibrant and adhered.
Another key factor is the finish and size of the decal, because larger graphics may require extra planning to avoid bubbles and wrinkles during application. If you want a subtle look, choose a matte finish, while a glossy finish can make details pop on both painted panels and aftermarket trim pieces. Take precise measurements of the intended area and compare them with the decal design so you know exactly how it will sit on doors, bumpers, fenders, or the rear panel.

Preparing the Car Surface Properly
Thorough surface preparation is the foundation of a clean installation, and skipping steps here is a common reason why decals lift early or trap dirt underneath. Start by washing the area with a dedicated automotive shampoo, rinsing thoroughly, and drying with a soft towel to remove dust, road film, and fresh wax residues that can interfere with adhesion.
After the initial wash, use an isopropyl alcohol or dedicated panel wipe to degrease the surface, then inspect it closely for any imperfections that could show through the decal once it is applied. If you are working on a newly painted panel, allow enough cure time and consider using a light clay bar treatment to level the surface before proceeding with the next steps.
- Wash with automotive shampoo and rinse well
- Dry completely with clean microfiber towels
- Degrease using isopropyl alcohol or a panel wipe
- Inspect for dust, bugs, or uneven paint texture
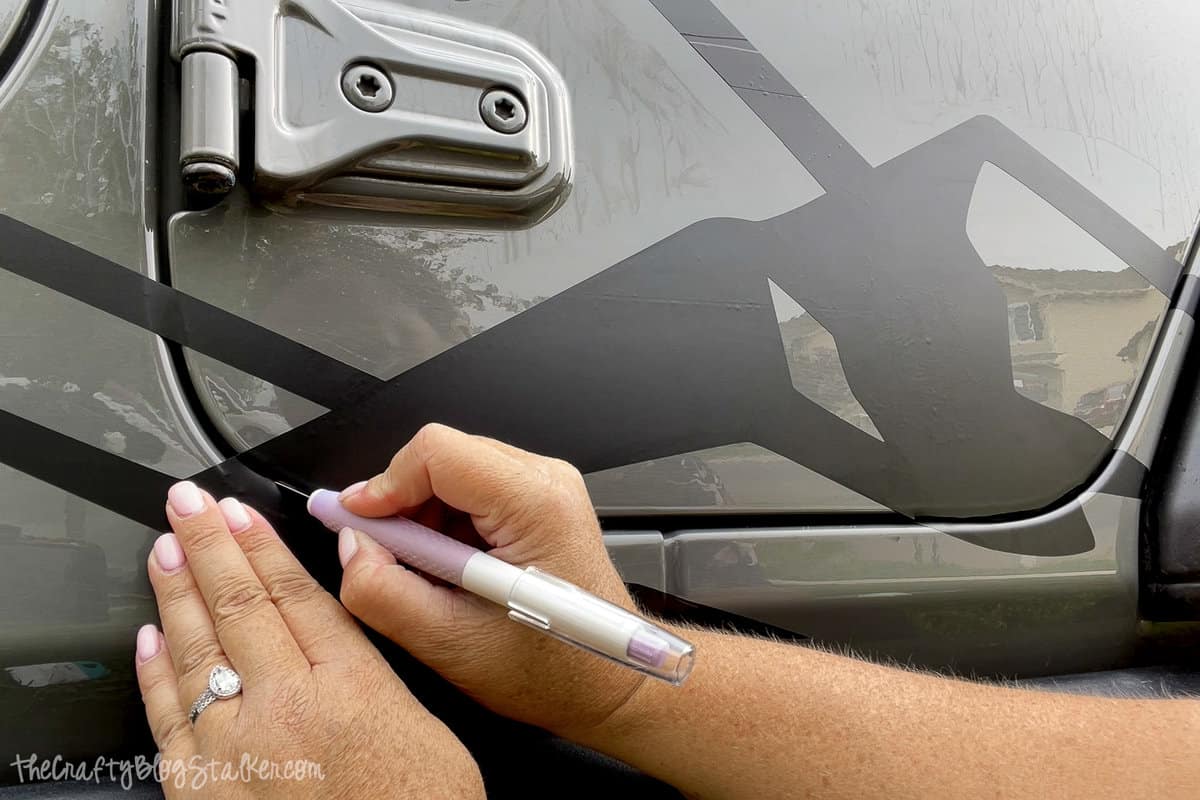
Positioning and Aligning Decals Before Application
Proper alignment is what separates a professional looking install from a rushed job, so take your time when positioning the decal before any adhesive touches the paint. Lay the decal face up on a clean surface, place the car panel on top of it in a temporary manner, or use registration marks and measuring points to ensure the decal will sit exactly where you want it.
Many installers use a temporary spray solution of mild soap and water on the panel and the back of the decal, which allows sliding and fine tuning without damaging the adhesive. Once the decal is perfectly aligned, use a soft squeegee or credit card to press out excess liquid and move toward the edges, setting the decal in place for the final phase of how do you put decals on a car.
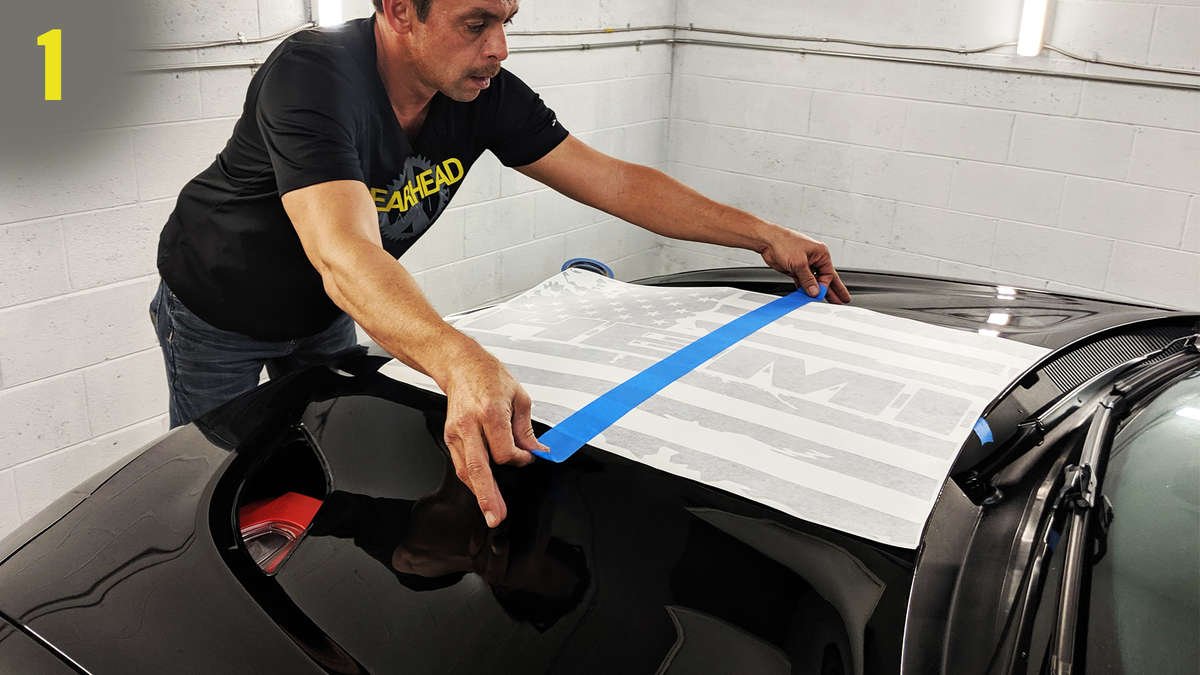
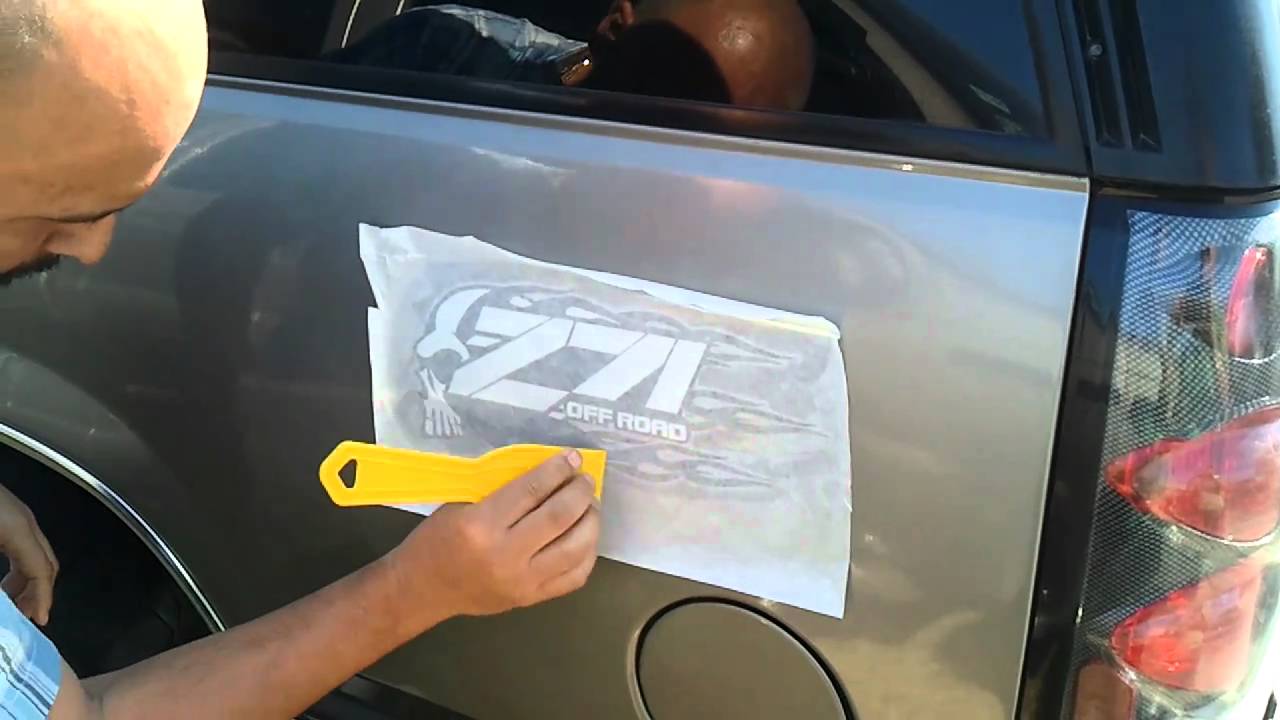
Applying the Decal Smoothly
With the decal positioned correctly, slowly peel the backing paper away while keeping the graphic as flat as possible against the surface. Work from one edge to the other, using a firm but gentle pressure with a soft squeegee to push out air pockets and ensure intimate contact with the paint.
If wrinkles appear, carefully lift the edge of the decal, reapply the temporary solution if needed, and gently smooth it back down before continuing to peel the backing. Pay special attention to corners and curves, because these areas are most prone to lifting if the adhesive is not fully seated during this stage.

Drying, Curing, and Long Term Care
After the decal is fully applied, avoid washing the vehicle or exposing it to heavy rain for at least twenty four to forty eight hours, which gives the adhesive time to bond securely. During this initial curing period, keep the car out of extreme heat or direct sunlight, since high temperatures can cause the material to expand and compromise the bond.
For best results, follow any specific instructions from the decal manufacturer regarding recommended wait times and environmental conditions. Once the decal has cured, maintain it with regular but gentle washing, using soft cloths or sponges and avoiding aggressive scrubbing over the edges where lifting can begin.
Protecting Decals from Wear and UV Damage
Applying a quality paint sealant or ceramic coating around the decal can add a layer of protection against stone chips, harsh cleaners, and fading caused by ultraviolet exposure. When you park outdoors, choose a shaded spot whenever possible, and consider a periodic application of a UV resistant spray designed for vinyl graphics.

If you notice small edges starting to lift, a careful application of heat from a heat gun or hair dryer on a low setting can help reactivate the adhesive and press the decal back down firmly. By combining gentle cleaning, mindful parking, and occasional reinforcement of the edges, you can enjoy vibrant, long lasting graphics that enhance your car’s appearance for years.
Troubleshooting Common Decal Issues
Even with careful preparation, issues like bubbling, edge lifting, or premature fading can occur, and knowing how to address them early helps preserve the look of your installation. Bubbles that remain after initial application can sometimes be pierced with a small needle, then smoothed out, while lifting corners can be gently reheated and pressed back into place.
In dusty or dirty environments, particles can become trapped under the decal, so if you notice a gritty texture or visible debris, you may need to carefully lift a section, rinse with clean water, and reapply using the soapy method to achieve a clean finish. Avoid using harsh chemicals or abrasive tools directly on the edges, since these can weaken the adhesive and shorten the life of the decal.
- Use a clean needle to pierce and drain persistent bubbles
- Reheat edges lightly and reseat with a soft squeegee
- Rinse and reapply if debris gets trapped underneath
- Protect from automatic car washes with brushes on the edges
When to Seek Professional Help or Replace Decals
Some situations, such as large full wraps, complex curves, or delicate vintage paint, are better handled by experienced installers who have the tools and techniques to minimize risk and maximize results. If you are unsure about surface compatibility or if previous attempts have failed repeatedly, consulting a professional can save time, material, and potential damage to your vehicle.
Over time, even well installed decals will show signs of wear, and at a certain point replacement becomes the best option to keep your vehicle looking sharp. When you decide it is time for a refresh, removing the old decal carefully, re cleaning the surface, and following the same meticulous steps for how do you put decals on a car will ensure that the next set looks just as good as the first.
How to install decals like a PRO!
via YouTube Capture.
