How Do You Make Decals

Making durable, detailed decals starts with understanding the design, material, and transfer method you will use to create professional results.
Plan Your Decal Design and Artwork
The foundation of any great decal is a thoughtful design that works well as a printed graphic and after application. Start by simplifying complex images so lines remain clean and details remain legible at the final size, because overly intricate artwork can blur or lose small elements during cutting or printing. Use vector-based tools to create scalable artwork, and if you are working from a photograph or sketch, trace or refine it into solid shapes that will translate clearly to your chosen material.
Consider color limitations and contrast, especially if you will print on a transparent film or on a specific colored substrate, because low contrast or subtle gradients may not reproduce well in the decal process. Think about how the decal will look once applied, including background colors and surrounding surfaces, and mock up the design on a digital image of the object or surface to visualize placement, size, and orientation before committing to production.

Choose the Right Decal Material and Method
Selecting the appropriate material is one of the most important decisions when you make decals, because it affects durability, adhesion, and appearance. Common options include vinyl for outdoor durability, cast films for premium conformability on curves, and clear or colored films for transparent or subtle looks, each offering different levels of flexibility and resistance to weather or chemicals.
Decide between cut-color decals, where the vinyl is cut to reveal the color of the layer beneath, and printed decals, where artwork is printed onto a film and then cut to shape, because each method suits different design complexity and quantity needs. For lower quantities or intricate designs, printed decals on cast vinyl often deliver the sharpest detail, while cut vinyl is a cost-effective choice for bold shapes and simpler graphics that still need strong adhesion.
Prepare the Surface and Set Up Printing or Cutting
Before production, clean the surface where the decal will be applied, removing dust, oils, and residues that could prevent proper adhesion, because even the best decal will lift or peel if the surface is not properly prepared. If you are applying the decal to a textured or irregular surface, choose a conformable film and consider slightly heating the surface or using a soft squeegee to help the material settle into contours without stretching or tearing.

Set up your printer or cutter according to the material specifications, calibrating print heads, ink density, or blade depth to match the film thickness and desired precision, and run test cuts or small prints to verify registration, color accuracy, and clean edges. Keep a record of settings that work well so you can reproduce consistent results when you make decals in larger batches or with different designs.
Cut, Weed, and Prepare the Decal
Once your design is printed or cut, carefully trim excess material and weed out unwanted sections, using precise knives, sharp blades, or specialized weeding tools to remove the areas that will not be part of the final decal while leaving the design elements securely attached to the backing. Work slowly on detailed pieces to avoid pulling up parts of your main design, and use a light table or strong backlighting to see which areas need to be removed when you make decals with intricate negative space.
For adhesive-backed decals, apply a transfer tape over the printed or cut film, smoothing out air bubbles before trimming the tape to size, so that all pieces stay aligned during application. Test the edge lift of the decal by gently peeling a small section of the backing to confirm that the adhesive is strong enough to hold the elements together during placement but still removable without leaving stubborn residue on the surface.
Apply the Decal Smoothly and Correct Issues
Position the decal carefully on the prepared surface, aligning key points or edges first, then lower it down gradually while pressing from the center outward to push air bubbles toward the edges and avoid trapping them beneath the film. Use a soft squeegee, credit card, or application tool wrapped with a soft cloth to firmly smooth the surface, which helps the adhesive bond evenly and reduces the risk of lifting at the edges over time.
If bubbles appear, stop and lift the affected section gently, then reapply slowly while working the bubble out through the nearest edge, rather than trying to press it out from the center, which can stretch or shift the design. For printed decals with delicate gradients or fine text, pause to let the material settle and avoid stretching, especially on curved surfaces, because tension can distort the artwork and reduce clarity once installed.
Maintain and Protect Your Decals
After installation, allow the decal to set according to the material recommendations, avoiding washing, extreme temperatures, or heavy handling for the time needed for the adhesive to fully cure and achieve maximum durability. Clean the surface gently with mild soap and soft cloths, avoiding abrasive tools or harsh chemicals that can degrade the printed layer or compromise the edges.

Inspect the decal periodically for signs of lifting, fading, or edge curling, and address small issues early by pressing down the affected area and, if necessary, applying a compatible topcoat for extra protection on high-wear surfaces. When you make decals for clients or your own projects, documenting these steps and conditions helps you refine the process and achieve consistent, professional results with each new design.
By planning thoughtful designs, choosing suitable materials, preparing surfaces, and applying decals with care, you can produce reliable, high-quality results that look great and last longer on a wide variety of surfaces.
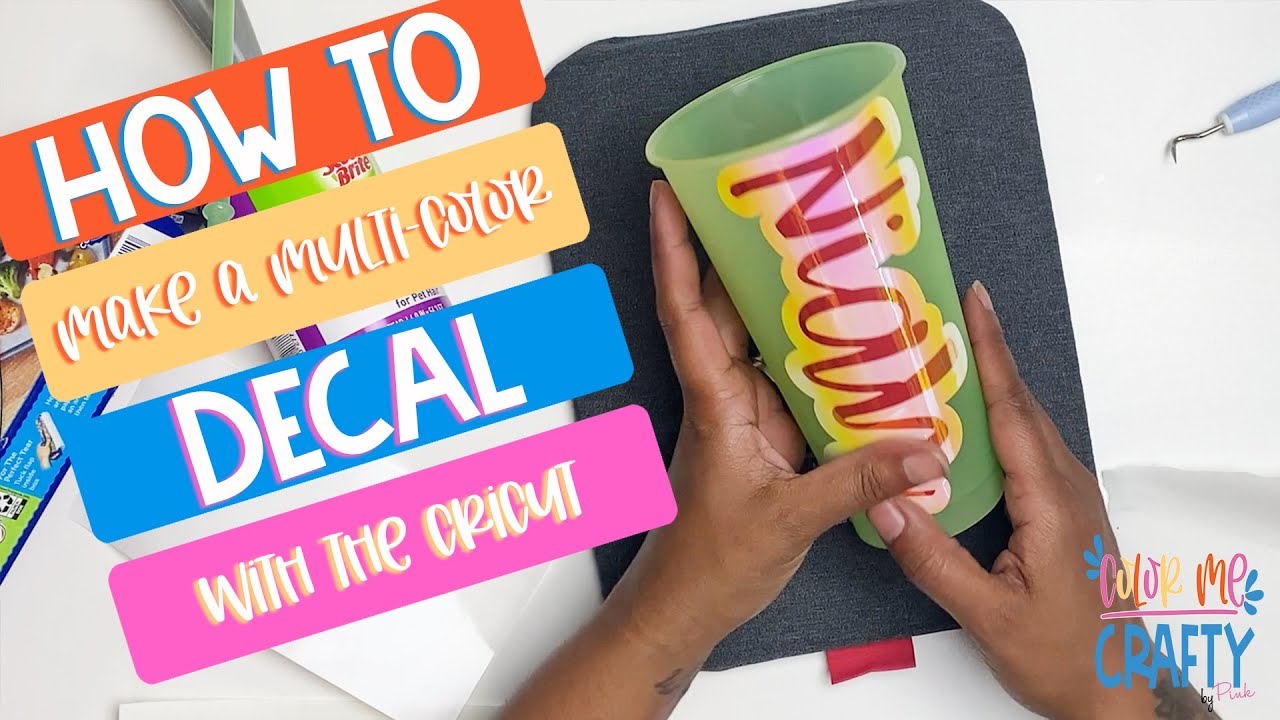
How to Easily Make Professional Vinyl Decals | Cricut Tutorial
Take your vinyl stickers to the next level, and make them look very professional, and it is so easy to do this too! Supplies used in ...
