Horse Decals For Horse Trailers
Adding stylish horse decals for horse trailers is one of the easiest ways to give your mobile stable a polished, personalized look while protecting the paint and expressing your equestrian identity.
What Are Horse Decals for Horse Trailers and Why They Matter
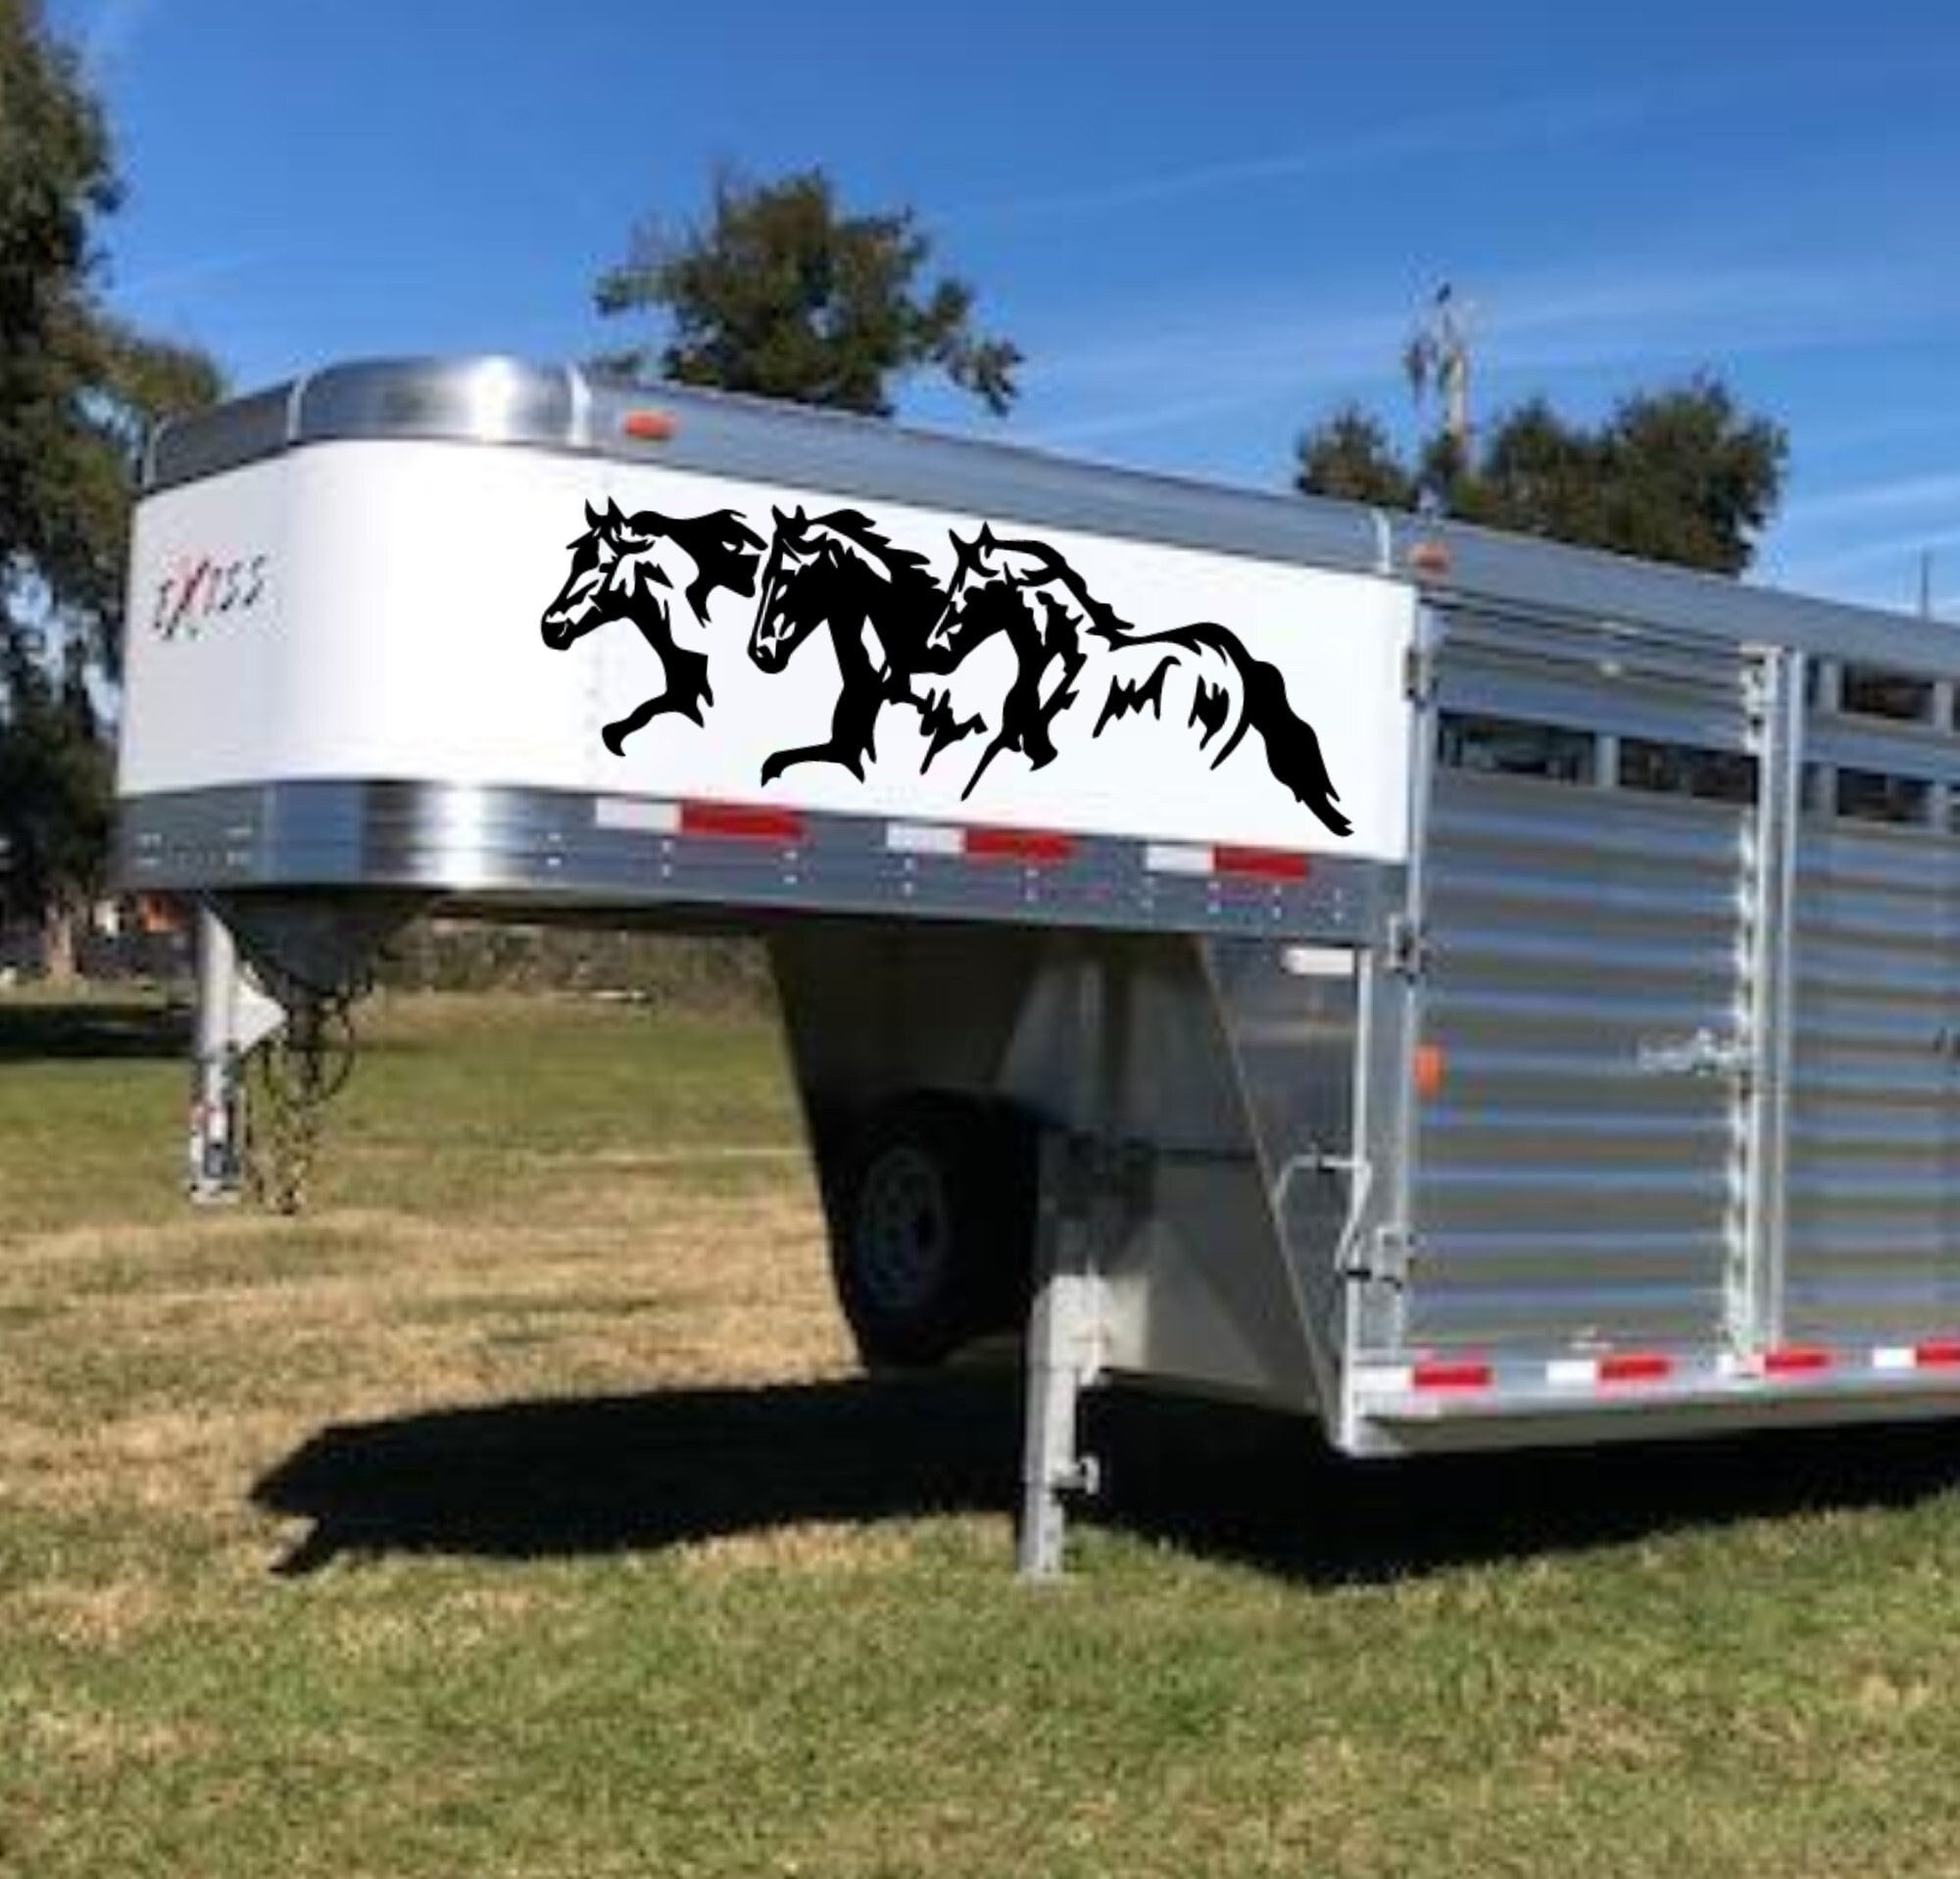
Horse decals for horse trailers are vinyl graphics designed specifically to adhere to trailer surfaces, featuring equine motifs, logos, names, or decorative patterns. Unlike paint, these removable decals provide a non-invasive way to customize your trailer, making it instantly recognizable at shows, trails, or boarding facilities. They act as a moving advertisement for your breeding program, training business, or simply your passion, turning heads before anyone steps aboard.
Beyond aesthetics, quality decals act as a shield against minor scratches, UV fading, and environmental contaminants, preserving the original paint underneath. When applied correctly, they create a smooth, sealed surface that makes cleaning mud, dust, and road salt straightforward. This combination of style and protection is why many owners now consider decals an essential part of trailer maintenance and branding rather than an optional extra.

Choosing the Right Materials and Finish for Durability
The longevity of your horse decals for horse trailers depends heavily on the material used. High-performance cast vinyl offers superior flexibility, UV resistance, and a premium edge, making it ideal for curved surfaces and long-term outdoor exposure. For budget-conscious options, calendered vinyl can work well on flatter areas, though it may shrink over time on rounded corners.
- Consider matte finishes to reduce glare under bright arena lights and during evening trail rides.
- Opt for peel-and-stick adhesive with air-release channels to prevent bubbles and ensure a smooth application.
- Look for weatherproof inks that resist fading from sun, rain, and temperature swings.
Matching the decal material to your climate and usage ensures your investment stays vibrant through seasons of show dust, cross-country mud, and highway wind.
Design Ideas That Showcase Your Style and Brand
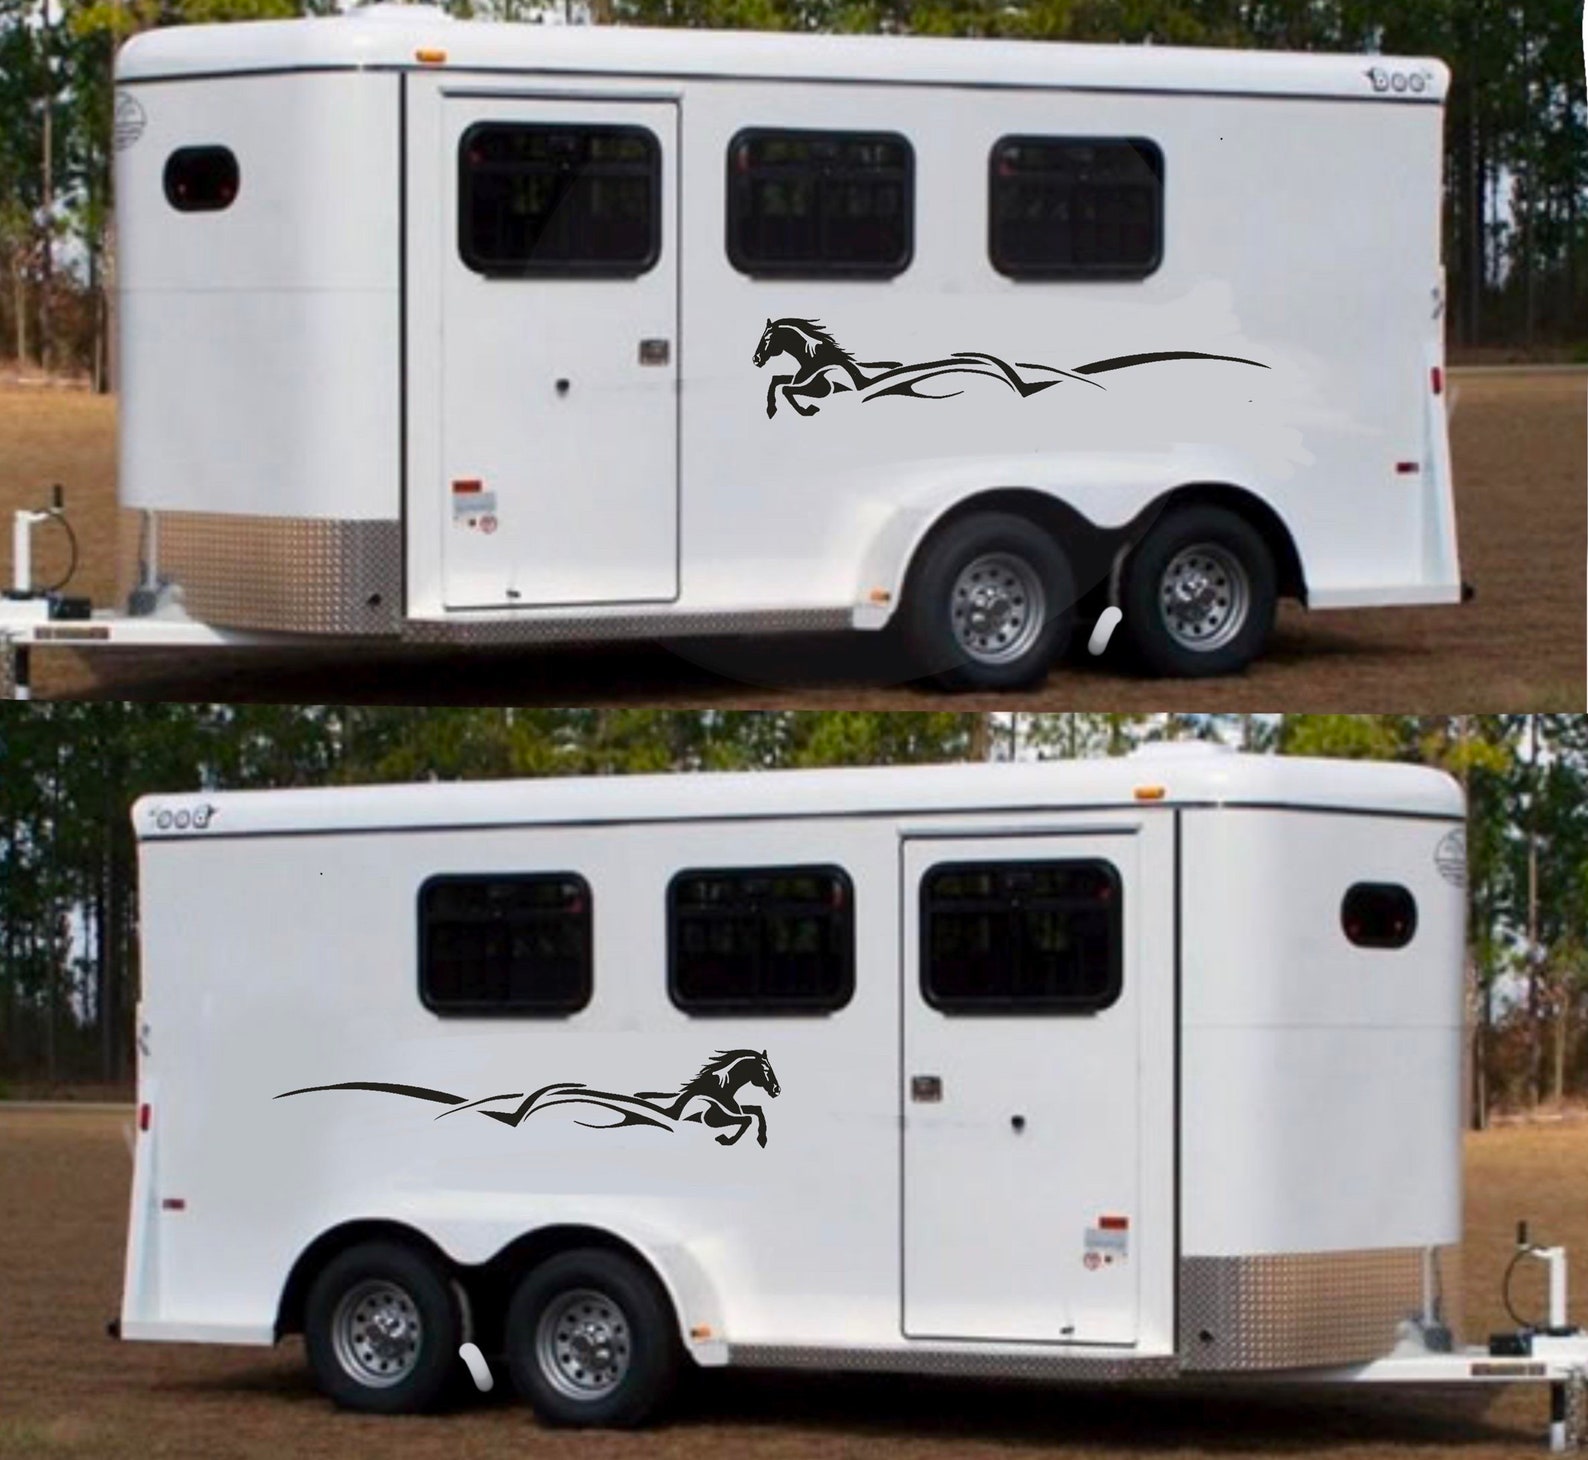
When planning horse decals for horse trailers, think about how the design complements your horse’s color and your personal brand. A classic silhouette of a jumping horse against a sunset never goes out of style, while subtle monogrammed crests add understated elegance. If you run a training or breeding business, integrating your logo into the trailer doors creates instant recognition and professionalism.

- Use contrasting colors to make the decal pop against the trailer body.
- Incorporate meaningful elements like your horse’s name, competition number, or a favorite quote.
- Keep text legible from a distance by choosing bold, simple fonts and limiting the amount of information.
Working with a professional designer or choosing templates from reputable decal makers can help you balance creativity with readability, ensuring your trailer stands out for all the right reasons.
Measuring and Placing Decals for Maximum Visual Impact
Proper measurement is crucial when applying horse decals for horse trailers to avoid awkward gaps or misaligned graphics. Start by taking key dimensions, such as door height, side panel length, and the distance between wheel wells, then sketch a rough layout on paper. This planning stage helps you decide whether to place a large central emblem or a series of smaller accents along the lower panels and upper seams.
Consider the sightlines of other drivers and spectators; a bold decal on the rear door is visible from behind, while side decals are best positioned at eye level when the trailer is parked. If you are matching multiple trailers for a stable, maintain consistent placement so your fleet has a unified, professional appearance that reinforces brand recognition.
Application Tips for a Smooth, Long-Lasting Finish
Achieving a bubble-free installation begins with a clean, dry surface free of wax, dirt, and old adhesive residues. Use a mild soap solution and a soft cloth to thoroughly wash the area, then rinse and let it dry completely before proceeding. A helper can hold the decal while you align it carefully, especially on large panels where precision matters.
- Use a squeegee or soft card to press the decal down from the center outward, pushing out trapped air.
- Apply heat gently with a hairdryer on a low setting to help the vinyl conform to curves.
- Allow the adhesive to cure for 24 to 48 hours before washing or exposing the trailer to harsh weather.
Taking your time during installation pays off with a smooth finish that looks factory-applied and lasts through many seasons.
Maintenance and Removal Without Damaging the Paint
Regular maintenance keeps horse decals for horse trailers looking fresh and protects the underlying paint. Rinse the trailer after rides or shows to remove dirt and road salt, and clean with a mild, non-abrasive soap using soft cloths or sponges. Avoid harsh chemicals and pressure washers directed directly at the edges, as they can lift the vinyl and allow moisture to seep underneath.

When it is time for a change or if you plan to sell the trailer, quality decals remove cleanly without leaving sticky residue if done correctly. Warm the edges with a hairdryer, peel slowly at a low angle, and use a mild adhesive remover for any leftover traces. With careful upkeep and thoughtful removal, your decals can be changed seasonally, allowing your trailer to evolve with your equestrian journey while keeping the paint in excellent condition.
By selecting durable materials, thoughtful designs, and careful installation, horse decals for horse trailers become more than decoration—they become a long-lasting statement of style, protection, and pride every time you hit the road with your horse.
Install Horse Decal
Install small Rocky Mountain Horse Decal on the back of a horse trailer.
